Master the Bomb Maker quest to unlock Scorch Bombs and dominate enemy encounters in Ghost of Yotei
Quest Overview & Strategic Value
The Bomb Maker quest represents one of Ghost of Yotei’s most rewarding side missions, providing access to the game-changing Scorch Bomb explosive weapon. This area-of-effect tool revolutionizes crowd control situations, allowing players to efficiently handle clustered enemy formations that would otherwise require tedious individual engagements.
Beyond the immediate combat advantages, completing this mission establishes a valuable vendor relationship that persists throughout your gameplay journey. The strategic importance of acquiring explosive capabilities cannot be overstated, particularly for players focusing on tactical approaches rather than pure melee combat.
Location Guide & Initial Engagement
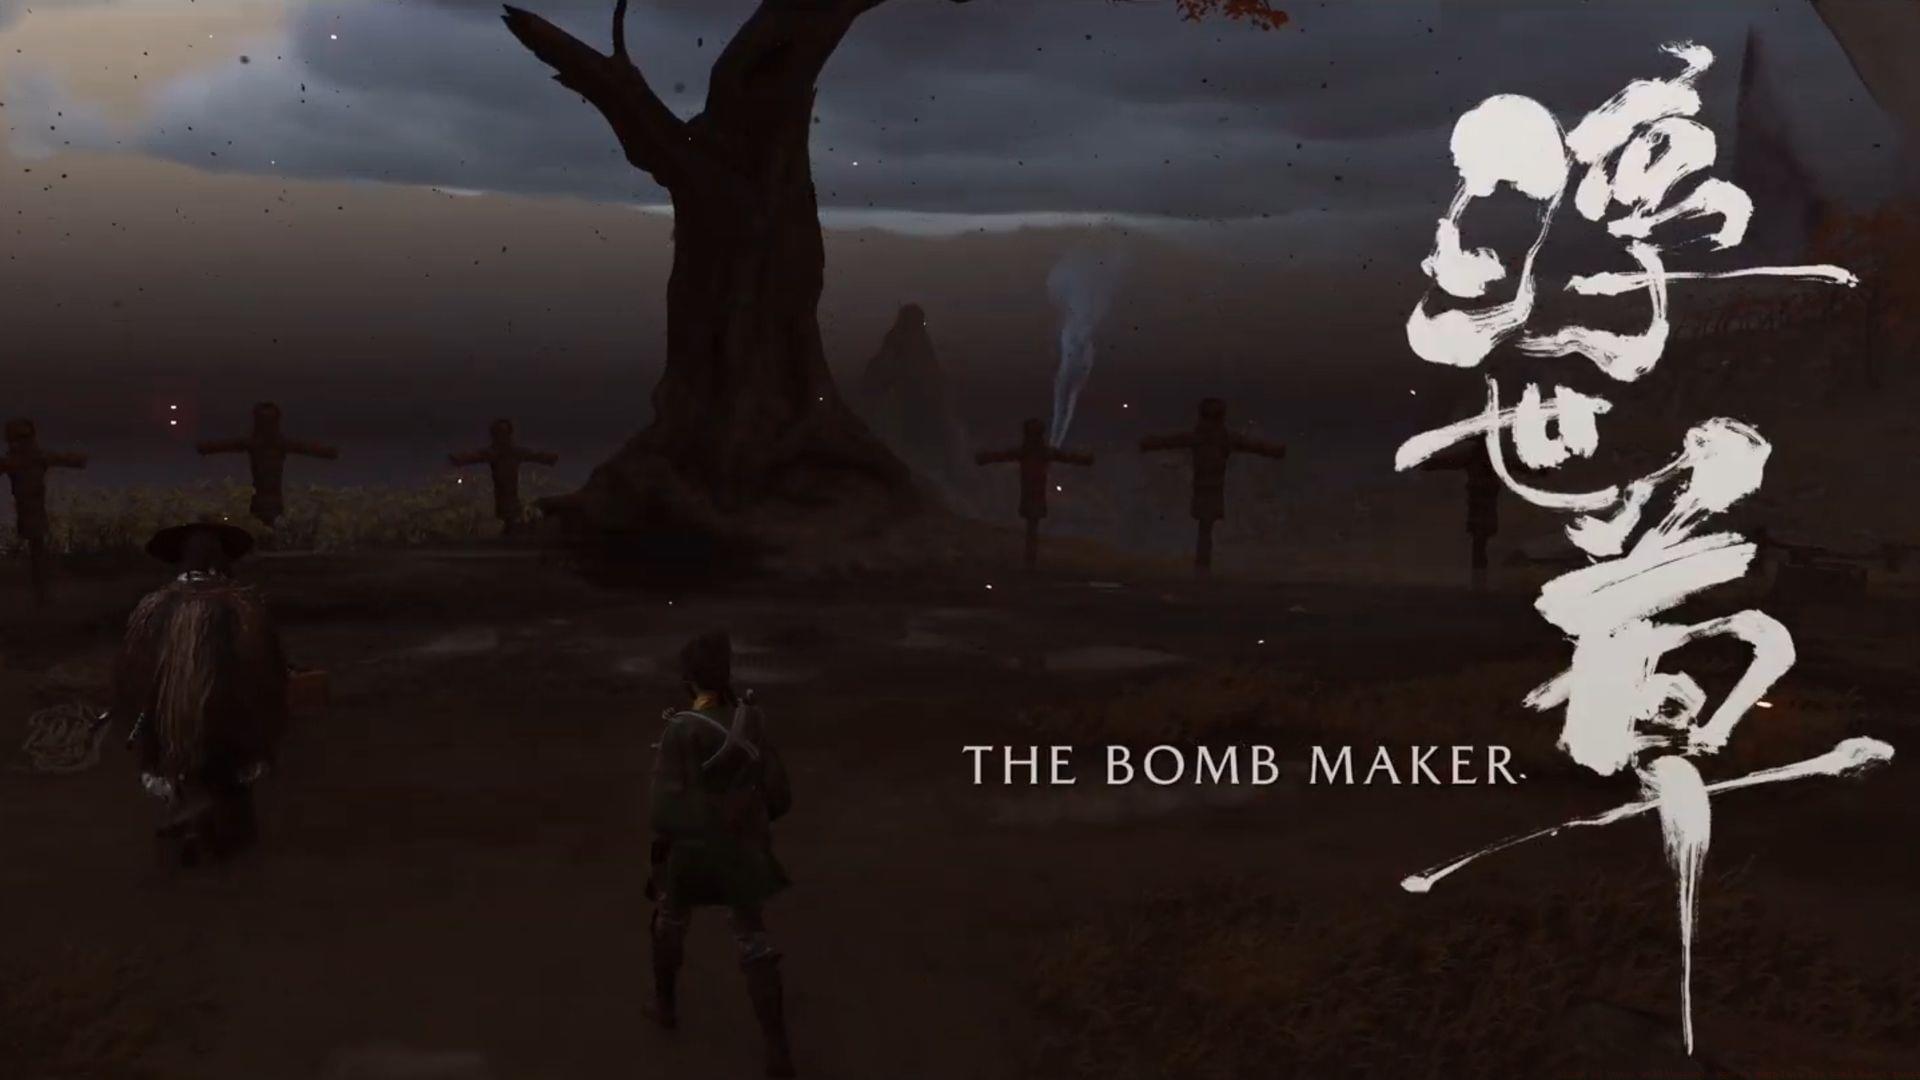
Initiating the Bomb Maker quest requires traveling from the Ishikari region toward Otaru Hills, passing through the distinctive Nishin Fishery landmark. Your destination, Fire Cricket Canyon, becomes immediately apparent due to the ongoing conflict between Oni Raiders and local defenders.
Pro Tip: Before engaging, survey the canyon entrance for elevated positions that provide tactical advantages during the initial skirmish. The opening combat sequence serves as both narrative introduction and practical warm-up for the more intense battles ahead.
When confronting the first raider wave, maintain constant mobility and prioritize eliminating enemies who cluster together. This formation practice directly prepares you for optimal Scorch Bomb deployment later in the mission. Use quick, decisive strikes rather than prolonged engagements to conserve health resources.
Scorch Bomb Training & Mechanics
Following the initial combat, the mysterious Bomb Maker observes your capabilities before reluctantly agreeing to training. This pivotal moment transitions the quest from pure combat to skill development, introducing the Scorch Bomb mechanics that will become essential throughout your journey.
Critical Controls: Hold L2 to equip the Scorch Bomb, then press R2 to execute throws. The practice dummies provide safe experimentation to understand the weapon’s arc, velocity, and detonation timing.
Advanced Technique: Master the art of ‘cooking’ your throws – holding the bomb briefly before release to control explosion timing. This becomes crucial against mobile enemies who might evade standard throws. The incendiary nature creates persistent area denial, making Scorch Bombs ideal for controlling enemy movement patterns.
During training, experiment with different throwing angles and surfaces. Bombs that impact walls or ceilings often create unpredictable fragmentation patterns that can be leveraged in complex combat scenarios.
Defensive Battle Strategy
The training concludes abruptly as two waves of Oni Raiders assault the canyon from both flanks. This intensive combat examination tests your newly acquired explosive skills under pressure, with the Bomb Maker providing unlimited bombs throughout the engagement.
Strategic Positioning: Identify and control the canyon’s natural chokepoints where enemies must converge. These bottlenecks maximize Scorch Bomb effectiveness, allowing single explosions to incapacitate multiple combatants simultaneously. Position yourself with clear sightlines to approaching routes while maintaining cover options.
Common Mistake to Avoid: Don’t waste bombs on isolated enemies during the assault. Conserve explosives for group formations, using melee attacks against stragglers who penetrate your defensive perimeter. The unlimited supply doesn’t eliminate the need for strategic resource allocation based on threat priority.
Coordinate your throws to create overlapping fire zones that prevent enemy advancement while systematically reducing their numbers. The blast radius proves particularly effective against enemies attempting to scale canyon walls or emerge from narrow passages.
Quest Completion & Long-term Benefits
Eliminating the final raider triggers the quest resolution sequence, where the Bomb Maker introduces herself as Ina and formally agrees to supply Scorch Bombs indefinitely. This vendor relationship extends beyond simple ammunition provision to include significant gameplay enhancements.
Permanent Access: The Scorch Bomb becomes a permanent addition to your arsenal, accessible through standard weapon selection. More importantly, Ina serves as the exclusive source for damage upgrades and carrying capacity enhancements that dramatically increase the weapon’s combat utility.
Upgrade Path Recommendation: Prioritize carrying capacity improvements before damage upgrades. Additional bombs provide more tactical flexibility across various encounters, while damage increases offer diminishing returns against standard enemies who succumb to baseline explosive force.
With the Bomb Maker quest complete, you’ve secured one of Ghost of Yotei’s most versatile tactical tools, fundamentally expanding your approach to combat encounters throughout the game world.
No reproduction without permission:GameCDjnh » Ghost of Yotei walkthrough: How to complete The Bomb Maker quest Master the Bomb Maker quest to unlock Scorch Bombs and dominate enemy encounters in Ghost of Yotei