Master The Old Inn quest with expert strategies for combat, ability usage, and Yotei Six selection in Ghost of Yotei
Quest Overview and Preparation
The Old Inn represents a crucial progression milestone in Ghost of Yotei’s narrative arc, serving as one of the primary Chapter 1 quests accessible immediately after completing the Prologue. This mission runs parallel to The Way of Dual Katana questline, offering players their first substantial combat challenge beyond the tutorial segments. Your objective centers on infiltrating the Yotei’s Shadow Inn to confront numerous Saito Outlaws and extract vital intelligence regarding the elusive Yotei Six’s current operations.
Pro Tip: Before embarking, ensure you’ve fully grasped the basic combat mechanics from the Prologue. Consider practicing parrying and dodging against weaker enemies to build muscle memory for the upcoming intense encounters.
Navigation to the destination utilizes the Guiding Wind system, which provides clear directional guidance while allowing exploration of the surrounding landscape. Upon reaching the vicinity, the game explicitly notifies players about entering the Yotei’s Shadow Inn, formally designated as the Old Inn location. This notification marks the transition from travel to active mission engagement.
Also read: How to fast travel
Initial Approach and Combat Sequence
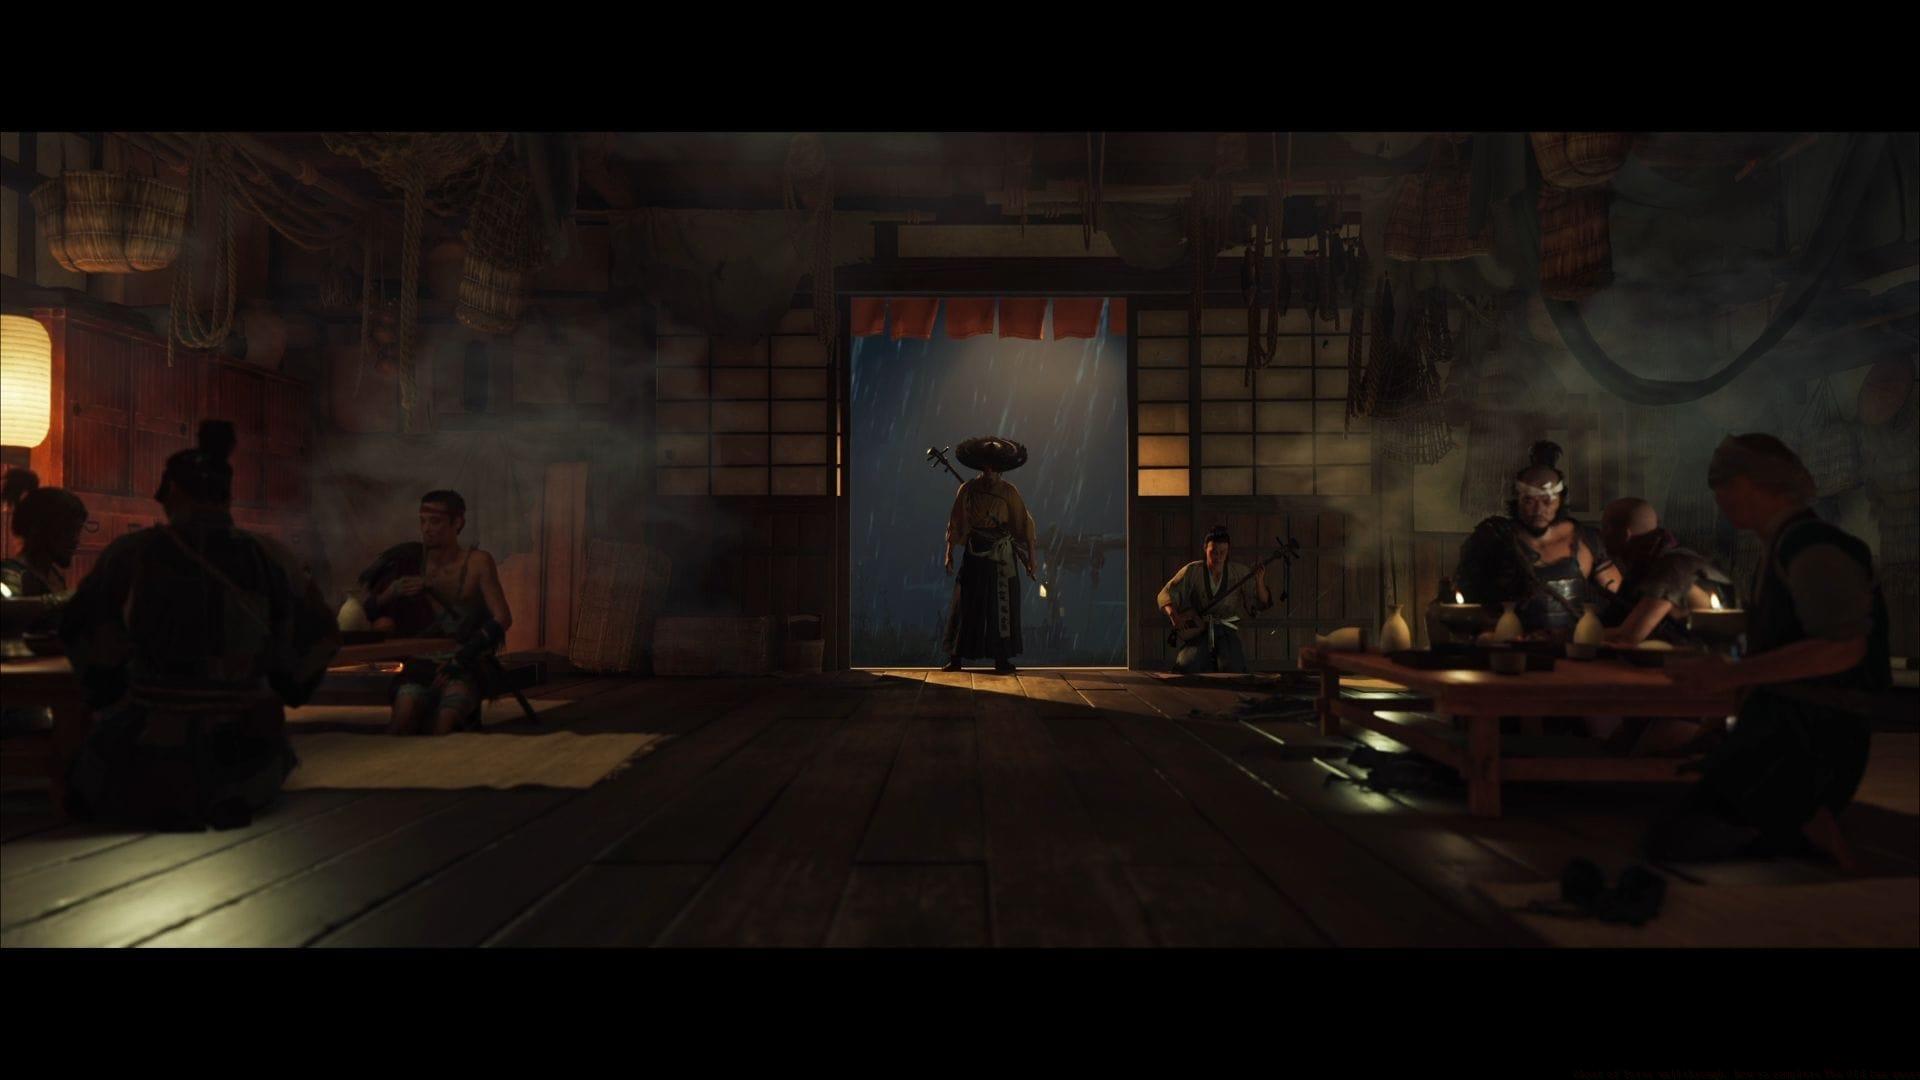
When arriving at the destination marker, dismount from your horse and approach the inn structure deliberately. Walk towards the inn with caution, as the area may contain hidden threats, then open the main door to initiate the first narrative sequence. This action triggers an essential cutscene depicting Saito Outlaws violently ejecting from the establishment, immediately establishing the hostile environment.
Common Mistake: Many players rush directly into combat after the cutscene ends. Instead, take a moment to assess enemy positions and types before engaging.
The initial combat encounter introduces the Standoff mechanic, which functions similarly to its implementation in Ghost of Tsushima. To execute properly, press the Standoff button, press and hold Triangle, maintaining pressure until enemy attackers begin their strike animations. The critical timing involves releasing the button precisely as opponents initiate their attacks, not when they start moving toward you.
Following the Standoff sequence, you’ll face remaining adversaries requiring diversified combat approaches. Employ strategic blocking, dodging, and well-timed striking to overcome these foes.特别注意dodge the Brute’s red-glint attacks as these cannot be parried and will break your stance if connected. Simultaneously, maintain awareness of ranged attacks originating from two archers positioned around the perimeter.
Advanced Combat and Ability Usage
After eliminating the initial enemy contingent, a brief cutscene transitions into another wave of Saito Outlaws launching a coordinated assault. This secondary engagement introduces your first major combat ability: Onryo’s Howl. This formidable technique temporarily terrifies nearby enemies, creating openings for rapid elimination.
Advanced Tactics: Position yourself centrally before activating Onryo’s Howl to maximize the number of affected enemies. Focus first on archers and other ranged units while opponents are stunned.
The activation mechanism for Onryo’s Howl requires pressing L3 and R3 simultaneously, creating a devastating area-of-effect fear. However, this powerful ability demands strategic buildup – you must charge the ability bar by defeating five enemies in a row without taking any damage. This encourages aggressive yet precise playstyles and rewards players who maintain combat momentum.
During the fear duration, move rapidly between disoriented foes to execute one-shot takedowns on each vulnerable target. Prioritize high-threat enemies first, particularly Brutes who can quickly overwhelm you once the effect expires. The ability’s duration is limited, so efficiency in target selection and movement is crucial for maximum effectiveness.
Post-Combat Strategy and Rewards
With all Saito Outlaws defeated, a dialogue sequence initiates with the Settler character. This interaction presents a meaningful narrative choice: select between the Kitsune or the Oni to pursue first. Both represent members of the Yotei Six, the primary antagonist group hunting Atsu throughout the campaign.
Strategic Consideration: Your selection here determines your next major story mission. Kitsune typically involves more stealth-oriented gameplay, while Oni favors direct combat approaches. Choose based on your preferred playstyle.
Regardless of your choice, the intelligence gathered from the Settler transforms into clue cards accessible through your map interface. You can utilize these clues to initiate the mission to deal with the respective target, creating a player-driven narrative progression system. These clues often contain environmental details, patrol patterns, and vulnerability information about your chosen target.
Upon concluding The Old Inn quest, the location transforms into a functional hub offering multiple services. You can rest to replenish health and resources, interact with vendors to trade items, pick up bounties, and buy traveller’s maps. This establishes the inn as your first recurring safe location for resource management and mission preparation.
Check out more gameplay guides from Sportskeeda:
No reproduction without permission:GameCDjnh » Ghost of Yotei walkthrough: How to complete The Old Inn quest Master The Old Inn quest with expert strategies for combat, ability usage, and Yotei Six selection in Ghost of Yotei