Complete Saito quest walkthrough with stealth strategies, combat tactics, and armor upgrade guide for Ghost of Yotei
Quest Overview and Prerequisites
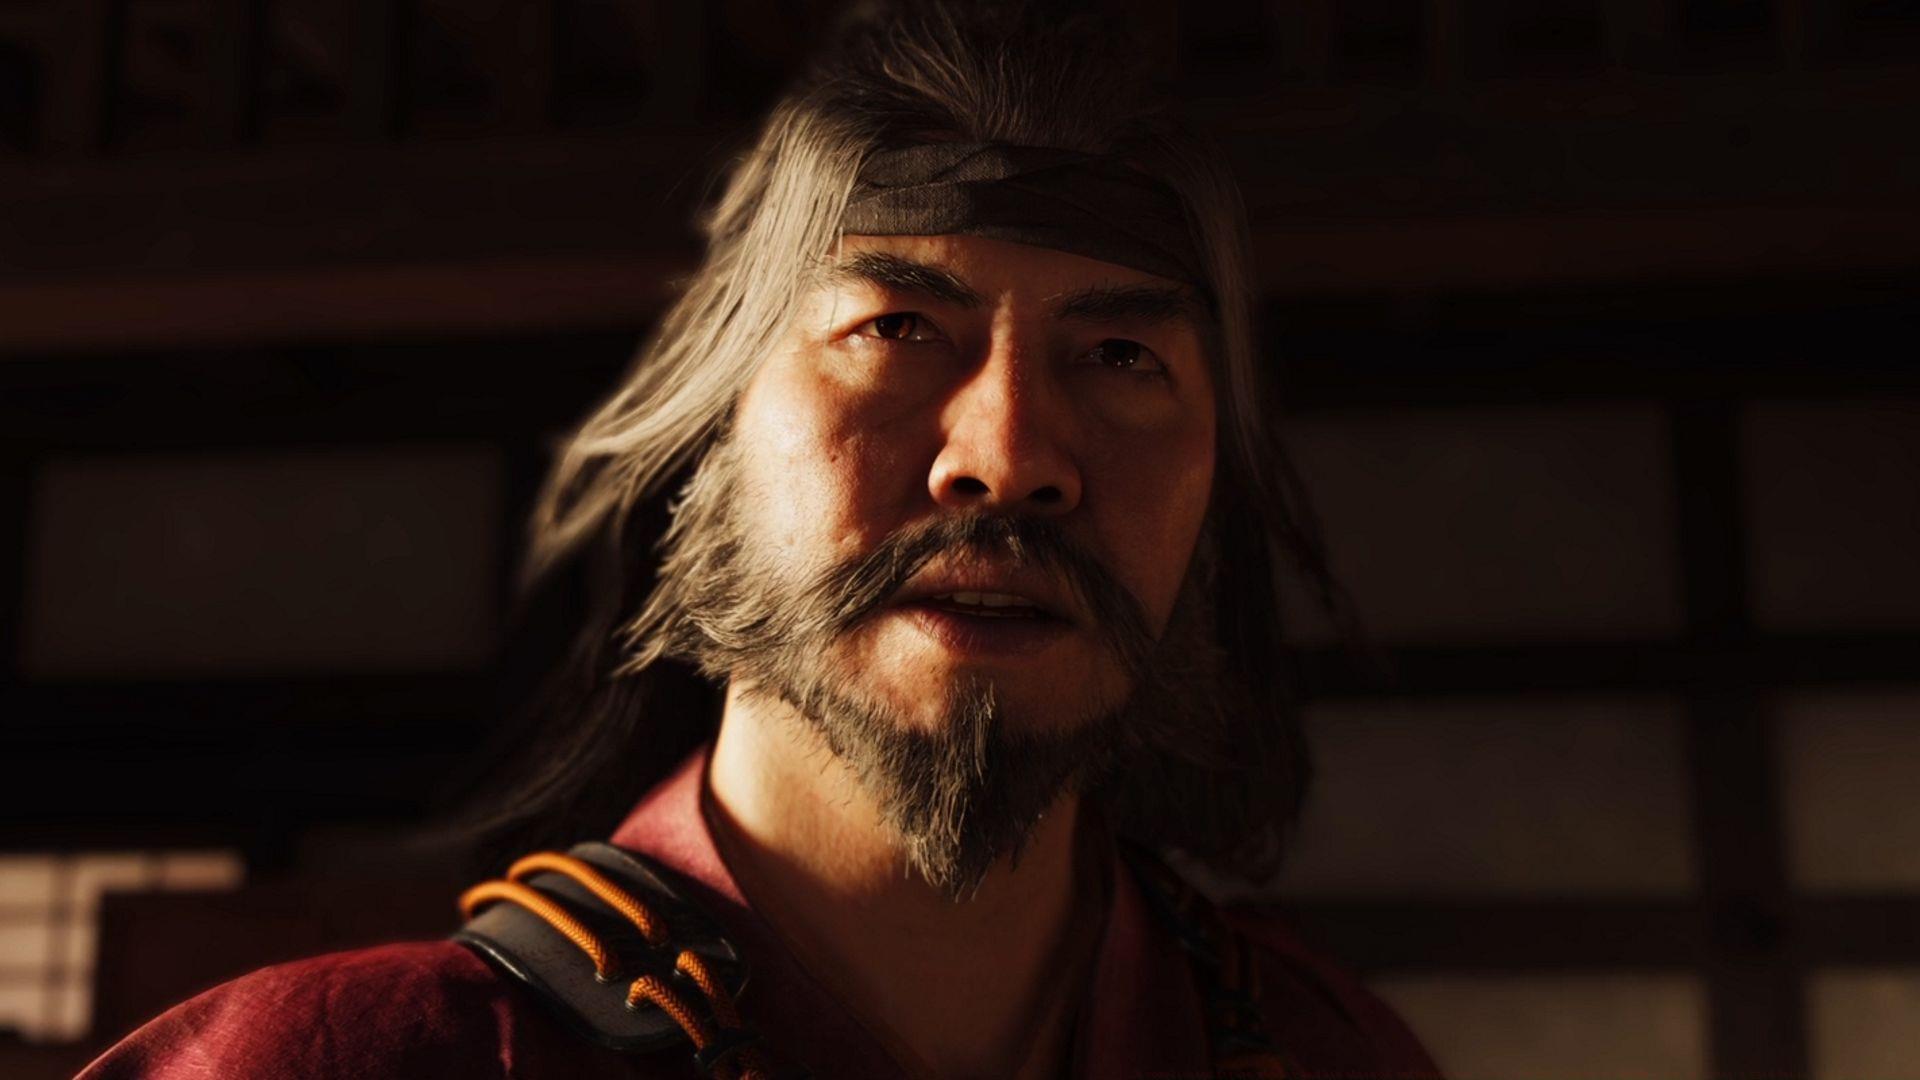
Saito represents a pivotal Chapter 1 mission within Ghost of Yotei, becoming available exclusively after you’ve successfully finished both The Old Inn quest and The Way of Dual Katana quest. This mission’s primary focus involves infiltrating Saito’s heavily guarded training fortress and ultimately confronting him in combat. Successfully completing this quest provides a substantial upgrade to Atsu’s armor capabilities, significantly enhancing your defensive options for subsequent challenges.
Approach the main gate area and engage with it to deliver the necessary password to the stationed Saito Outlaw guard. Once authenticated, you’ll gain entry to the fortress interior and officially commence the operation, designated as “Shogun of the North.” This infiltration requires careful planning and execution to avoid alerting the numerous guards patrolling the compound.
Following your interaction with the Saito Outlaw and confirming that Lord Saito is presently inside the fortress, your cover will be compromised as he recognizes Atsu. Immediately after this revelation, you must defeat him in a Standoff confrontation to advance further into the mission. Proper standoff timing is crucial here – wait for the perfect moment to strike for maximum effectiveness.
Also read: How to start and win standoffs in Ghost of Yotei
Fortress Infiltration: Stealth Approach
For optimal stealth movement, choose the left-side pathway while remaining concealed within vegetation cover. Ascend to the rooftop level and traverse to the opposite side utilizing the suspended rope system. This elevated approach provides superior visibility and reduces encounter frequency with ground patrols.
Progress cautiously using bush coverage and then maneuver through the narrow opening in the wooden barrier. Be mindful of guard sightlines during this vulnerable movement phase.
Proceed by selecting the leftward route via ascending the rock formations. Follow the upward trail on the left flank and scale the building roof to initiate a narrative sequence. This vantage point finally reveals Lord Saito’s position within the compound.
Deploy the Spyglass tool to mark two designated surveillance zones in the vicinity. Then, drop safely into foliage below and utilize natural cover for continued advancement. The spyglass marking system helps track patrol patterns and identify safe routes.
Submerge into the water passage, and advance carefully while evading Saito Outlaw patrols. You can eliminate opponents from behind during your progression using stealth takedowns. Water movement provides excellent concealment but limits your mobility and escape options.
After progressing further, transition to the right-side bushes, neutralize the inattentive guard, and activate Guiding Wind to access the opposing section of the territory. The Guiding Wind mechanic proves invaluable for navigation in complex environments.
Next, pass through the narrow aperture in the fencing and proceed downward along the slope. These tight spaces often provide perfect opportunities to bypass guarded areas undetected.
Leap across to the opposite ledge and utilize handholds to advance rightward. After reaching the upper platform, continue forward and employ the grappling apparatus to cross to the opposing sector. Grappling hook usage requires careful timing to avoid drawing attention.
Again, use the right-side ledges to reach the compact platform. Now, ascend using available grips and pass through the breach in the wooden barrier. Environmental navigation skills are essential for maintaining stealth throughout this segment.
While concealed in shrubbery, a Saito Outlaw will operate the main gate mechanism. Stealthily bypass this guard to penetrate the subsequent zone. Time your movement with patrol patterns to avoid detection.
Ascend to the nearest structure’s rooftop and eliminate the stationed Saito Outlaw positioned there. Rooftop positioning offers tactical advantages for observing patrol routes.
Utilize the rope bridge to access the other sector and dispatch enemies using stealth approaches from behind. Silent elimination prevents alerting nearby guards.
Pursue the right-hand trajectory and navigate through the opening in the fence barrier. Always prioritize paths with maximum cover availability.
Advance upward briefly and descend via the sloping terrain. Immediately upon landing, deploy the grappling tool to traverse to the platform on the far side. Use ledge systems to climb upward and then apply the grappling mechanism twice for continued progress. Mastering the grappling hook combination moves significantly improves infiltration efficiency.
Next, employ ledges for vertical ascent, then the grappling apparatus to approach an accessible entrance. Pass through this opening to confront Lord Saito directly.
Also read: Why did Saito kill Atsu’s family in Ghost of Yotei?
Combat Encounter: Lord Saito Battle
When observing Saito from the elevated position, attempt an assassination strike. However, this effort will prove unsuccessful, triggering the primary boss confrontation against him following a cinematic sequence. The failed assassination indicates Saito’s heightened awareness and combat readiness.
Since Saito employs spear weaponry, utilize the Dual Katana configuration to gain combat advantages. You can deflect his blue-indicator assaults and counterattack effectively. The Dual Katana’s faster attack speed perfectly counters the spear’s longer reach.
At this narrative juncture, this engagement remains relatively manageable, and you can successfully overcome him using core combat fundamentals. Focus on mastering the parry timing rather than aggressive offense for optimal results.
When Saito’s health indicator approaches depletion, an interactive sequence activates, wherein the adversary retreats from the battlefield. This scripted escape sets up future narrative developments and character progression.
Also read: Ghost of Yotei players can increase difficulty through unique mode
Quest Completion and Rewards
This concludes the Saito (Shogun of the North) mission in Ghost of Yotei. When the cinematic sequence finishes, you can choose from available dialogue options, after which your armor receives automatic enhancement. The upgraded armor provides substantial defensive improvements for upcoming challenges.
Explore additional gameplay guides from Sportskeeda:
No reproduction without permission:GameCDjnh » Ghost of Yotei walkthrough: How to complete the Saito quest Complete Saito quest walkthrough with stealth strategies, combat tactics, and armor upgrade guide for Ghost of Yotei