Master the Hebeth mission with expert strategies, combat tactics, and hidden collectibles to dominate Doom The Dark Ages
Mission Overview and Initial Approach
Chapter 2 of Doom The Dark Ages dramatically escalates the combat intensity as your objective shifts to dismantling the formidable Sentinel defenses at their strategic Hebeth outpost. This heavily fortified location swarms with relentless demonic forces determined to halt your progress. The complex features multiple interconnected zones that require strategic navigation; straying from the optimal path significantly extends mission completion time.
Pro Tip: Always prioritize vertical movement in early sections – higher ground provides tactical advantages against initial demon waves.
Looking for Crossword hints & solutions? Check out latest NYT Mini Crossword Answers, LA Times Crossword Answers, and Atlantic Crossword Answers
Upon touchdown at the Hebeth landing zone, advance directly forward to locate the essential weapon cache containing the versatile Shield Saw. This dual-purpose tool serves as both offensive weapon and defensive barrier. After securing this critical equipment, engage the initial demon patrol using calculated shield blocks followed by aggressive saw attacks. Once neutralized, ascend the staircase system leading to the primary compound entrance.
Common Mistake: Don’t rush past the Shield Saw – this weapon becomes indispensable for both combat and environmental progression.
The main entrance door remains sealed with reinforced superheated metal barriers. Deploy your Shield Saw’s cutting capability to dismantle these obstructions and gain entry. Inside, prepare for intensified demon resistance across multiple fronts. This initial chamber also conceals a valuable collectible toy artifact and provides secondary doorway access.
Upper Section Exploration and Hidden Areas
While collectible toys remain optional objectives, securing them enhances overall completion percentage and unlocks exclusive rewards. From this initial zone, identify the ascending staircase granting access to Hebeth’s upper levels. Upon reaching the elevated platform, you’ll discover another secured gateway adjacent to an activation lever mechanism visible in environmental cues.
Advanced Strategy: Always scan for lever mechanisms near locked doors – they often indicate critical path progression points.
The subsequent chamber contains an identically secured portal requiring another concealed lever for activation. To locate this mechanism, execute a precision jump from the locked door vicinity toward the visible superheated metal barrier.
Read more: Will The Dark Ages be available on Xbox Game Pass?
Employ your Shield Saw once more to breach this barrier, then advance through the corridor until encountering distinctive claw-marked ascension walls. Utilize these textured surfaces for vertical progression to discover the concealed lever. Activating this mechanism triggers door release while summoning a formidable demon adversary. After eliminating this threat, identify additional claw-marked walls to reach Hebeth’s expansive upper courtyard.
Combat Tip: Against larger demons, maintain distance while using the Shield Saw’s ranged capabilities for safer engagement.
Upon entering this open area, prepare for immediate assault by specialized Hell Surge Parry demons. These agile opponents require precise parry timing to counter their rapid attack patterns. Successfully neutralizing these threats clears the path toward the weapon facility entrance.
Weapon Facility Infiltration
After penetrating the weapon facility perimeter, execute an immediate left maneuver and advance steadily until the Sentinel automated system announces facility-wide lockdown protocols. Continue progression until identifying distinctive Sentinel Shrines, which indicate proximity to the command sector gateway.
Optimization: Sentinel Shrines provide weapon upgrade opportunities – always utilize them before major engagements.
Crossing this threshold triggers Commander Valen’s transmission, revealing that command center access requires a keycard marked on your tactical display. This area contains substantial demon resistance ideally countered with Shield Saw offensive capabilities. Following neutralization, track the navigation marker through an open courtyard containing another secured portal.
Adjacent to this barrier, identify structural damage creating an alternative upper route. Navigate through this breach to discover familiar claw-marked ascension surfaces leading to elevated platforms. Upon reaching this height, you’ll encounter a significant gap separating your position from the objective entrance.
Check out: 7 things you should know before starting Doom The Dark Ages
Execute a calculated jump to bridge this distance, immediately encountering a charging demon emerging through electrical discharge fields. These energy manifestations pose no direct threat, allowing focused demon elimination. After securing this area, descend to the lower platform to locate a demon corpse carrying the essential Blue Keycard for command center access. Your character automatically retrieves this item upon proximity.
Critical Path: The Blue Keycard is mandatory for progression – never bypass this acquisition objective.
The subsequent chamber introduces enhanced demon variants including shield-equipped units and heavily armored brutes. After clearing this resistance, identify the distinctive blue security gate positioned near another Sentinel Shrine interface. Accessing this portal grants entry to the Research and Development complex, featuring a prominent floor aperture. Descending through this opening delivers you to the Research Laboratory sector.
Research Lab and Plasma Rifle
The Research Laboratory introduces a formidable heavy demon commander supported by multiple lesser units. Eliminating this threat requires sustained precision fire and strategic positioning. Upon successful neutralization, access the advanced Plasma Rifle secured within an energy-shielded containment unit. Interface with this apparatus to claim this powerful energy weapon.
Weapon Strategy: The Plasma Rifle excels against shielded enemies – prioritize its use in subsequent engagements.
After securing this armament, locate the laboratory exit portal and engage the demon reinforcements. Ascend the upper stairway to encounter a superheated metal structural pillar. Deploy your Shield Saw to dismantle this obstruction, triggering the release of climbable container units.
Scale these platforms to reach the upper ventilation network. Navigate through these confined spaces to discover additional claw-marked vertical surfaces. Upon ascending, identify the vulnerable vent cover visible in environmental indicators. Project your Shield Saw to breach this barrier.
Also read: 5 reasons to play Doom Eternal in 2025
Immediately upon entry, prepare for aggressive engagement with an elite demon commander. Employ defensive shielding against projectile attacks while coordinating weapon strikes for maximum damage output. After defeating this powerful adversary, utilize nearby claw-marked walls to ascend to the chamber’s upper level, encountering additional demon resistance.
Boss Tactics: Against elite demons, alternate between Shield Saw for defense and Plasma Rifle for sustained damage.
Systematically eliminate these threats using your expanded arsenal, then follow the navigation marker leading back to your original Hebeth entry point. Departing this zone triggers narrative exposition revealing your subsequent destination coordinates.
Final Confrontation and Boss Battle
Continue advancement along the designated route while engaging demon patrols. Upon reaching the target coordinates, encounter significantly intensified enemy concentrations. This combat phase demands strategic weapon upgrades from accessible Sentinel Shrines to maintain tactical superiority.
Resource Management: Always collect green resource nodes during traversal – they provide essential upgrades and ammunition.
After securing this combat zone, progress to the path terminus to discover extensive ground collapse. Descend through this breach into the lower sector, maintaining course along the navigation marker while gathering resource nodes and engaging residual demon forces. Eventually locate the blue teleportation gateway facilitating transition to the final engagement zone.
Upon arrival, identify the gateway leading to Hebeth’s exposed exterior platform. Execute the descent to ground level and continue marker pursuit. This region contains the mission’s most concentrated demon presence, requiring optimized combat efficiency and resource management.
Final Preparation: Ensure all weapons are fully upgraded before the Valen confrontation – this boss battle tests your entire arsenal.
During systematic demon eradication, the narrative culminates in Commander Valen’s dramatic appearance. This demon commander possesses substantially enhanced durability and offensive capabilities compared to standard units. The engagement demands sustained damage application, strategic positioning, and precise timing to overcome his powerful attacks.
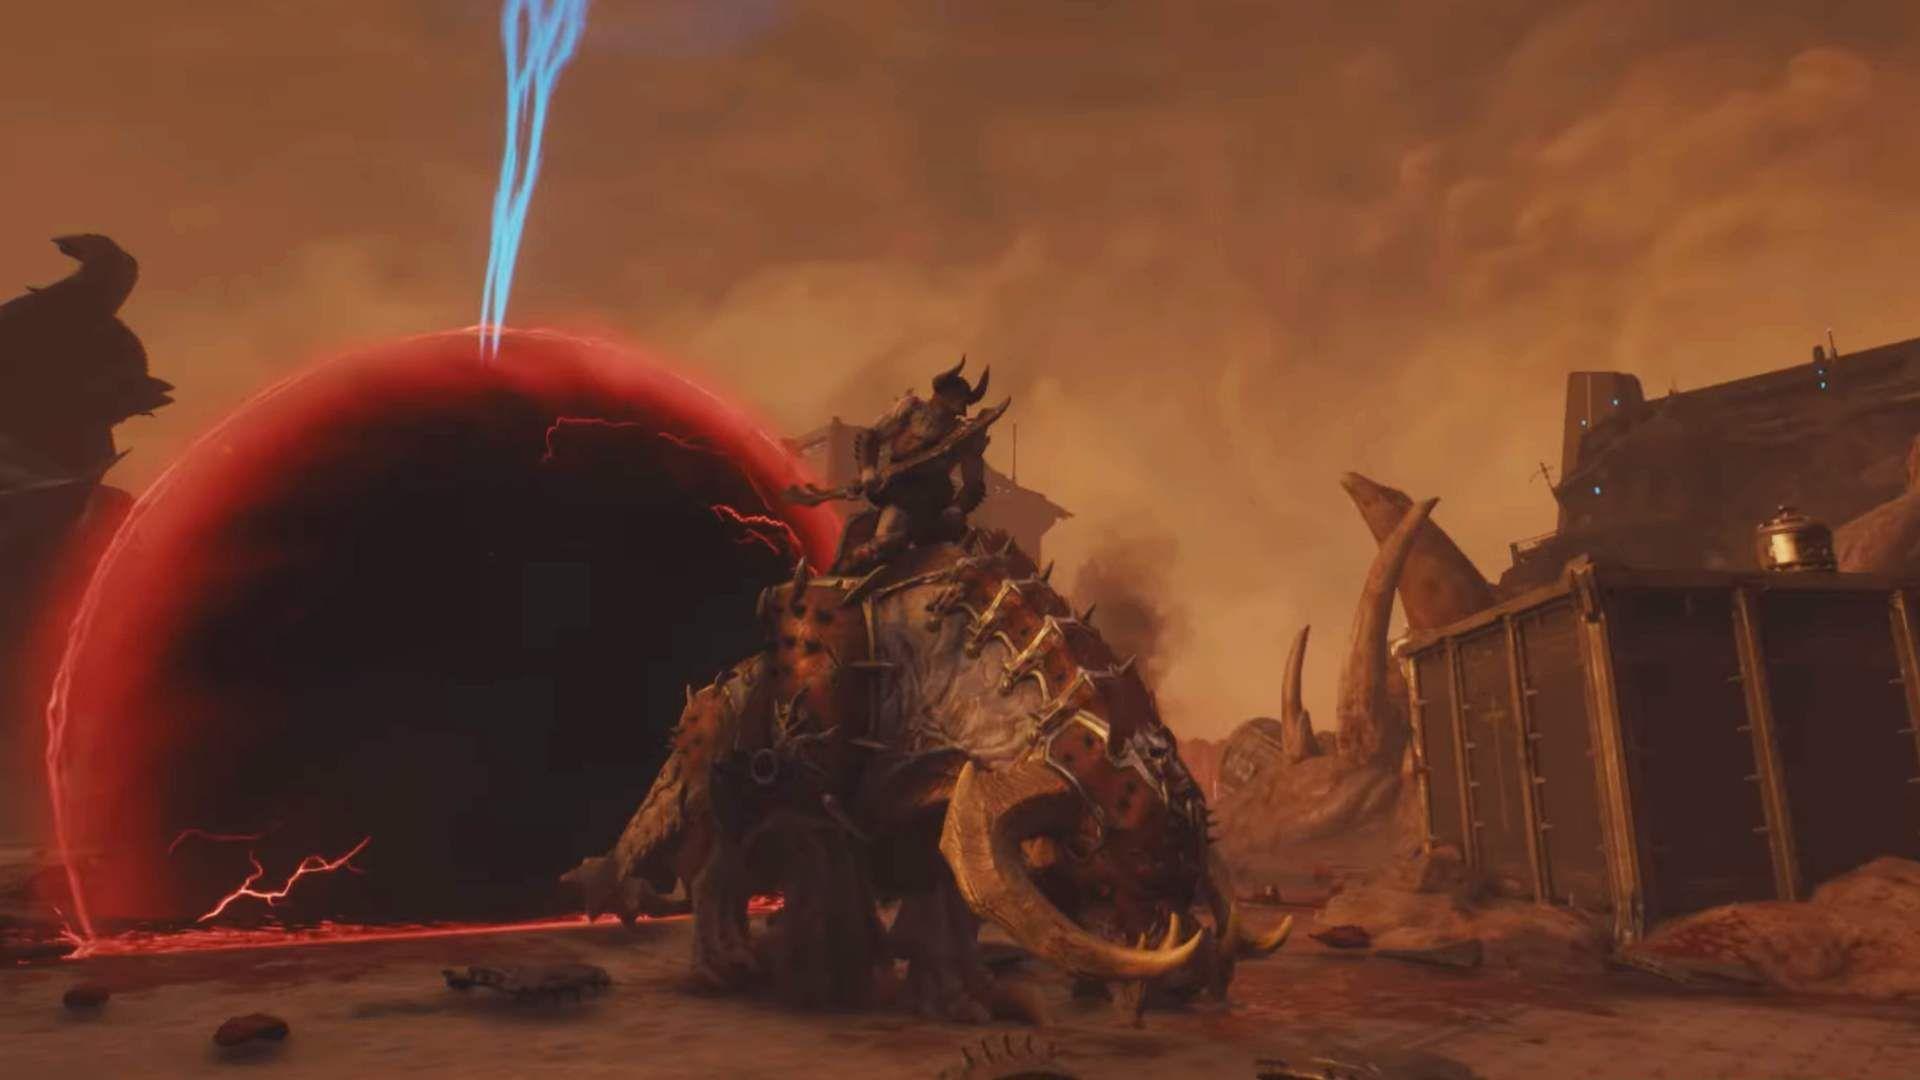
Successfully defeating Valen triggers the concluding narrative sequence depicting a massive demon capture event, formally concluding the Hebeth chapter of your Doom The Dark Ages campaign.
Check out the links below for more Doom The Dark Ages guides and news:
No reproduction without permission:GameCDjnh » Doom The Dark Ages ‘Hebeth’ mission walkthrough ‘Chapter 2′ Master the Hebeth mission with expert strategies, combat tactics, and hidden collectibles to dominate Doom The Dark Ages