Master Doom The Dark Ages’ Forsaken Plains mission with strategic guidance and expert combat techniques
Mission Introduction and Initial Objectives
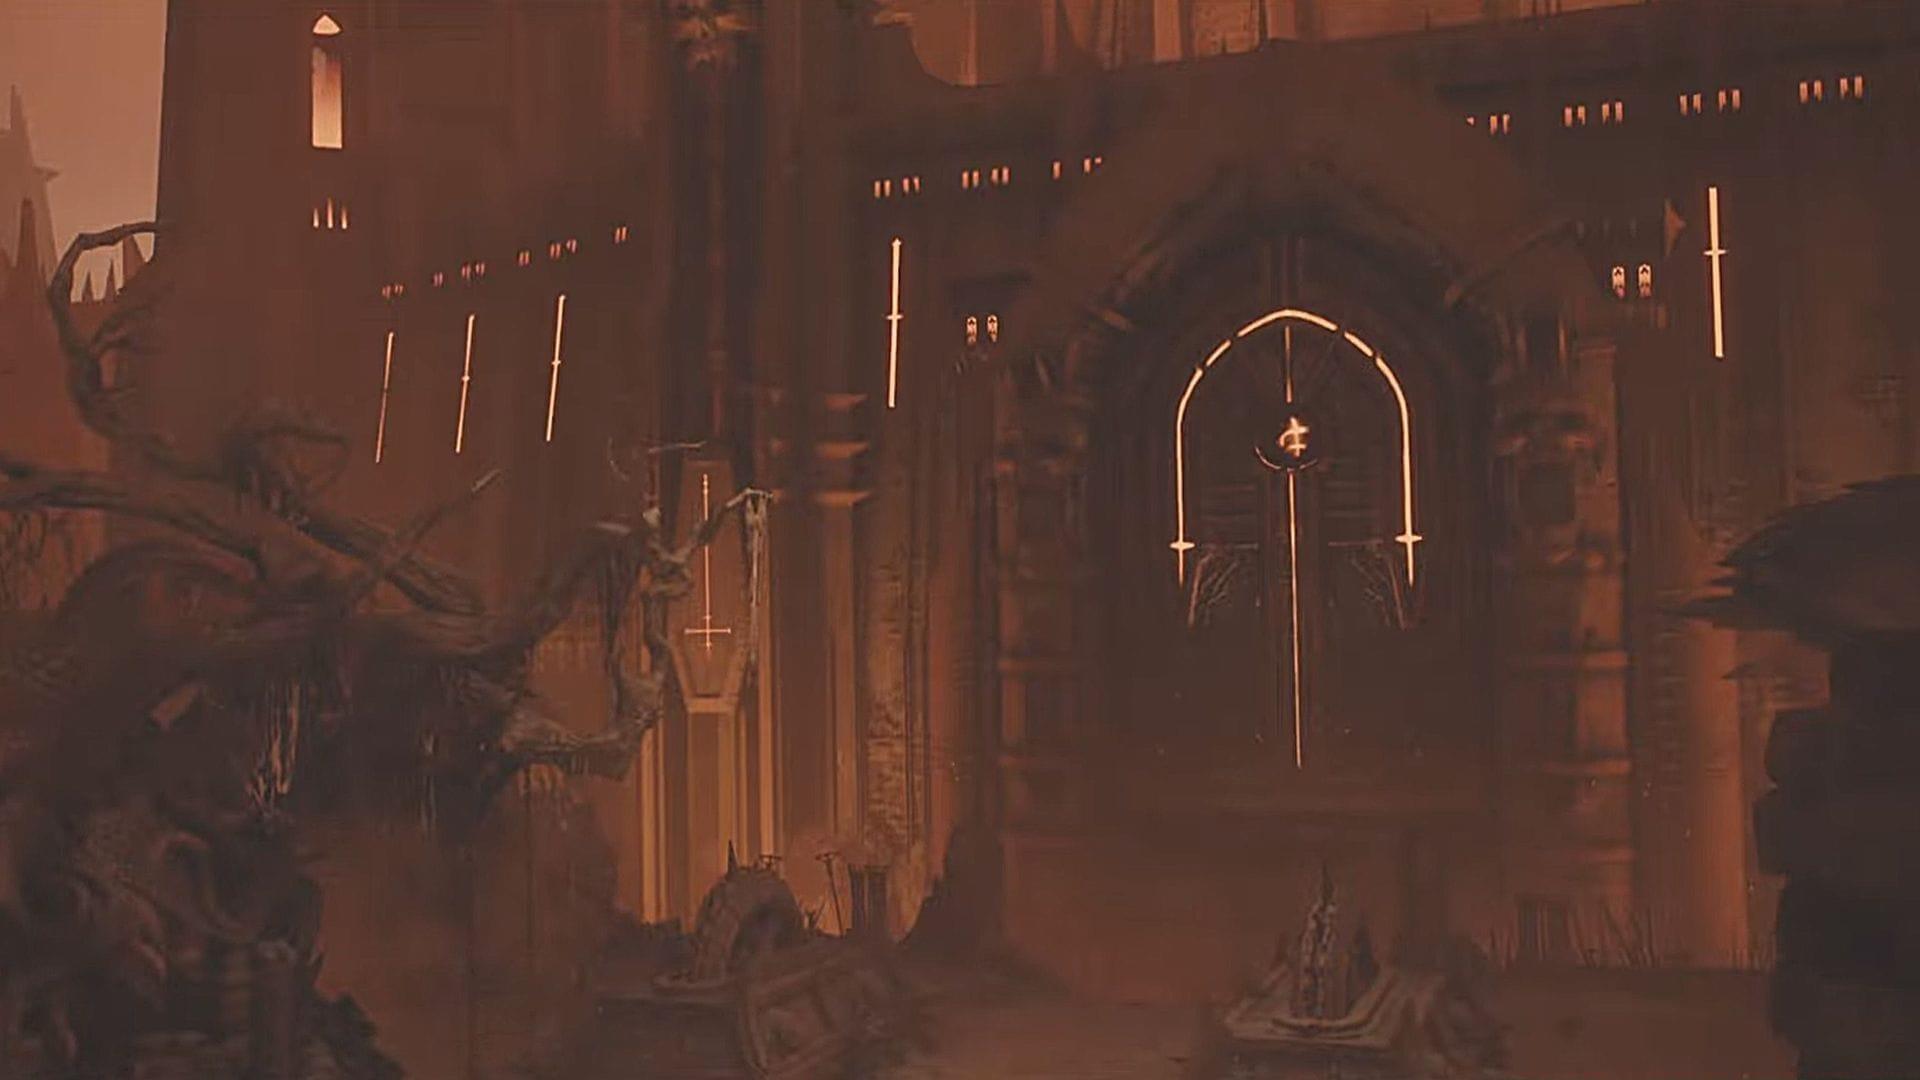
Doom The Dark Ages‘ ‘The Forsaken Plains’ mission begins with an immersive cinematic sequence where your character transitions into Hell through a dimensional portal. The scene reveals a formidable fortress under siege, with Prince Ahzrak orchestrating an assault while the Witch urgently commands protection for the Heart of Argent. As the massive castle gates seal shut under the Prince’s directive, your primary mission objectives become clear.
Navigate along the clearly marked objective path while systematically eliminating hostile forces. The route contains numerous demonic entities, requiring constant monitoring of your vitality and protective barriers. Expert players recommend perfecting projectile deflection techniques to significantly reduce incoming damage during this phase. A crucial Rocket Launcher becomes available for collection from the combat zone, providing essential area-of-effect capabilities.
Also read: Is Doom The Dark Ages a standalone title?
Proceed toward the marked gate mechanism to trigger its opening sequence. This area contains two strategically positioned Hell Cannons that must be neutralized.
Hell Cannon Destruction Phase
Track the objective indicators while engaging demonic opposition to reach the designated Hell Cannon locations. The traversal path presents considerable challenges as multiple enemy clusters attempt to impede progress. During your advance, you’ll confront a powerful Leader entity. Apply consistent counter-attack methodologies by reflecting hostile projectiles to defeat these elite foes and secure territorial control. Successfully executing the leader rewards you with enhanced maximum armor capacity.
Utilize the jump booster apparatus to access the rear section of the Hell Cannon. Neutralize the artillery piece by targeting its vulnerable Breakable Green Seal. Upon successful destruction, visual confirmation appears showing the first Hell Cannon becoming inoperative.
Continue pursuing subsequent objective markers while cleansing additional demon concentrations. The secondary objective segment directs you to a depression containing abundant health restoration and armor reinforcement items. Collect these resources to recuperate from sustained damage and prepare for upcoming engagements.
An additional Leader materializes proximate to the second cannon installation. Vanquish this formidable adversary while eliminating subordinate hellspawn, simultaneously gathering ammunition and medicinal supplies.
Read more: Doom The Dark Ages PC system requirements revealed
After executing the second Leader, you receive a permanent increase in maximum health. Advance to the tower structure indicated by your objective marker and employ the jump boost mechanism for vertical ascent. Destroy the second Breakable Green Seal to disable the remaining Hell Cannon.
Atlan Core Acquisition and Secrets
A previously inaccessible route becomes available following both Hell Cannons’ destruction. Follow the navigation marker through the newly opened arena. Engage and eliminate the demonic presence to secure the area and reach the Atlan Core.
Upon interaction with the core apparatus, a cinematic sequence displays its extraction from the machinery, concluding this mission phase. Additionally, locate a Wraithstone collectible hovering near the grasp of a gilded statue in this vicinity.
Consider exploring an alternative path toward the arena to discover the Secret Purple Key. Achieve this by ascending to the upper section of the caged enclosure housing the key. Upon reaching the elevated position, demolish a Breakable Metal Cross to unseal the passage. Traverse the revealed path and descend toward the key to acquire it.
The acquired key provides access to violet-sealed doorways. Clearing these concealed areas reveals a newly accessible gate containing a statue presenting a Ruby. This gemstone cannot be directly obtained, despite the statue’s visible placement in the open environment.
Pro Tip: The Secret Purple Key areas often contain additional ammunition and power-ups that can significantly enhance your combat effectiveness during the final mission segment. Always prioritize these exploration opportunities when health and armor levels permit.
Final Combat and Mission Completion
After securing the core component, a new waypoint materializes on your display. This directs you toward an additional Atlan unit requiring the core for activation. Upon reaching the new mission zone, prepare for intensive combat against a substantial demon horde.
Implementing methodical zone clearance strategies proves advantageous, enabling targeted prioritization while conserving health and armor resources. The previously acquired Rocket Launcher demonstrates exceptional utility when confronting clustered enemy formations.
Read more: 7 things you should know before starting Doom The Dark Ages
Once the area is sufficiently secured, resume following the mission marker to access the Atlan’s rear section. Interacting with the maintenance hatch initiates its opening sequence and formally concludes the chapter.
Common Mistake to Avoid: Many players waste ammunition on the Ruby statue attempting to collect it. This valuable resource cannot be obtained through conventional means during this mission, so conserve your resources for actual combat scenarios.
Stay tuned to Sportskeeda for more updates, guides, and news.
No reproduction without permission:GameCDjnh » Doom The Dark Ages ‘The Forsaken Plains’ mission walkthrough (Chapter 10) Master Doom The Dark Ages' Forsaken Plains mission with strategic guidance and expert combat techniques