Advanced graphics optimization guide for Ready or Not to maximize FPS and competitive performance
Understanding FPS Impact in Tactical Gaming
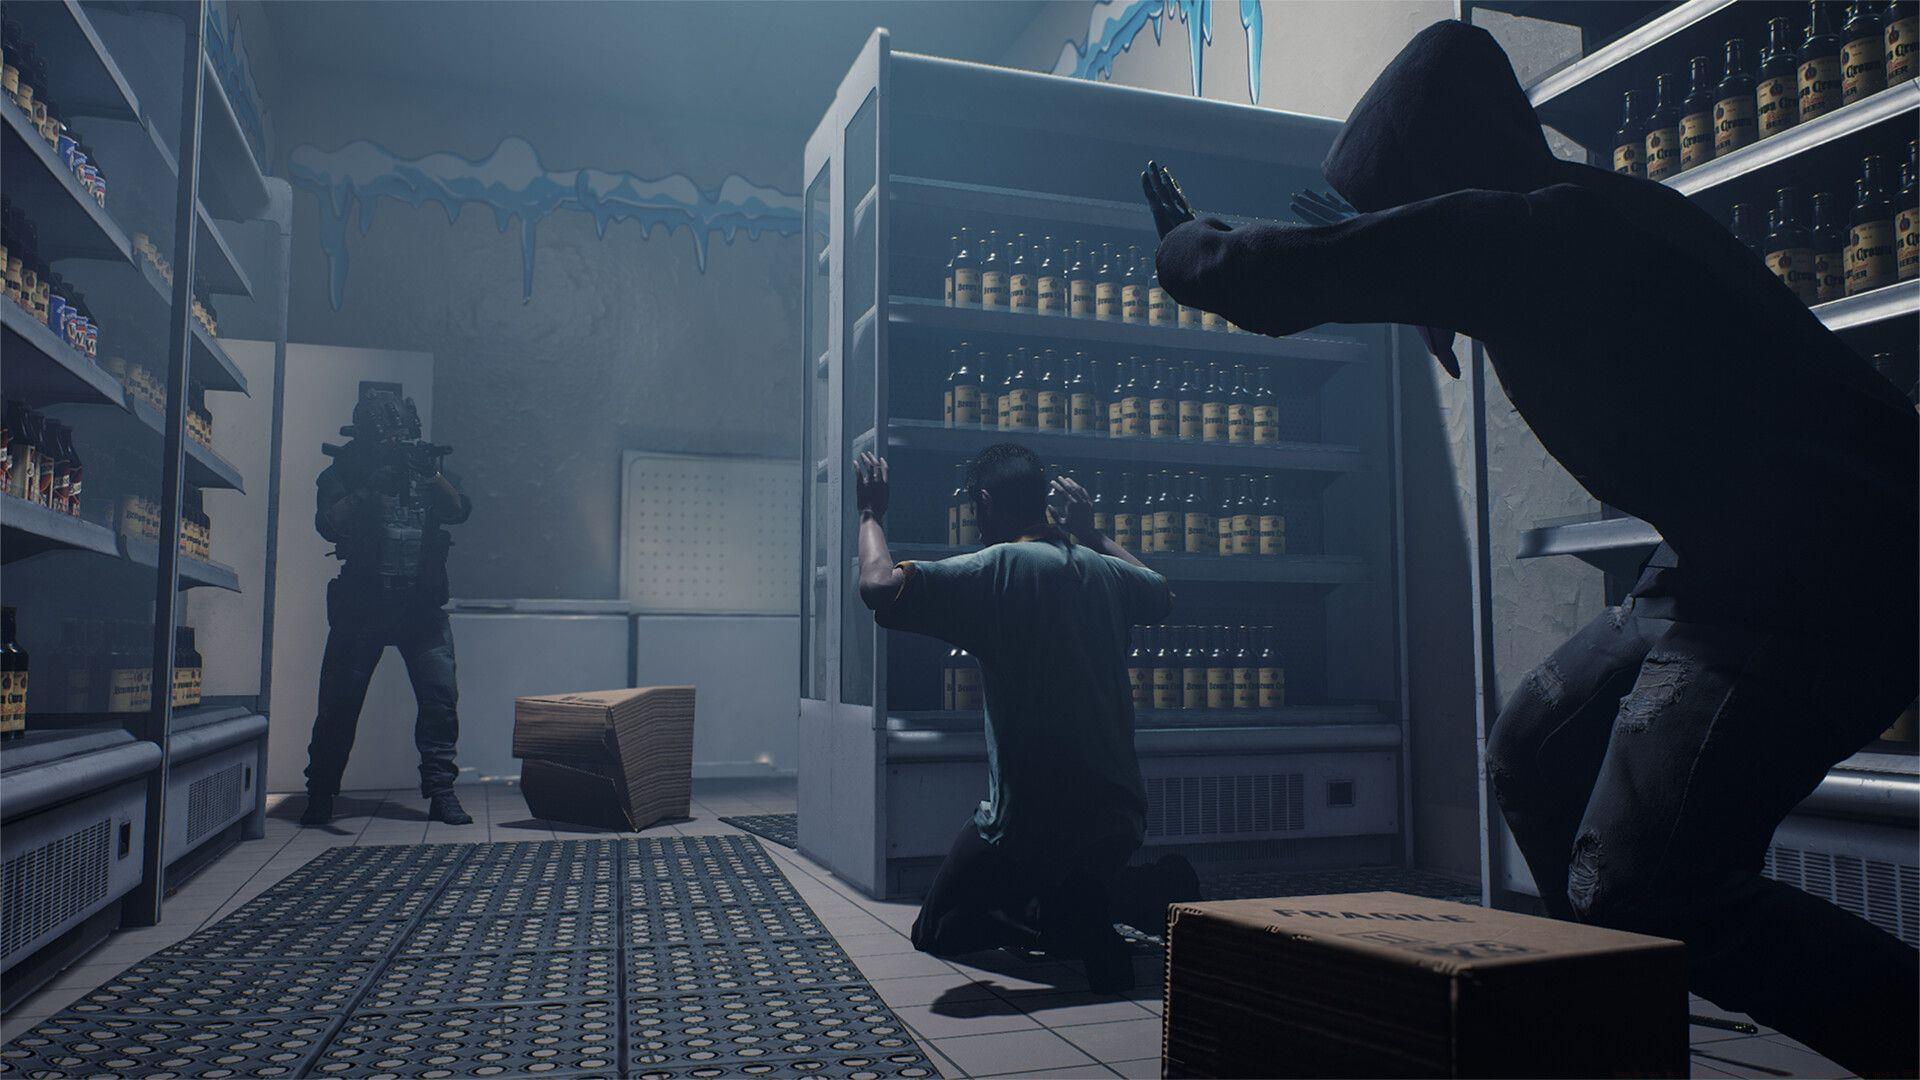
Ready or Not represents a cutting-edge tactical first-person shooter that authentically replicates modern SWAT team operations, requiring precise responses to high-stakes criminal scenarios. Achieving optimal frame rates directly translates to competitive advantage through smoother target tracking and reduced input latency during critical encounters.
Frame rate consistency proves particularly vital in this genre, where split-second decisions determine mission success. Players often overlook that maintaining stable 60+ FPS provides not just visual fluidity but tangible gameplay improvements through more responsive controls and clearer sight picture during rapid movements.
Essential Display Configuration
These foundational display settings establish your performance baseline and should be configured before adjusting individual graphics options:
- Screen Mode: Exclusive Fullscreen – This mode bypasses desktop composition for reduced latency and maximum performance
- Resolution: Native monitor resolution – Avoid upscaling unless necessary for performance
- Resolution Scale: 100% – Maintain native rendering resolution for optimal clarity
- Field of View: Personal preference (Competitive recommendation: 95-105) – Wider FOV increases rendering load but improves situational awareness
- Aspect ratio: Personal preference (Recommended: Native) – Match your display’s natural aspect ratio
- Optiwand View Mode: Fullscreen – Maintains consistency during equipment use
- Optiwand FPS Limit: Disabled – Remove artificial frame rate caps
- Optiwand Resolution Scale: 100% – Preserve visual clarity during tactical tool usage
- Helmet Camera FPS Limit: Disabled – Ensure smooth camera feed during surveillance
Pro Tip: Many players mistakenly use borderless windowed mode for convenience, but this typically incurs 5-15% performance penalty due to Windows desktop composition overhead.
Core Graphics Quality Settings
These quality settings balance visual fidelity with performance, organized by their performance impact:
- Texture Quality: Medium (High if you have VRAM 8Gb or more) – Textures primarily consume VRAM rather than processing power
- Shadow Quality: Medium – High shadows significantly impact GPU load, especially in complex indoor environments
- Post Process Quality: Medium – Post-processing effects like bloom and depth of field have moderate performance cost
- Anti-Aliasing Quality: Low – Traditional AA methods are performance-intensive; consider using resolution scaling instead
- Ambient Occlusion Quality: Medium – Provides depth perception with reasonable performance impact
- Reflection Quality: High – Modern reflection techniques have become more performance-efficient
- View Distance: Epic or high – Essential for tactical awareness with minimal performance cost
- Bounce Light: Disabled – Ray-traced lighting effects dramatically reduce performance
- Per-Object Shadows: Disabled – Dynamic shadow calculation is extremely performance-intensive
- Enable World Decals: Enabled – Bullet holes and environmental marks have negligible performance impact
- Decal Fade Distance: 100% – Maintaining decal visibility aids tactical assessment
Common Mistake: Players often reduce texture quality first, but this primarily affects VRAM usage. Disabling bounce light and per-object shadows typically provides greater FPS improvements on most hardware configurations.
Advanced GPU-Specific Optimization
AMD FidelityFX Super Resolution 3
For AMD graphics card users, FSR 3 provides intelligent upscaling that can significantly boost frame rates while maintaining visual quality:
- Enable FSR 3 Quality mode for optimal balance
- Use FSR 3 Performance mode only if struggling to maintain 60 FPS
- FSR 3 includes frame generation for supported AMD GPUs
NVIDIA GPU owners should leverage their hardware-specific features:
- DLSS Frame Generation: Off (Enable only with RTX 40-series GPUs) – Frame generation adds latency and may cause visual artifacts
- NVIDIA Reflex Low Latency: Enabled – Critical for reducing system latency in competitive scenarios
- Game to Render Latency: Personal preference – Lower values reduce input lag but may impact stability
- Game Latency: Personal preference – Balance based on your sensitivity to input delay
- Render Latency: Personal preference – Adjust according to your display’s refresh rate
Advanced Technique: Competitive players should prioritize NVIDIA Reflex over DLSS Frame Generation, as reduced input latency provides more consistent performance advantage than artificially increased frame rates.
System-Specific Tuning Strategies
This comprehensive guide establishes solid baseline settings for Ready or Not, but hardware variations require customized adjustments.
Low-End System Optimization: For systems with older graphics cards or limited VRAM:
- Reduce resolution scale to 85-90% for immediate FPS boost
- Set all quality settings to Low except View Distance (High)
- Disable ambient occlusion and reflection quality completely
- Use FSR 3 or DLSS Performance mode if available
High-End System Maximization: For powerful modern GPUs:
- Maintain native resolution with 100% scaling
- Increase texture quality to Epic if VRAM exceeds 8GB
- Enable higher shadow quality for improved visual clarity
- Consider enabling DLSS Quality mode for optimal performance/quality balance
Performance Monitoring: Use MSI Afterburner or similar tools to identify specific bottlenecks. If GPU usage consistently exceeds 95%, reduce quality settings. If CPU usage is maxed, consider reducing crowd density or object detail.
No reproduction without permission:GameCDjnh » Ready or Not optimized settings: How to get more FPS Advanced graphics optimization guide for Ready or Not to maximize FPS and competitive performance