Advanced strategies to efficiently farm Rare Samples in Helldivers 2 through optimized mission selection and gear utilization
Understanding Rare Sample Mechanics
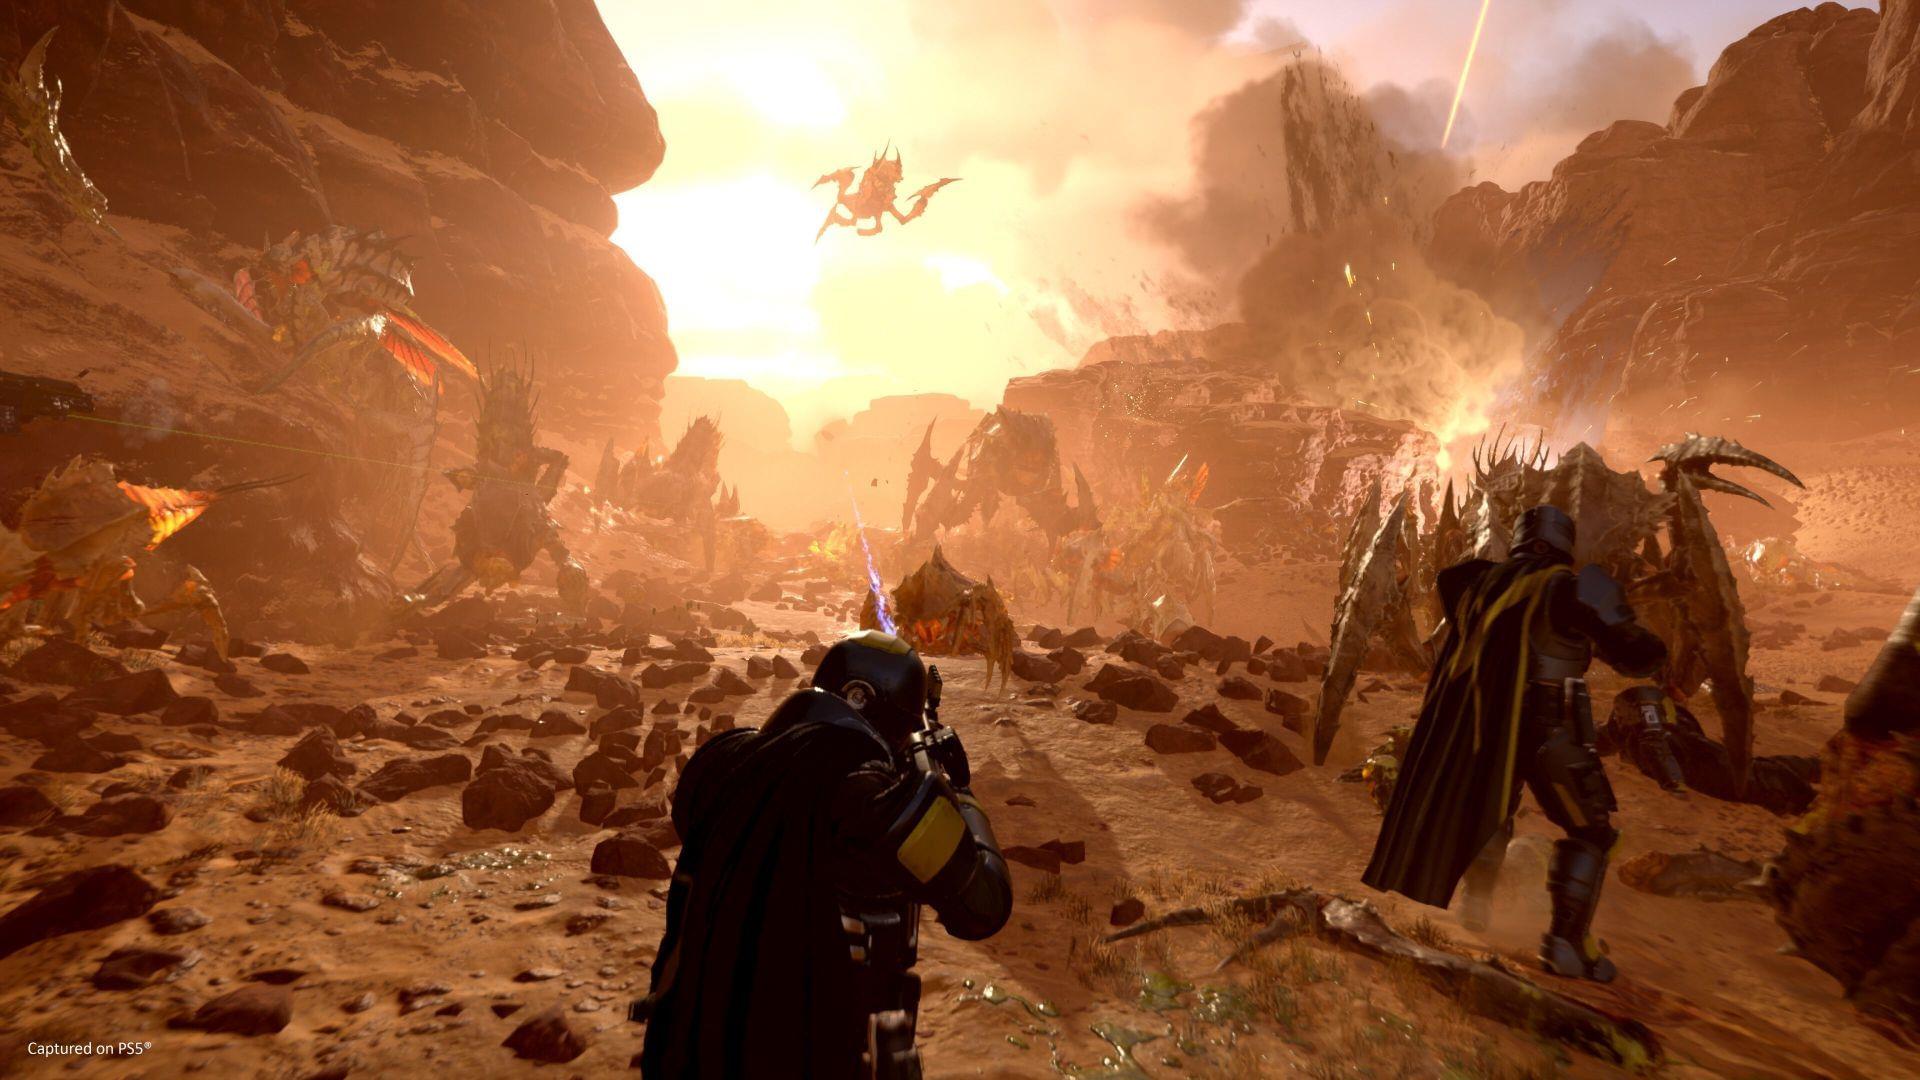
Acquiring Rare Samples within Helldivers 2 presents significant challenges that demand strategic planning and execution. Although these valuable resources spawn on nearly every planet, their precise locations remain notoriously difficult to pinpoint without proper preparation. Seasoned players quickly learn that sample density increases substantially in specific environmental contexts and mission types. Critical to your farming success is recognizing that Rare Samples exclusively appear when undertaking operations at difficulty level of 4 or higher, with progressively better yields as you tackle more demanding challenge tiers.
Understanding the escalation mechanics reveals that each difficulty increment beyond level 4 substantially boosts both spawn frequency and cluster sizes. Many newcomers waste hours searching lower-difficulty missions unaware of this fundamental requirement. The game’s progression system deliberately gates these premium resources behind meaningful gameplay challenges to maintain balance and reward player skill development.
Optimal Farming Locations and Methods
Efficient Rare Samples accumulation hinges on targeting high-probability locations with time-efficient methods. Concentrate your search efforts near the bug holes where biological specimens congregate, or while destroying automaton fabricators during mechanized assaults. These destruction events often yield unexpected sample caches amidst the combat chaos. Systematically explore Points of Interest (POIs) scattered throughout mission zones, as these designated areas frequently contain concentrated resource deposits.
The most dramatically efficient approach involves specializing in Retrieve Essential Personnel missions coordinated with a competent squad. This specific operation type generates remarkably consistent sample yields, delivering approximately 30 rare samples on difficulty level 7 and roughly 17 samples on difficulty level 5 when executed properly. The 12-minute mission duration creates perfect farming windows when repeated strategically.
Advanced players should prioritize missions against Automaton forces when sample farming, as their structured bases and predictable patrol patterns allow for more systematic clearing and collection compared to the chaotic Bug environments. Coordinate with teammates to cover multiple POIs simultaneously rather than grouping up, dramatically increasing your collection efficiency per time invested.
Advanced Sample Collection Tactics
Equipping the SC-30 Trailblazer scout armor before deploying provides tremendous tactical advantages for sample localization. This specialized gear, when activated via map pinging, initiates radar sweeps every 2 seconds that expose enemy positions while simultaneously highlighting minor Points of Interest where you can discover a good number of Rare Samples. Having at least one squad member dedicated to scout duties dramatically improves the team’s resource acquisition capabilities.
An intriguing gameplay mechanic, whether intentional design or unintended exploit, allows players to actually know the exact locations of POIs through strategic mini-map marking. This technique reveals hidden resource clusters even without direct visual contact, enabling targeted sample retrieval routes. The extraction protocol ensures that even if you fail the mission, your collected samples remain secure during evacuation, providing risk-free farming opportunities despite overwhelming enemy resistance.
Master the art of ‘marker scanning’ by rapidly tapping the marker button while panning across the minimap. The brief visual flicker when passing over hidden POIs can signal sample locations without consuming valuable mission time. Combine this with the scout armor’s enhanced detection for maximum efficiency in unfamiliar terrain.
Common Mistakes and Optimization Tips
Many players undermine their farming efficiency through easily corrected errors. Avoid spending excessive time in low-difficulty missions where Rare Samples cannot spawn. Don’t overlook the strategic value of failed missions – sometimes extracting with collected samples while ignoring primary objectives proves more profitable than completing missions with minimal samples. Team coordination failures represent another common pitfall; ensure your squad maintains communication about sample locations rather than everyone collecting the same resources.
Optimize your approach by specializing roles within your team. Designate one player as dedicated scout with detection gear while others provide protection and crowd control. Time your extraction carefully – lingering too long after collecting substantial samples risks losing everything to overwhelming enemy reinforcements. Consider bringing supply packs to replenish detection equipment and sustain prolonged farming sessions without returning to ship.
For maximum efficiency, combine sample farming with secondary objectives like medal acquisition or daily challenges. This multitasking approach ensures you progress multiple progression systems simultaneously. Remember that higher difficulties not only increase sample quantities but also improve the quality of other loot, making challenging missions doubly rewarding for dedicated players.
No reproduction without permission:GameCDjnh » How to get Rare Samples in Helldivers 2 Advanced strategies to efficiently farm Rare Samples in Helldivers 2 through optimized mission selection and gear utilization