Master Helldivers 2’s Heart of Democracy update with expert strategies for defeating Illuminate forces and using new weapons effectively.
Update Overview & Strategic Context
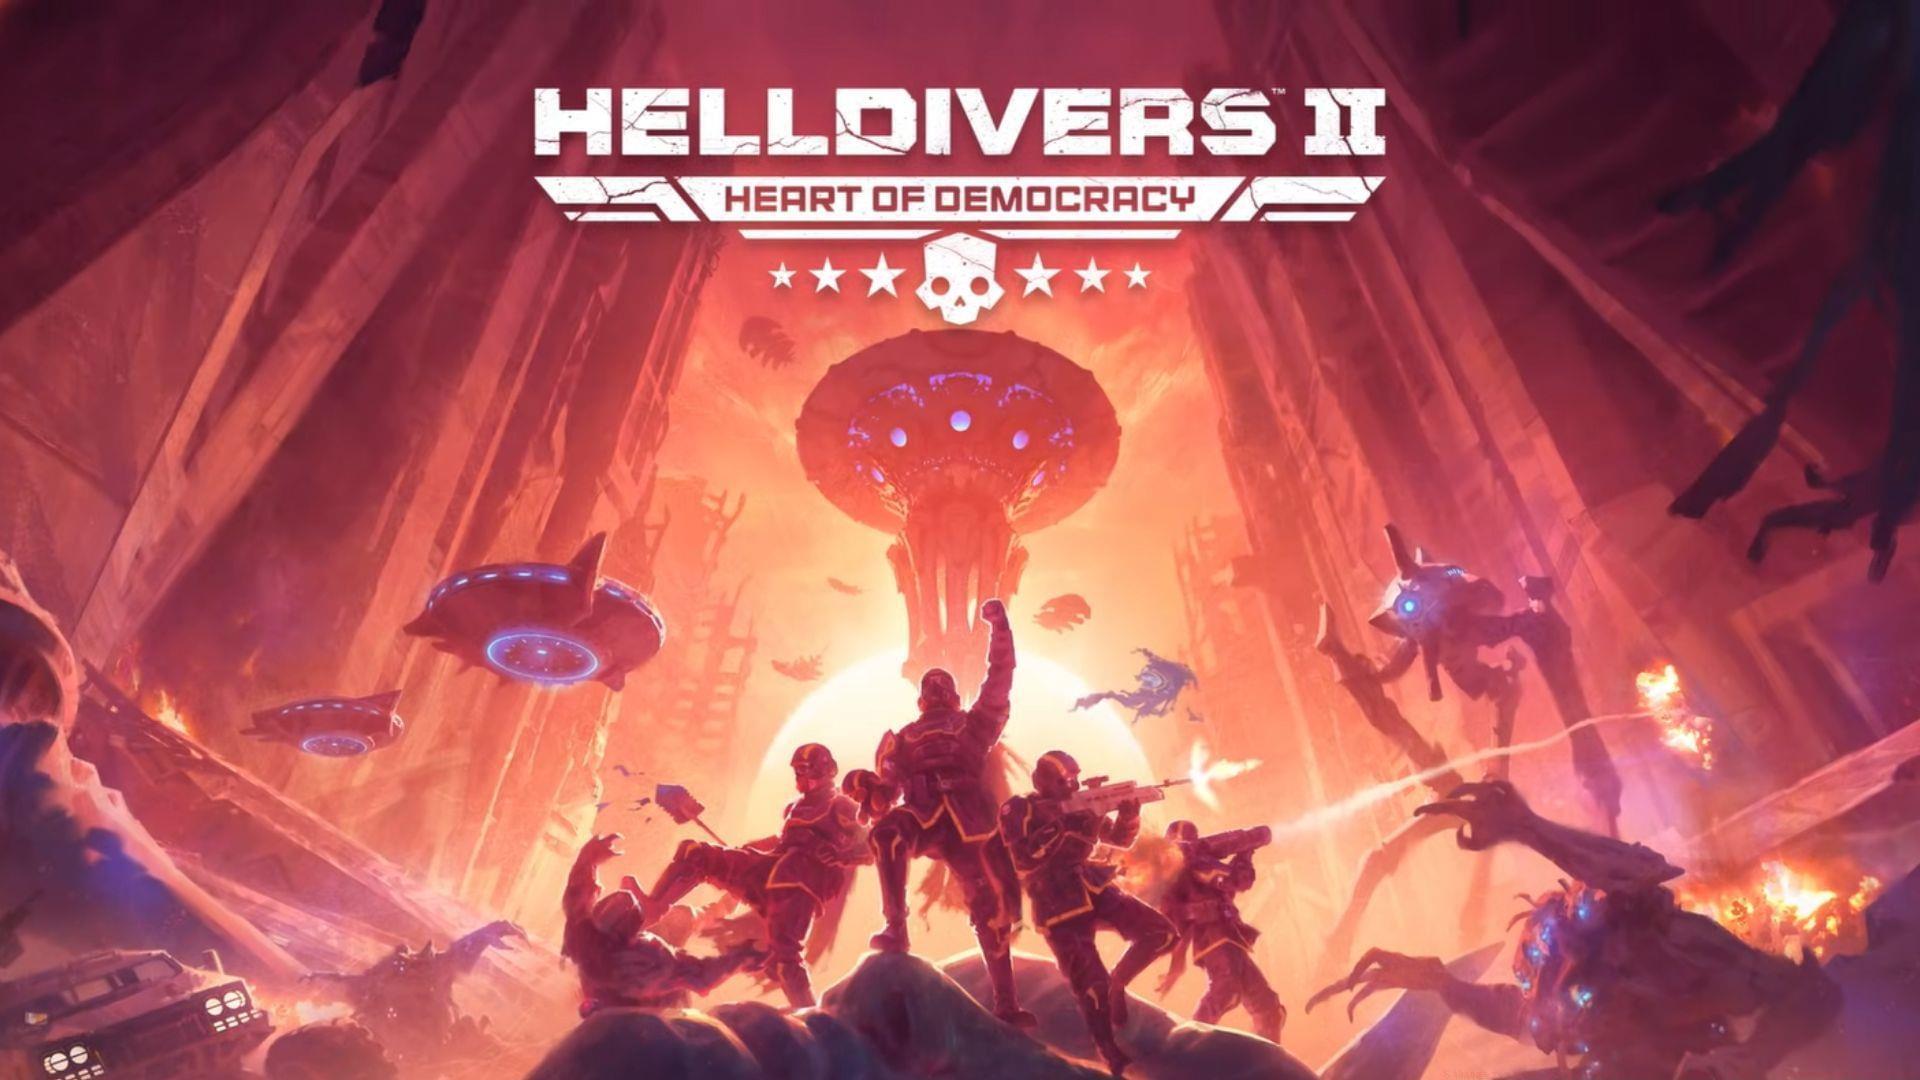
The highly anticipated Helldivers 2 Heart of Democracy update trailer has officially arrived, revealing the game’s most substantial expansion since Escalation of Freedom. This content drop introduces the ancient Illuminate aliens as a fully realized enemy faction, bringing with them a complete overhaul of aerial combat, new ground unit types, and mission mechanics that emphasize coordinated defense. Unlike previous updates, Heart of Democracy shifts the focus from offensive planetary liberation to desperate homeland defense, changing the core strategic pace and squad responsibilities.
Looking for a tactical advantage? Mastering this update requires more than just firepower.
After a century of rebuilding following their defeat in the First Galactic War, the Illuminate have abandoned subtle colony invasions for a direct, overwhelming assault on Super Earth itself. This isn’t a skirmish; it’s an existential war for galactic supremacy. The trailer vividly depicts urban combat zones flooded with Illuminate forces, indicating that missions will often take place in dense, structured environments rather than open landscapes, limiting mobility and sightlines.
The core strategic shift players must understand is the transition from attacking static enemy positions to defending dynamic points against a coordinated, multi-vector assault. Your objectives are no longer just about destruction, but about protection and timing, making resource management and priority targeting more crucial than ever.
Aerial Threats: Identification & Takedown Methods
The update introduces a tiered aerial threat system. At the apex are the Illuminate Overships, which serve as mobile command centers and troop deployment hubs. These are your primary strategic objectives; destroying them cripples the Illuminate’s logistical chain and reduces reinforcements. They are not heavily armored but are often protected by escort screens.
To counter them, you have the new Planetary Defense Cannons. This is a mandatory two-Helldiver operation: one player controls traversal (rotation) while the other handles elevation and firing. Communication is non-negotiable. Pro Tip: The rotation player should call out bearings (e.g., “Mark 270”) while the gunner announces target locks. Prioritize Overships before they unload their full complement of troops.
The Leviathans represent the Illuminate’s heavy aerial bombardment platform. These gigantic ships possess massive health pools and area-denial weaponry that can level buildings. While Planetary Defense Cannons are ideal, a coordinated squad using Recoilless Rifles or the EAT-17 Expendable Anti-Tank can bring one down if you focus fire on its exposed engine nacelles, located amidships.
Smaller, agile Stingrays fill the skies as harassment units. They are weak to explosive damage. A well-aimed Autocannon burst or a Grenade Launcher shot can dispatch them, but don’t waste your heavy anti-tank ordnance. Their primary danger is distraction; don’t let them pull your focus from the larger threats.
The most tactically complex aerial threat is the Illuminate Warp Ship. It features a regenerating energy shield that must be depleted before hull damage can be dealt. Arc-based weapons, the LAS-98 Laser Cannon, or sustained Autocannon fire are excellent for shield stripping. The critical timer: once its shield is down, you have approximately 15-20 seconds before it recharges. Furthermore, it continuously spawns Voteless zombies, forcing your squad to split attention between the ship and the ground swarm.
Ground Forces: Tactics for Every Enemy Type
The Illuminate ground forces are designed to overwhelm and flank. Fleshmobs are the frontline shock troops. While individually fragile, their speed and numbers are deceptive. They use a pincer movement, so avoid getting surrounded. Area-of-effect weapons like the Grenade Launcher, Cluster Bombs, or the Incendiary Mines are highly effective. A common mistake is treating them like standard Terminids; their mutation grants them a brief burst of speed when charging.
Overseers act as long-range support. They wield arcane energy weapons that can bypass light cover and inflict a “disorientation” status effect, blurring your vision. Prioritize them early in engagements. Use smoke grenades or terrain to close the distance, as their accuracy drops at close range. A Helldiver with a high-precision rifle or a well-placed Eagle Strafing Run can neutralize them quickly.
The heavy-hitting Harvesters are tripedal walkers with a powerful frontal laser. Their one-eyed design is a clue: they have a narrow frontal firing arc. The optimal strategy is to flank them. Their sides and rear are less armored. A coordinated squad should have one player draw its attention head-on while others attack from the sides with anti-tank weapons.
The Voteless zombies deployed by Warp Ships are a resource management challenge. They are slow and weak but exist in massive numbers. Don’t waste primary ammo on them. Use your secondary weapon, melee attacks, or strategems like the Gatling Sentry to clear hordes. Letting them pile up is a fatal error, as they can pin down Helldivers, making them easy targets for heavier units.
New Tools & Cooperative Play
The Planetary Defense Cannon is the centerpiece of the update’s co-op play. The optimal duo consists of a player with strong spatial awareness on rotation and a player with good aim on the gun. Assign these roles before the mission starts. The cannon has limited ammunition per reload, so make every shot count against high-value targets.
Your new SEAF (Super Earth Armed Forces) allies are a double-edged sword. They provide additional firepower and can draw enemy aggro, but their AI pathing can be unpredictable. The critical warning: they are extremely vulnerable to friendly fire. Avoid using area-denial strategems like Napalm or Tesla Towers near them. Their presence also means you must be conscious of your firing lines; a missed shot into a crowd of SEAF troops can quickly turn the tide against you.
Weapon loadouts need adjustment for the Illuminate. Due to the prevalence of shields (Warp Ships) and heavy armor (Leviathans, Harvesters), bringing at least one shield-stripping weapon per squad is advised. The LAS-98 Laser Cannon is excellent for this. For general use, weapons with high ammo efficiency against swarms (like the Liberator Penetrator) pair well with a dedicated anti-tank secondary or strategem.
Also read – Helldivers 2 Heart of Democracy trailer breakdown
Also read – How to defeat Illuminate Stingrays in Helldivers 2
Also read – How to defeat Fleshmobs in Helldivers 2
Advanced Player Optimization
Squad Composition Tip: A balanced 4-player squad should include: 1) A Cannon Specialist (light weapon focus), 2) An Anti-Armor Expert (Recoilless Rifle/EAT-17), 3) A Crowd Control Specialist (Grenade Launcher/Autocannon), and 4) A Flex Support (Healing/Supply). This covers all threat types efficiently.
Common Mission Failure #1: Ignoring the Overseers. Teams often focus on the big targets, only to be whittled down from range by Overseers’ disorienting blasts. Assign your sniper or precision rifle user to counter-snipe them as a primary task.
Common Mission Failure #2: Misusing the Planetary Defense Cannon. Using it on trivial targets wastes its limited shots and leaves you defenseless against a later Leviathan or Overship wave. Establish a target priority call-out system.
Resource Management: Ammo resupplies are often in fixed, exposed locations during these defense missions. Designate one player as a “logistics” runner to grab supplies while others provide covering fire. Hoarding a resupply strategem for the final wave is often the difference between victory and defeat.
Advanced Tactic: “Kiting” Harvesters. A fast, agile Helldiver can lure a Harvester away from the main defense point, leading it into a pre-laid trap of Anti-Personnel Mines or an Eagle 500kg Bomb strike, freeing the team to handle other threats.
No reproduction without permission:GameCDjnh » 5 things you might have missed in the Helldivers 2 Heart of Democracy update trailer Master Helldivers 2's Heart of Democracy update with expert strategies for defeating Illuminate forces and using new weapons effectively.