Complete guide to defeating Peekabruiser with advanced strategies, common mistakes to avoid, and rewards explained
Understanding Peekabruiser’s Mechanics
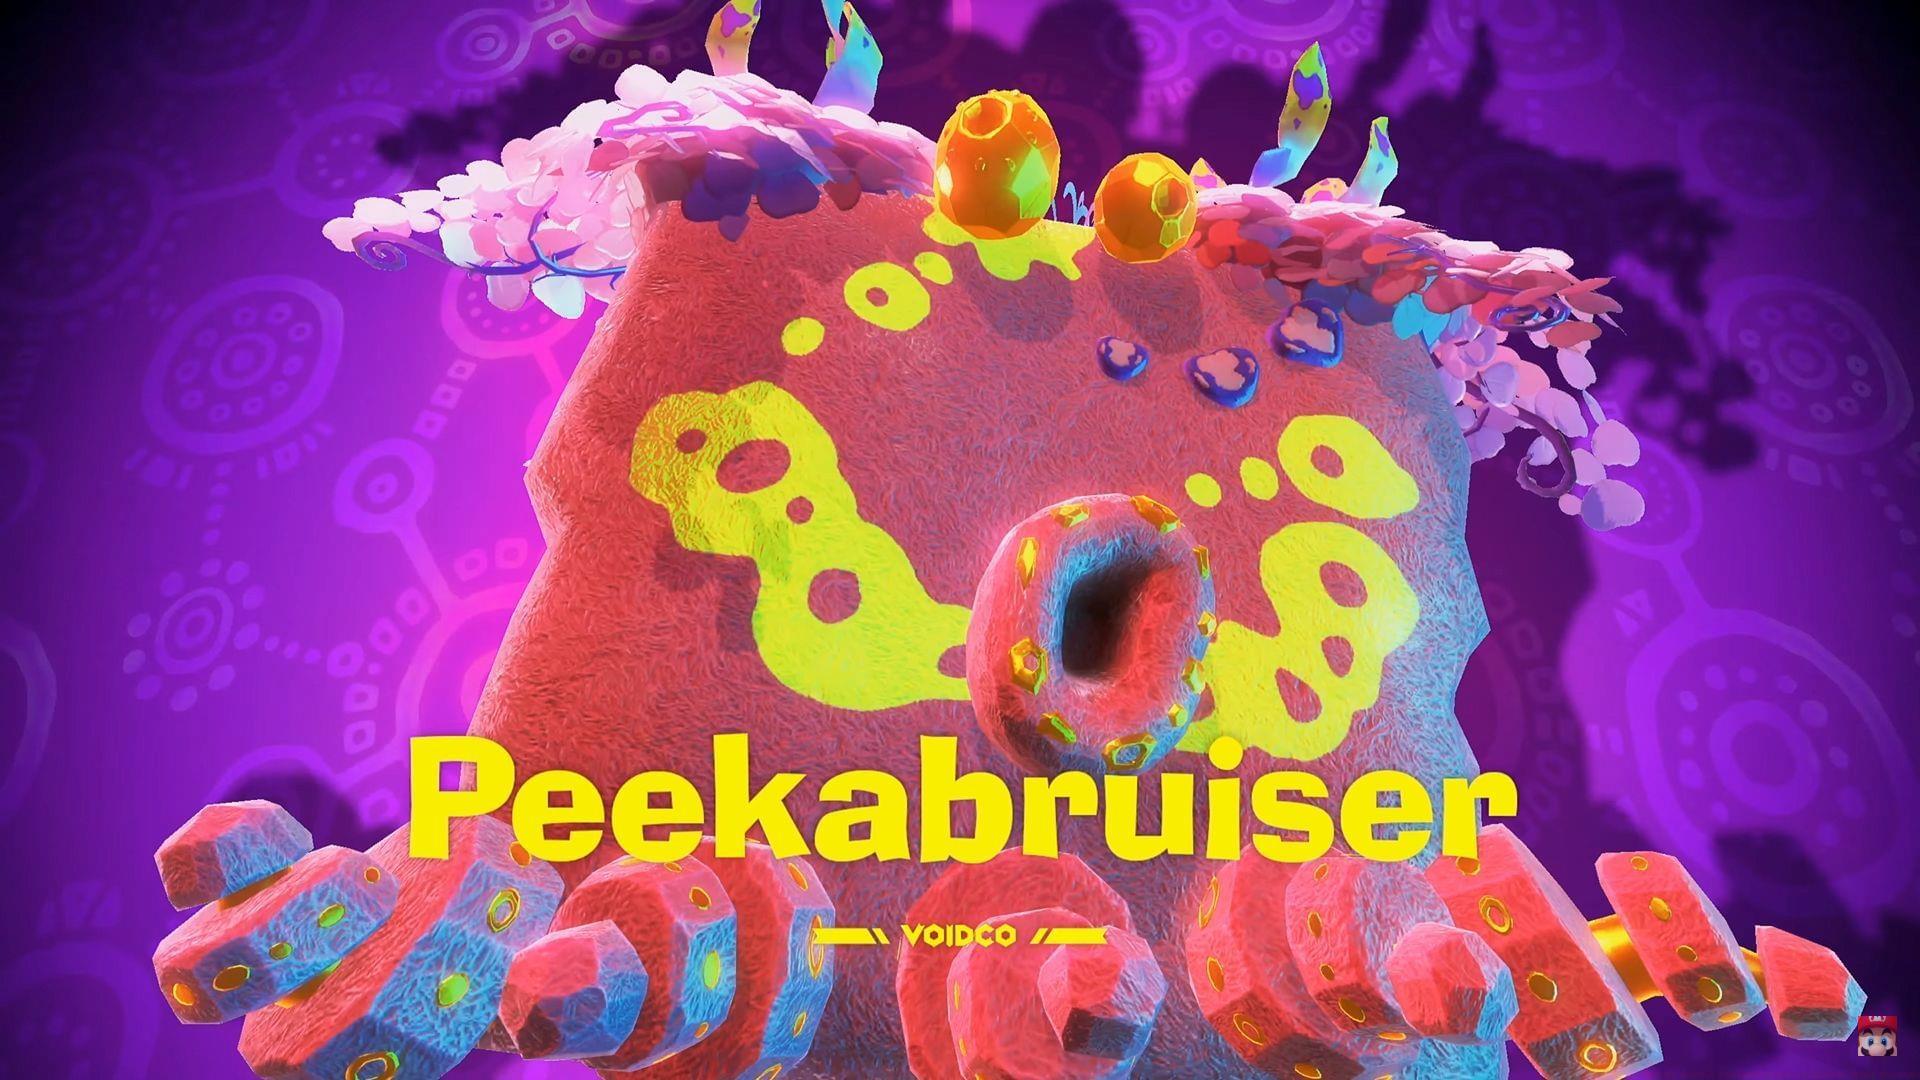
Peekabruiser in Donkey Kong Bananza represents your initial major boss confrontation following the introductory tutorial. This formidable opponent distinguishes itself through a unique biological defense system – a living armor composed of symbiotic octopus creatures that serve dual purposes as protective shielding and offensive weapons. Without proper handling of this dynamic armor system, the encounter can prolong unnecessarily and escalate in difficulty.
You’ll encounter Peekabruiser within the Lagoon Layer, where its distinctive protective coating sets it apart from standard adversaries. The boss’s outer layer consists of numerous small, cephalopod-inspired creatures that must be systematically removed before you can inflict meaningful damage to the core entity. Understanding this armor mechanic is fundamental to an efficient victory.
Phase 1: Breaking the Armor
To dismantle Peekabruiser’s protective layer, you have two primary tactical approaches at your disposal:
For enhanced offensive capability, activate the Kong Bananza transformation sequence and maintain pressure on Y to execute a Charge Punch. This amplified attack significantly facilitates the removal of external armor components and accelerates the boss’s transition to vulnerable phases.
Pro Tip: Combining environmental weapons with transformation attacks creates synergistic damage effects, often removing multiple armor segments simultaneously.
Also read: How to use amiibos in Donkey Kong Bananza
Phase 2: Capitalizing on Vulnerabilities
The boss employs a predictable pattern of launching octopus projectiles before initiating charging maneuvers, momentarily flipping upside down during recovery. This brief inversion period represents your critical damage window – swiftly ascend the boss’s anatomy and perform a Dive Punch maneuver to inflict substantial harm before it regains composure.
Critical Note: When smaller octopus adversaries attach themselves to your character, immediately execute any attack action to dislodge them before they compromise your health bar.
Should you sustain damage during the engagement, scan the battlefield for illuminated ground markings. Strike these luminous indicators with B to excavate restorative apples that replenish health reserves and provide bonus Gold currency. This additional financial resource proves invaluable for reactivating your transformation abilities when necessary.
Advanced Technique: Time your health collection during the boss’s attack animations to minimize vulnerability periods while maintaining offensive pressure.
Final Phase: The Hill Climb
As the boss’s vitality diminishes, a distinctive white geological formation emerges from the terrain. Peekabruiser will attempt to recruit additional octopus minions to reconstruct its defensive armor during this critical phase. Your objective becomes rapid ascension of the newly formed elevation while maintaining continuous assault pressure to interrupt the boss’s recovery sequence.
Failure to respond promptly results in complete armor regeneration, forcing repetition of the initial combat phase. Remain prepared to mobilize instantly when topographical changes occur. During your ascent, evade the miniature octopus obstacles lining the pathway, as they will impede your progress. Employ jumping maneuvers to navigate toward less congested sections of the slope, accelerating your arrival at the summit to deliver the decisive blow.
Common Mistake Avoidance: Many players underestimate the speed of armor regeneration – begin climbing immediately when the hill appears rather than waiting for visual cues.
Rewards and Progression
Upon successfully defeating the boss, you’ll acquire the following progression assets:
This comprehensive strategy guide ensures your triumph over Peekabruiser in Donkey Kong Bananza’s challenging encounter.
Strategic Consideration: The fast-travel system unlocked here significantly reduces backtracking time for future resource gathering and exploration.
Check out: How photo mode works in Donkey Kong Bananza
No reproduction without permission:GameCDjnh » How to defeat Peekabruiser in Donkey Kong Bananza Complete guide to defeating Peekabruiser with advanced strategies, common mistakes to avoid, and rewards explained