Complete guide to Mad Train collectibles with expert strategies for 100% completion in Shinobi Art of Vengeance
Mad Train Stage Overview
While Shinobi Art of Vengeance’s Mad Train presents as the game’s most accessible stage, veteran players know appearances can deceive. Overconfidence remains Joe Musashi’s greatest enemy here, despite the absence of a traditional boss encounter. Critical to success is acquiring the Sword Dive technique from Submarine Base beforehand – this mobility skill transforms navigation and enables complete map exploration.
The stage’s linear design differentiates it from more complex Shinobi Art of Vengeance environments. Unlike multi-path stages requiring extensive backtracking, Mad Train follows a straightforward progression from locomotive to caboose. This guide organizes collectibles in exact encounter sequence to streamline your completion efforts.
Elite Squad Encounters and Fortune Hoarder Amulet
Elite Squad engagements in Mad Train stand out for their visibility – these combat challenges appear directly in your path rather than hidden in obscure corners. While optional, completing all three nets the valuable Fortune Hoarder Amulet, which generates gold with every strike during combos exceeding 25 hits. This economic advantage significantly accelerates character progression throughout your Shinobi Art of Vengeance campaign.
- Elite Squad #1: Unmissable encounter occurring shortly after your first Sniper confrontation. Position yourself strategically to manage enemy sightlines.
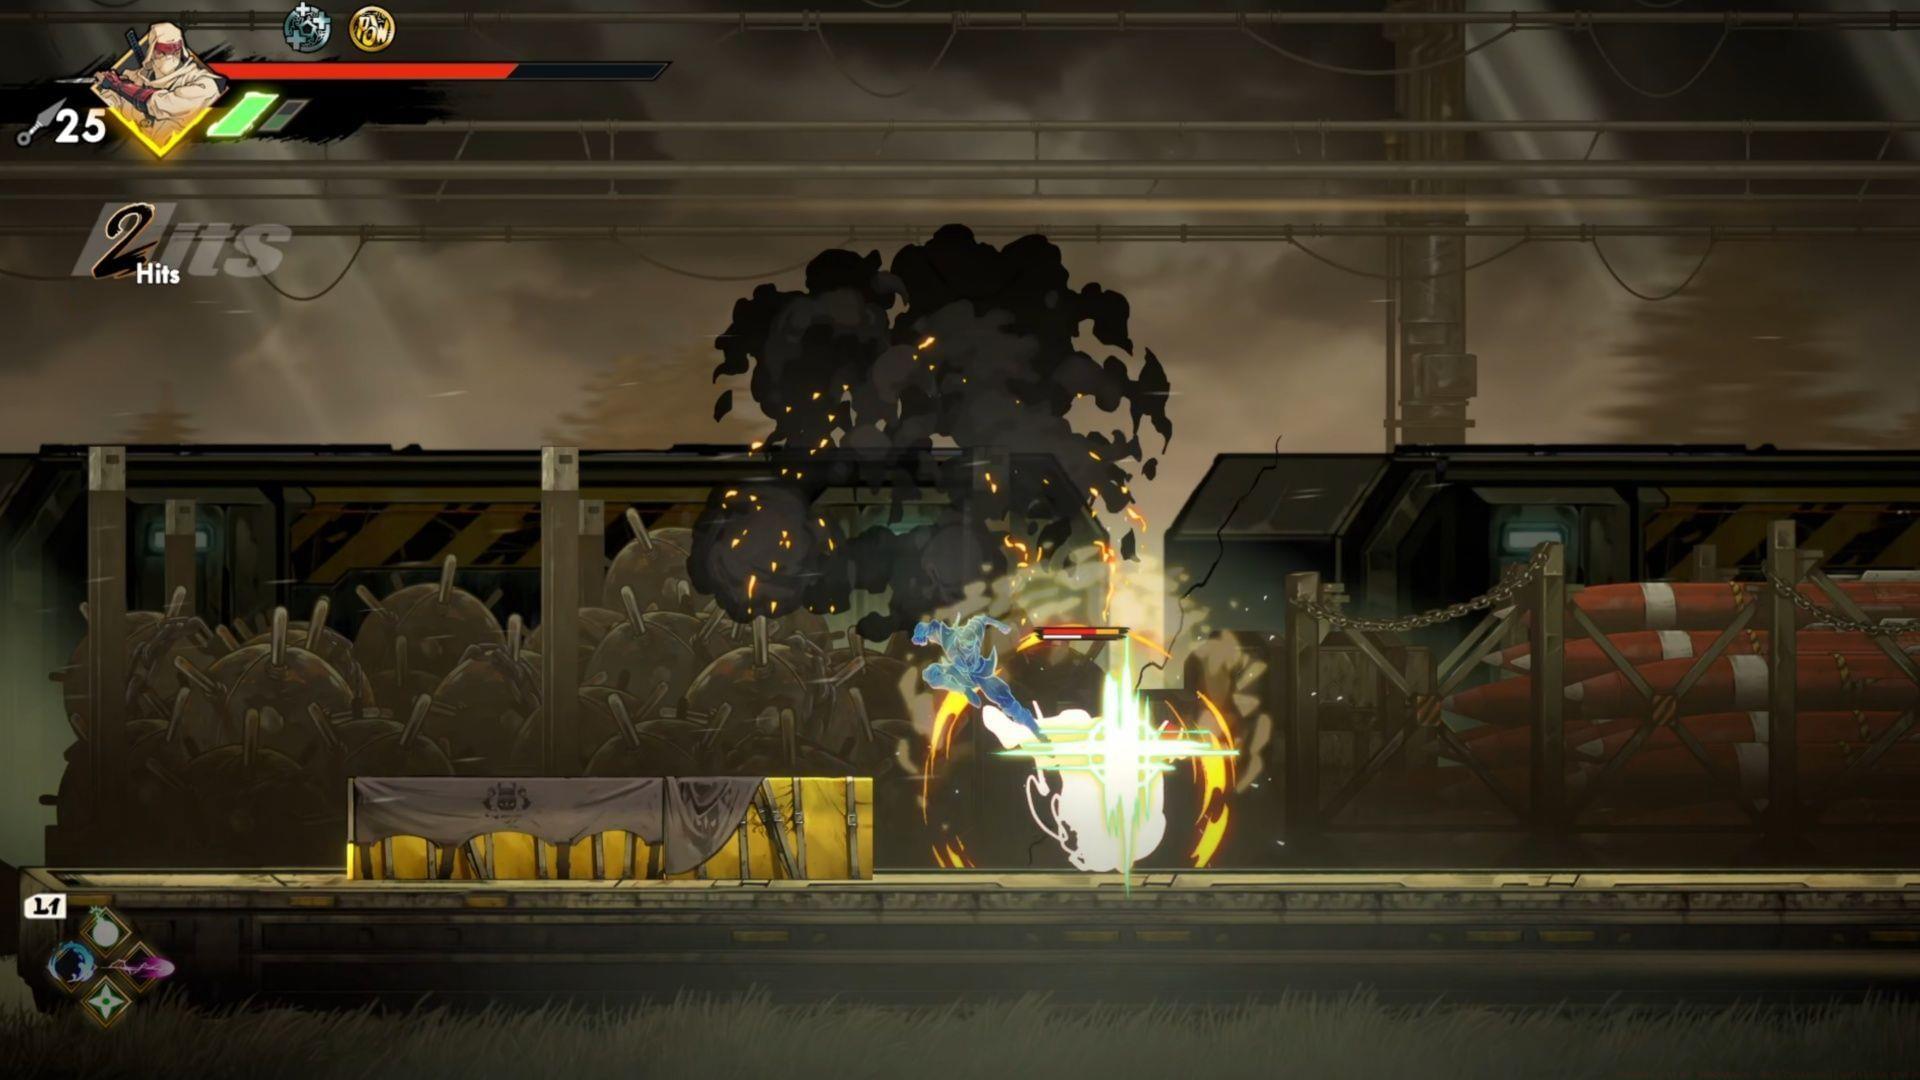
- Elite Squad #2: Follows the dual Sword Dive barrier train car. Utilize explosive environmental objects to control enemy positioning and create advantageous combat scenarios.
- Elite Squad #3: Located after the Armored Cars Save Point – take immediate right entry into the adjacent train compartment. Time your approach to minimize exposure to ranged attackers.
Pro Tip: Maintain high hit combos by weaving basic attacks between special moves. The Fortune Hoarder Amulet’s gold generation scales with combo consistency, making it invaluable for late-game upgrades.
Hidden Secrets and Health Upgrades
Mad Train contains one crucial secret that dramatically impacts survivability: the Max Health Boost. This permanent upgrade hides in a location easily overlooked by players focused on rooftop traversal. Since health capacity directly influences your margin for error in later Shinobi Art of Vengeance stages, this collectible deserves priority attention.
- Max Health Boost: At the Convoy section conclusion, locate the accessible Shop via Sword Dive descent. The chamber contains dual levers controlling gate mechanisms. Activate the right-side path and advance to the subsequent carriage. Prepare for multiple enemy waves requiring strategic elimination before claiming your health enhancement.
Common Mistake: Players often bypass this area assuming shops only contain purchasable items. Always investigate interactive environments thoroughly, especially those requiring specific abilities like Sword Dive for access. The enemy waves here test crowd control abilities – use area-of-effect attacks and environmental hazards to manage groups efficiently.
Oboro Relics Collection Guide
Systematic train car exploration guarantees discovery of all five Oboro Relics in Mad Train. These collectibles follow logical progression with one exception: Relic #5’s placement after the initial aircraft pursuit creates a high miss-rate due to player momentum carrying them past the entrance. Methodical investigation of every accessible compartment remains your safest strategy.
- Oboro Relic #1: Progress past the initial Aircraft Carrier Save Point and clear subsequent carriages until reaching an enemy-intensive section. Identify the green energy barrier and execute Sword Dive penetration to secure the relic.
- Oboro Relic #2: Following Arachno Tank defeat, board the turret-equipped train. Navigate to the armored vehicle’s terminus and Sword Dive through the protective barrier. The relic occupies the compartment’s left extremity.
- Oboro Relic #3: After collecting the second relic, encounter a compact turret car preceding an extended turret platform carriage. Descend at the long platform’s end and ingress from the right. Navigate leftward through explosive drones and TNT containers to locate the relic.
- Oboro Relic #4: Depart the Relic #3 carriage and proceed rightward after detonating obstructing TNT crates. Eliminate interior hostiles and retrieve the relic from its customary Treasure Box concealment.
- Oboro Relic #5: During the first aircraft chase sequence, identify the multi-turret carriage featuring paired archers in close formation. Survive this encounter, then descend and enter the right-side compartment.
Advanced Strategy: For Relic #5, intentionally slow your pace during chase sequences. The game’s design encourages rapid movement, but collectible completion requires occasional contra-flow behavior.
Ankou Rift Challenge and Dark Katana Fragment
The Mad Train’s Ankou Rift becomes accessible shortly after reaching the Convoy Save Point. Return leftward to the massive train car recently vacated to discover this dimensional challenge. Among Shinobi Art of Vengeance’s Ankou Rifts, this iteration presents substantial difficulty through its perpetual descent mechanics.
This rift demands precise platforming across collapsing structures while avoiding flame projectiles and scaling white walls. The checkpoint system provides slight relief – death respawns you at the screen’s top with health penalty rather than complete restart. However, this can establish fatal cycles where repeated damage reception prevents progression.
Avoiding Death Loops: Master the timing between platform appearances and disappearances. Rather than rushing, observe patterns for 2-3 cycles before committing to movements. The Dark Katana fragment awaiting at the challenge’s conclusion justifies this meticulous approach. This powerful weapon component significantly enhances combat capabilities in later game stages.
Platforming Technique: Utilize the game’s float mechanics during jumps to extend air time. This provides additional decision-making moments when navigating between disappearing platforms. When confronting flamethrowers, time your movement to pass during their activation cooldown periods.
No reproduction without permission:GameCDjnh » Shinobi Art of Vengeance: Mad Train collectibles guide Complete guide to Mad Train collectibles with expert strategies for 100% completion in Shinobi Art of Vengeance