Master Ironeye in Elden Ring Nightreign with optimal builds, advanced strategies, and common mistakes to avoid for dominating ranged combat.
Understanding Ironeye: The Master Archer
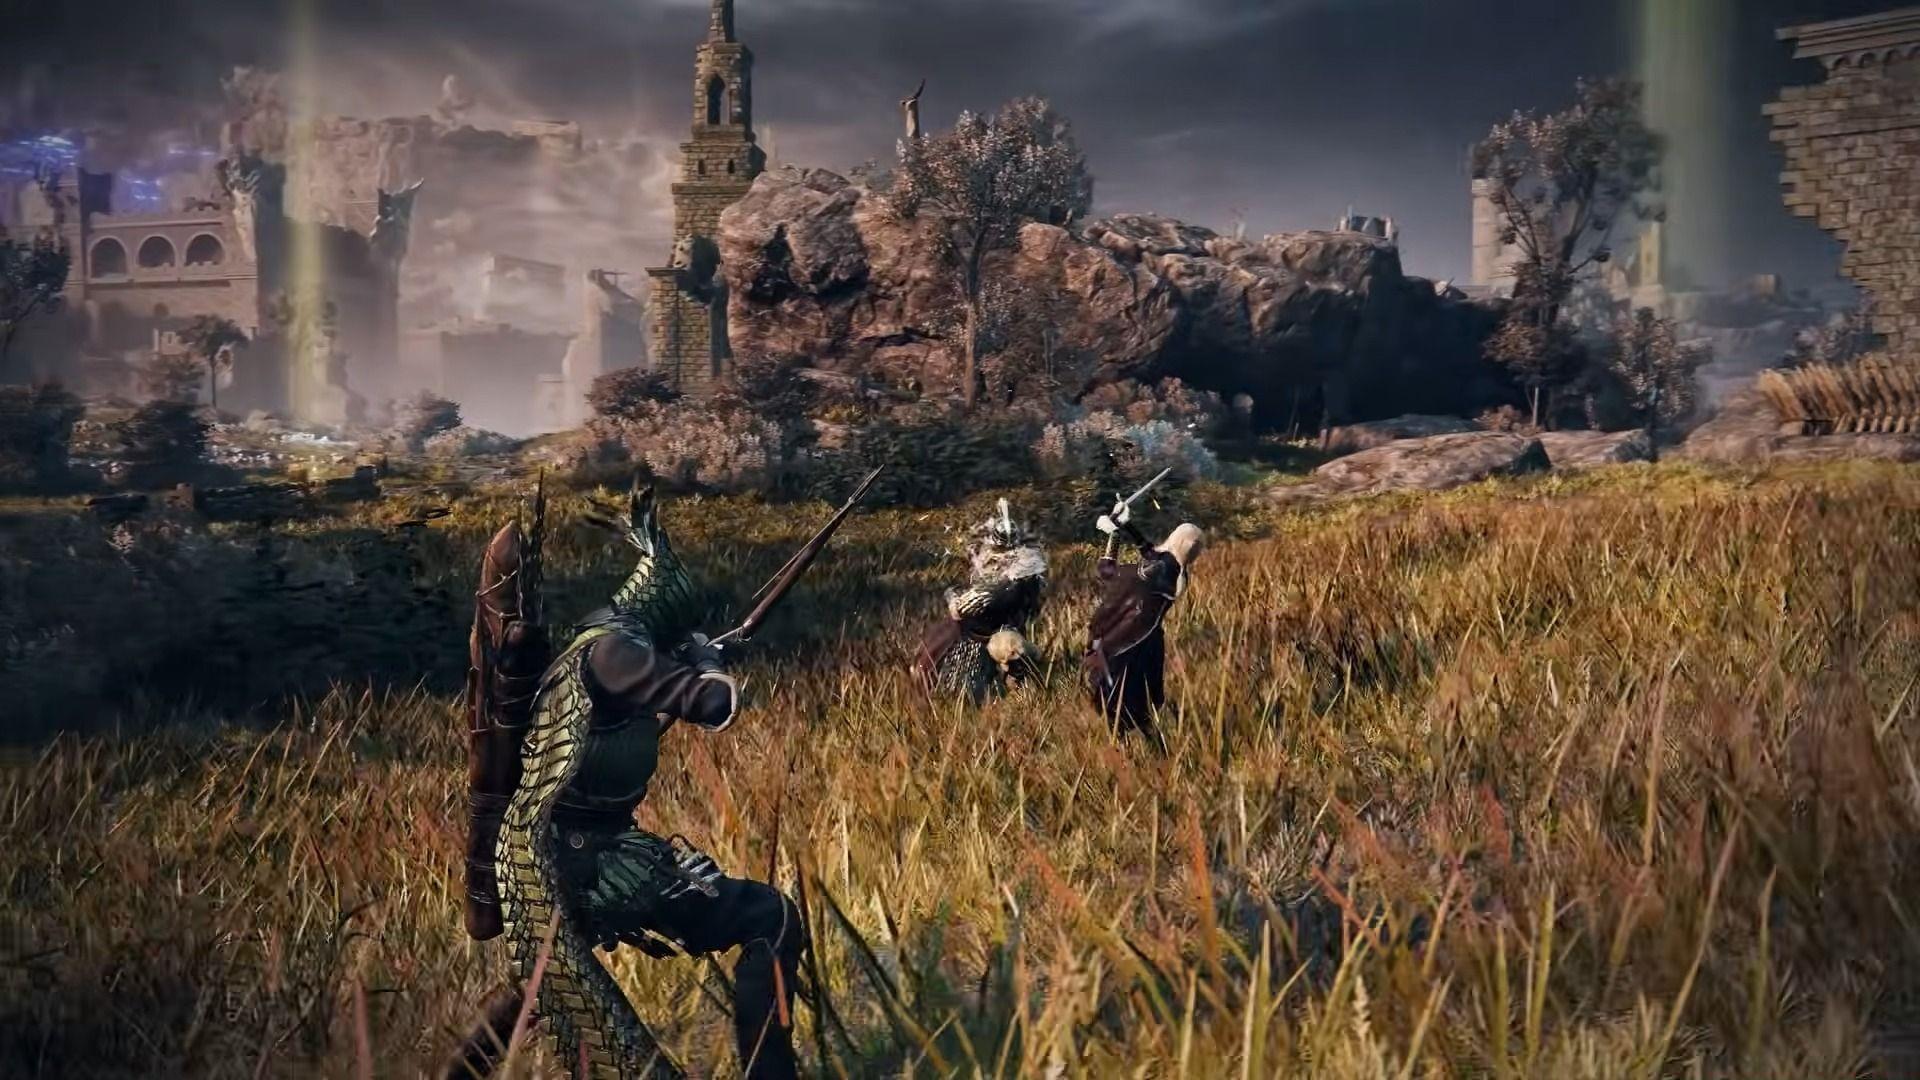
Within the roster of eight Nightfarers in Elden Ring Nightreign, Ironeye stands out as the premier pure archer. Designed for players who favor tactical, ranged engagement over spellcasting or melee brawls, he dominates the mid-to-long distance spectrum. His kit provides exceptional utility, making him a formidable support character capable of swinging team fights with well-timed abilities. Mastering his unique rhythm is key to unlocking his full potential.
Passive Ability – Keen Observer: This trait significantly boosts item discovery rates from defeated enemies. In a loot-driven game like Nightreign, this passive accelerates your gear acquisition dramatically, making farming expeditions far more efficient for you and your team.
Character Skill – Precision Mark: This is a rapid dash-and-slash that applies a temporary weak point, or Mark, on a successful hit. Striking this Mark confers a substantial 10% damage increase, and destroying it completely will stagger most enemies. Crucially, the dash portion of this skill provides invincibility frames (iframes), allowing you to evade incoming attacks while simultaneously debuffing a target. It’s a dual-purpose tool for both offense and defense.
Ultimate Ability – Sonic Breaker Shot: Ironeye unleashes a single, hitscan projectile that pierces all barriers, shields, and defenses. This makes it the perfect tool for instantly reviving downed allies from total safety, clearing clustered enemy packs, or delivering guaranteed damage to bosses in confined spaces. You remain invulnerable throughout the entire animation, granting a safe window in chaotic situations.
Ironeye’s core gameplay loop demands maintaining optimal engagement distance: close enough for consistent arrow accuracy, yet far enough to remain outside the immediate threat range of melee adversaries. A major accessibility feature is his unlimited ammunition for all ranged weapons, eliminating tedious ammo management and allowing you to focus purely on positioning and aim. This range advantage is particularly potent when reviving fallen teammates, as you can perform the action without ever stepping into the danger zone.
Optimal Relic Selection & Synergy
While stacking raw attack power is vital, the true power spike for Ironeye comes from Relics that offer multiple synergistic effects. You should actively hunt for relics that provide a primary stat boost alongside one of these powerful secondary bonuses:
Advanced Tip: Do not underestimate utility relics. A relic granting a shop discount might provide less direct combat power than a pure attack boost, but the long-term value from purchasing superior gear can far outweigh the immediate difference. Prioritize based on your current challenge; use pure damage for pushing high-level content, and switch to economic/team boost relics when farming.
Weapon Arsenal: Bows, Skills, and Passives
Longbows and Shortbows are Ironeye’s bread and butter in Elden Ring Nightreign. Longbows offer superior range and damage per shot, ideal for open areas and boss fights. Shortbows provide a faster rate of fire and quicker recovery, better for close-quarters skirmishes and applying status effects. Greatbows are generally not recommended due to their slow animation speed, high Strength requirement, and long cooldowns, which clash with Ironeye’s mobile, sustained-DPS style.
Always keep a melee weapon with strong Dexterity scaling as a backup for emergencies when enemies close the gap. The true priority for your bow selection is its attached skill. Actively seek weapons with Barrage or Rain of Arrows skills. These multi-hit abilities are exceptional for rapidly reviving allies, breaking enemy stances, and applying ailments that match the targeted Nightlord’s vulnerability.
Regarding inherent weapon passives, tier your search in this order:
A powerful advanced technique is to equip two different bows in your main and off-hand slots, each infused with a different ailment (e.g., Poison in one, Frost in the other). This allows you to swiftly swap to exploit any enemy weakness that presents itself.
Talisman Loadouts for Every Situation
Here are some of the best talismans you can search for when playing as Ironeye in Elden Ring Nightreign:
Loadout Examples:
– General Use: Arrow’s Reach, Dragoncrest Shield, Green Turtle, Milicent’s Prosthesis.
– Glass Cannon (Expert): Arrow’s Reach, Arrow’s Sting, Ritual Sword Talisman, Milicent’s Prosthesis.
– Team Support: Arrow’s Reach, Green Turtle, and talismans that boost team stats or item effectiveness.
Advanced Combat Tactics & Team Play
Your engagement protocol against bosses or elite enemies is non-negotiable: always open with Precision Mark. Applying that 10% damage vulnerability from the start amplifies all subsequent damage from you and your team, including your Ultimate. This is your single most important damage multiplier.
Leverage your range for safe revives. You can resurrect allies by damaging their downed spirit form. Using a wide-area weapon skill like Barrage or the guaranteed hit of your Sonic Breaker Shot Ultimate allows you to perform this crucial task from complete safety, often turning a potential team wipe into a recovery.
Master manual aiming. While two-handing your bow, you can enter a manual aim mode. Use this to target specific enemy weak points (like a troll’s head or a golem’s core). Dealing enough damage to these spots will often trigger a stagger or flinch without needing your Mark, conserving that skill for more dangerous moments.
Prime Team Synergy: Coordinate with a teammate playing Duchess. Her Ultimate ability applies a powerful damage amplification debuff. The optimal sequence is for you to hit with your Sonic Breaker Shot first, immediately followed by her activating her Ultimate on the same target. This re-applies the massive damage bonus from your shot, effectively doubling its impact.
Common Mistakes & Optimization Guide
Mistake #1: Static Positioning. Ironeye is not a turret. Standing still makes you an easy target. Constantly strafe, reposition, and use the environment for cover. Your damage comes from consistency, not standing still for a slightly better shot.
Mistake #2: Wasting the Mark Skill. Using Precision Mark purely for its dash iframes is a waste of its offensive potential. Conversely, using it aggressively without the iframes in mind can get you hit. Practice using it both defensively and offensively, aiming to achieve both whenever possible.
Mistake #3: Poor Stamina Management. Dodging, sprinting, and using skills all consume stamina. Running dry leaves you helpless. The Green Turtle Talisman is highly recommended, and you must learn to pace your actions. Never empty your stamina bar completely.
Mistake #4: Ignoring Team Utility. Ironeye is a powerful support. Hoarding your Ultimate for a kill shot is often less valuable than using it to instantly revive two allies or to break a boss’s super armor during a critical phase. Think of your resources in terms of team value.
Advanced Optimization: Learn animation cancels. Certain bow attacks can be canceled into a dodge or skill use faster than their natural recovery time. Practice against regular enemies to shave precious frames off your actions, increasing your damage uptime and survivability.
No reproduction without permission:GameCDjnh » How to play Ironeye in Elden Ring Nightreign Master Ironeye in Elden Ring Nightreign with optimal builds, advanced strategies, and common mistakes to avoid for dominating ranged combat.