Master the Monoco boss fight in Clair Obscur: Expedition 33 with advanced combat strategies and character optimization
Understanding Your Opponent: Monoco’s Combat Philosophy
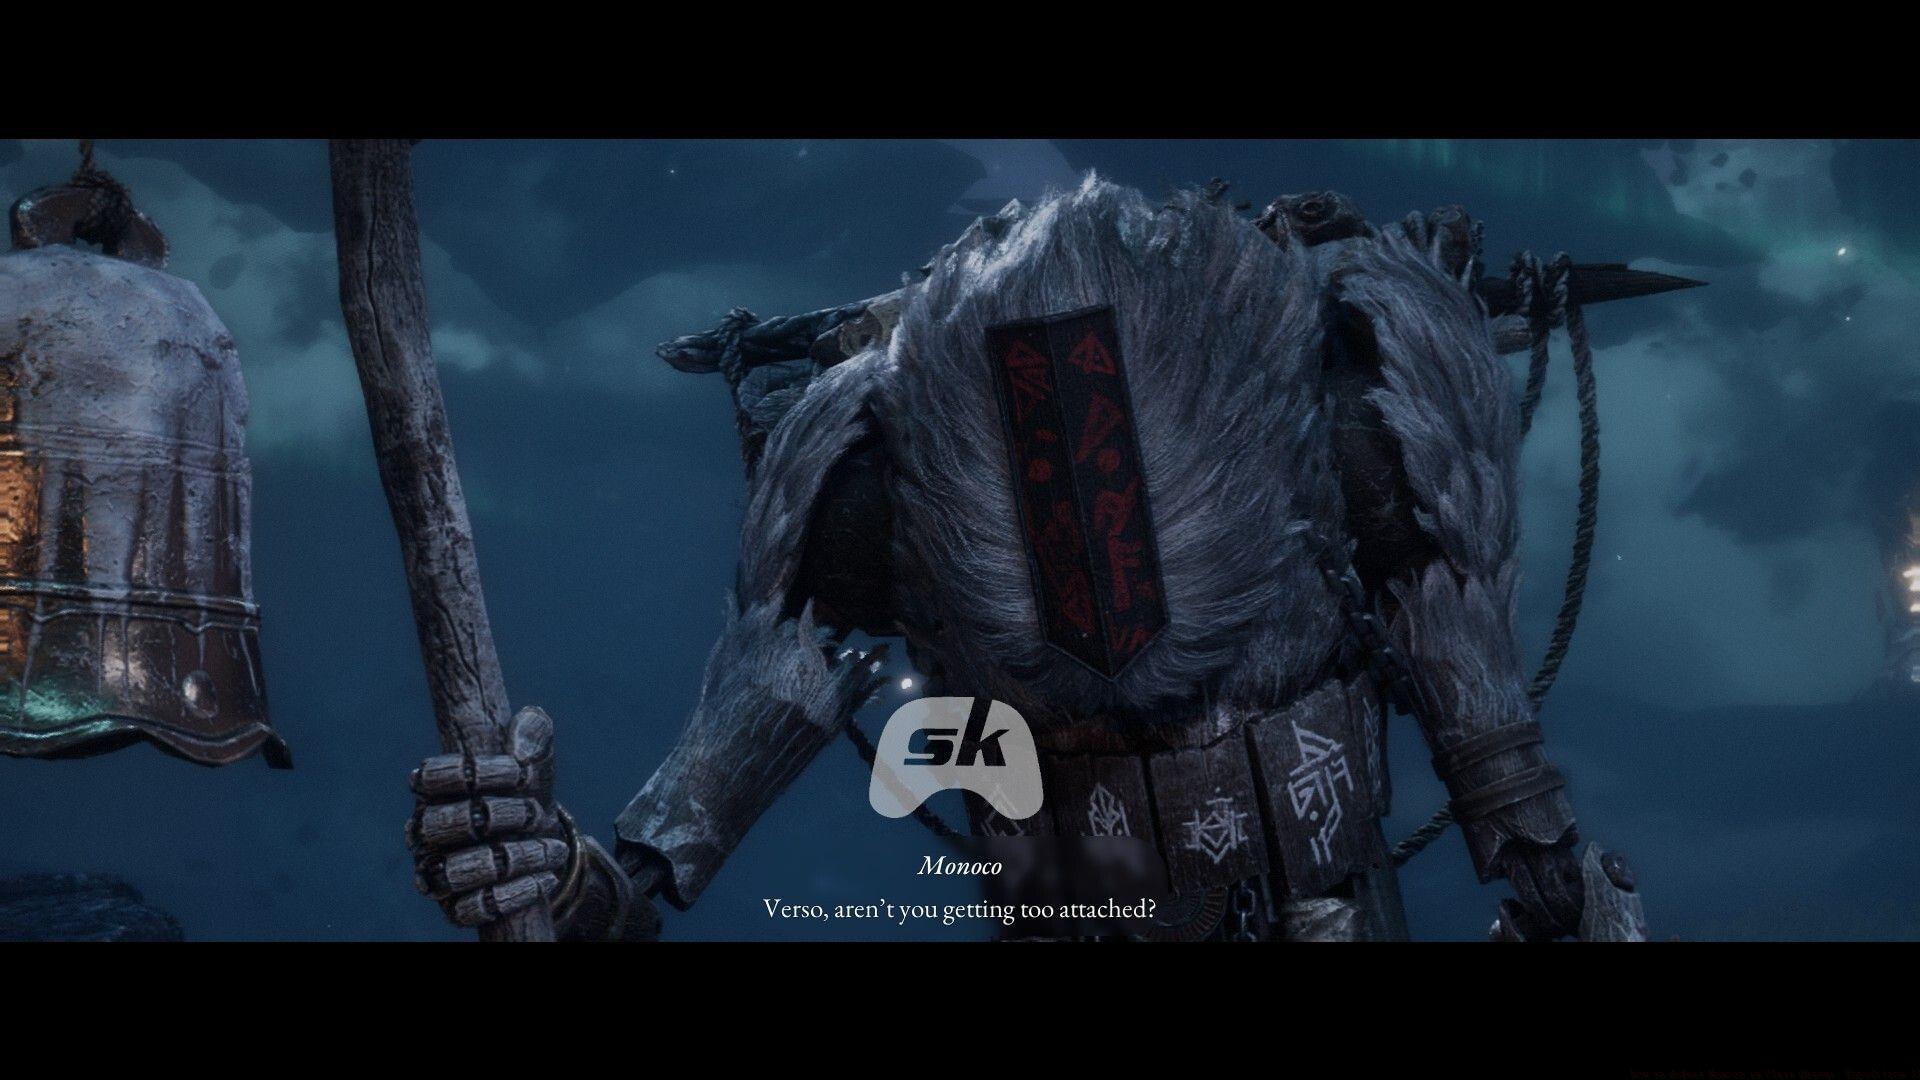
Monoco in Clair Obscur: Expedition 33 represents a unique combat challenge that demands strategic adaptation rather than brute force. This powerful Gestral entity operates on an entirely different combat philosophy compared to standard Nevrons, possessing human-like speech patterns and a brawler fighting style. Unlike enemies driven by the Paintress’s influence or ideological motives, Monoco engages in battle purely for the exhilaration of combat itself, making his patterns deliberately unpredictable.
What makes Monoco particularly dangerous is his psychological approach to fighting. He intentionally varies his attack rhythms and incorporates feints to disrupt player timing expectations. Advanced players should note that his movements contain subtle tells – slight shifts in stance or weapon positioning that precede different attack types. Learning these visual cues is essential for anticipating his mix-up strategies and responding appropriately.
Phase Breakdown: Mastering Attack Patterns
The opening phase of the encounter establishes Monoco’s aggressive tempo. He initiates with rapid dual attacks that feature intentionally misaligned timing between strikes. The first attack typically comes with standard parry timing, while the second deliberately delays to catch players who attempt to chain parries. For players uncertain about precise parry windows, the optimal strategy involves blocking the initial strike while preparing to dodge the follow-up, minimizing damage taken during this disruptive opening sequence.
Monoco’s most dangerous phase begins when he initiates his Relentless combo, signaled by a distinct physical transformation where he visibly increases in size. This animation serves as your primary warning to adjust defensive strategy. The enlarged form delivers significantly increased damage with attacks that feature irregular intervals specifically designed to break parry rhythm. Attempting to tank these strikes inevitably leads to rapid party depletion. Instead, focus on early dodging to create distance and reset the engagement, or master the precise parry timing through careful observation of his wind-up animations.
Between aggressive phases, Monoco exhibits brief recovery periods where his movement slows noticeably. These windows represent your primary damage opportunities, particularly for abilities with longer activation times. Watch for his post-combo exhaustion animation – a slight stagger or breathing pause – that indicates safe engagement timing.
Character Ability Optimization
Sciel’s Searing Bond serves as your most consistent damage source against Monoco, but requires precise timing to maximize effectiveness. The ability works best when deployed during the boss’s recovery frames following missed attacks or completed combos. Avoid using it during active attack animations, as the casting time leaves Sciel vulnerable to interruption. For optimal results, combine Searing Bond with movement abilities that quickly close distance during brief openings.
Lune’s toolkit provides essential versatility through her Immolation and Healing Light abilities. While Immolation delivers moderate damage, its true value lies in applying consistent pressure during extended engagements. The burn damage accumulates significantly throughout the fight, particularly effective during Monoco’s enlarged phases when direct engagement becomes riskier. Healing Light should be prioritized when party health drops below 60%, or preemptively before anticipated heavy damage phases. Advanced strategy involves toggling between these abilities based on real-time combat flow rather than following rigid rotations.
Verso’s Assault Zero functions as an effective pressure maintenance tool rather than primary damage source. Its rapid cast time makes it ideal for exploiting brief windows between Monoco’s attacks without committing to longer animations. Use it to maintain damage momentum while key abilities recharge, but avoid over-reliance that might leave you without resources for emergency situations. The ability works particularly well when chained after dodging attacks, allowing Verso to contribute damage while maintaining defensive readiness.
Advanced Combat Strategies
Positioning plays a crucial role in managing Monoco’s aggressive patterns. Maintain medium distance to allow reaction time for his sudden engagements while staying close enough to capitalize on damage windows. During his Relentless combo, diagonal dodging often proves more effective than straight backward movement, as it positions you for counter-attacks from safer angles. Party members should spread slightly to avoid multiple characters being caught in area attacks while remaining close enough for support abilities.
Resource conservation represents another critical strategic element. Revive Tints provide essential recovery capability, restoring fallen allies with 65% HP, but their limited availability demands careful management. Avoid using them immediately when a party member falls unless multiple characters are at critical health. Instead, assess whether remaining members can safely manage the situation temporarily before committing the revive. Common mistakes include panic-reviving during active attack phases, leaving both the reviver and revived character vulnerable to follow-up attacks.
Advanced players should develop the ability to read Monoco’s aggression cycles. He typically follows aggressive phases with brief periods of lower activity, creating natural rhythm to the encounter. Learning to identify these patterns allows for better resource allocation and ability timing, transforming the fight from reactive to predictive gameplay.
Rewards and Progression Impact
Successfully defeating Monoco yields substantial rewards that significantly impact your progression through Clair Obscur: Expedition 33. The primary reward includes Polished Chroma Catalyst x3, valuable enhancement materials used for upgrading late-game equipment and abilities. These catalysts represent some of the more稀缺 resources in the mid-game progression, making the Monoco encounter worthwhile beyond mere story advancement.
Beyond immediate material rewards, conquering this challenging boss provides important combat experience that prepares players for future Gestral encounters. The skills developed in reading unpredictable attack patterns and adapting to rhythm-breaking combat directly translate to more difficult encounters later in the expedition. Many players find that mastering Monoco’s mechanics significantly improves their overall combat proficiency throughout the game.
The encounter also serves as a key progression checkpoint, often unlocking access to new areas or questlines within Monoco’s Station. Ensure you thoroughly explore the environment following the battle, as new pathways typically become available once this formidable opponent has been eliminated from the region.
No reproduction without permission:GameCDjnh » How to defeat Monoco in Clair Obscur: Expedition 33 Master the Monoco boss fight in Clair Obscur: Expedition 33 with advanced combat strategies and character optimization