Master the Anguished Guardian boss fight with expert fire strategies, positioning tactics, and phase-specific counters
Understanding the Anguished Guardian
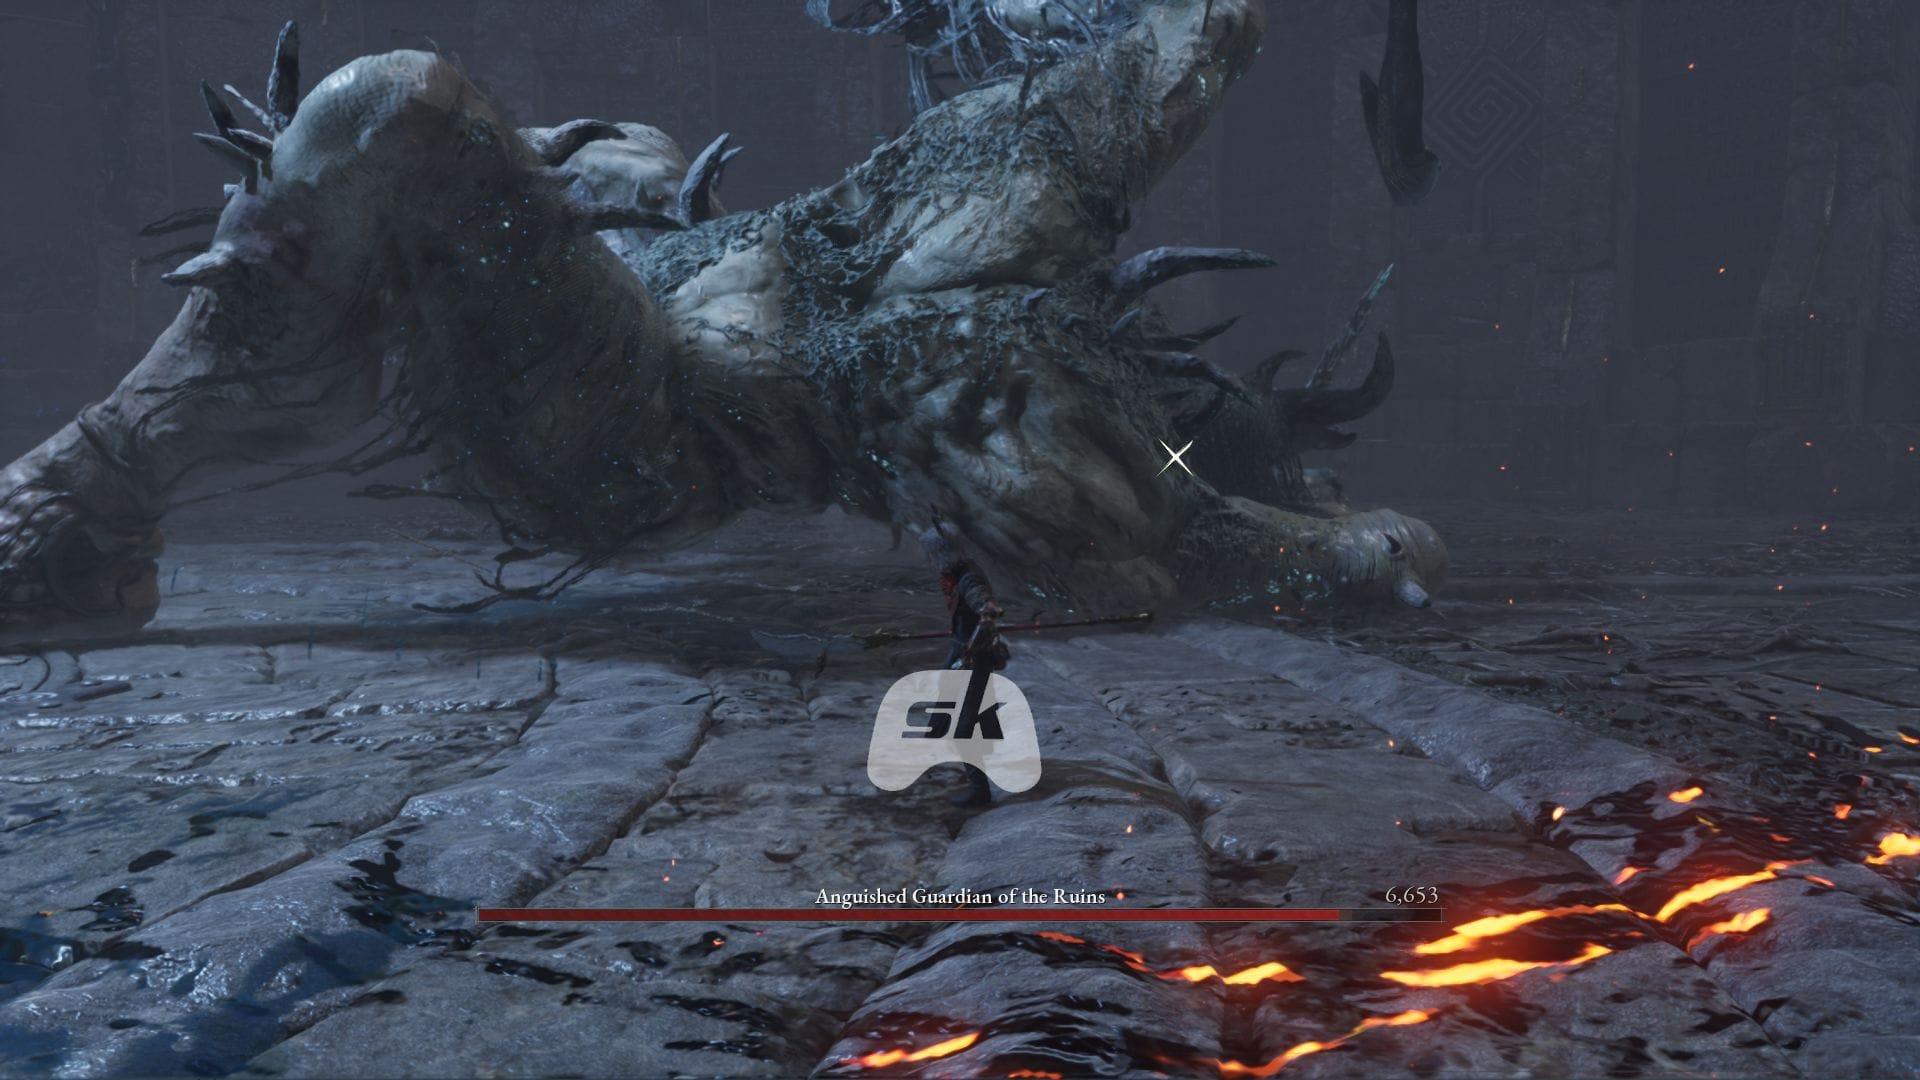
The Anguished Guardian of the Ruins represents one of the most demanding boss encounters in Lies of P Overture DLC, drawing clear inspiration from the punishing dragon battles found in Dark Souls titles. This massive opponent combines erratic movement patterns with devastating area-of-effect attacks that challenge even veteran players. Understanding his attack rhythm and behavioral tells is crucial for survival.
What makes this boss particularly challenging is his substantial health reservoir, requiring sustained damage application over an extended engagement period. His movements are deliberately unpredictable, featuring sudden directional changes and attack cancels designed to disrupt your timing. However, systematic pattern recognition and proper equipment selection can turn this seemingly impossible fight into a manageable challenge.
Success against the Anguished Guardian demands mastery of both offensive positioning and defensive timing. Unlike some Lies of P bosses that favor pure aggression or cautious playstyles, this encounter requires fluid adaptation between both approaches based on the boss’s current animation state and phase transitions.
Optimal Loadout and Equipment
Capitalizing on the Anguished Guardian’s significant vulnerability to fire damage forms the cornerstone of an effective strategy. The Flamberge Legion Arm stands as your primary tool for applying consistent fire damage throughout the encounter. Its area-effect flames can simultaneously damage multiple hitboxes when positioned correctly.
For your main weapon, prioritize options with innate fire damage or those that scale effectively with fire augmentations. Weapons with wide sweeping attacks work exceptionally well for hitting both the head and claw hitboxes during single attack windows. Don’t overlook your amulet selection – equip pieces that enhance fire damage, increase stamina regeneration, or improve guard efficiency to maintain offensive pressure.
Preparation extends beyond your equipped gear. Always carry multiple Legion Magazines to ensure your Flamberge remains operational throughout the entire fight. Consider bringing consumables that temporarily boost fire damage or provide emergency healing without consuming your main healing resources. Understanding that this is an endurance battle rather than a quick encounter will significantly improve your success rate.
Phase One Combat Strategies
From the engagement’s outset, maintain aggressive positioning close to the Anguished Guardian’s lower body. This proximity limits his most dangerous charge attacks and provides consistent access to his vulnerable claw hitboxes. However, this aggressive stance demands precise defensive execution – you must master either perfect dodging or Perfect Guard timing to survive his close-range combos.
For most players, evasive maneuvers prove more reliable than Perfect Guards during the first phase. The boss’s erratic animation timing makes consistent parrying exceptionally challenging. Focus on learning the dodge windows for his three-hit claw combos and tail swipes. The critical exception is his red body slam attack – this move has a highly telegraphed windup and represents your best opportunity for a guaranteed Perfect Guard.
The Anguished Guardian features two primary lock-on points: his head and front claws. Advanced strategy involves switching between these targets based on attack recovery windows. When he completes a combo, quickly target his head for higher damage strikes. During his active attack sequences, focus on the claws for safer damage accumulation. The Flamberge’s wide arc can sometimes damage both targets simultaneously with proper positioning.
Phase Two Laser Mechanics
Upon reaching approximately 60% health depletion, the Anguished Guardian transitions to his more dangerous second phase, introducing laser attacks that demand specific counter-play. These beam attacks come in two distinct variations, each requiring different positioning responses. Recognizing which version he’s preparing is crucial for avoiding massive damage.
The first laser variant travels from back to front in a sweeping motion. When you observe his head tilting backward in preparation, immediately rush to his right claw but maintain moderate distance. This positioning places you safely outside the beam’s path while keeping you close enough to punish the recovery animation. The second variation moves left to right – for this version, close proximity to the same right claw provides complete safety.
Both laser attacks create extended recovery periods where you can unleash your most damaging combinations. The Flamberge’s charged ability proves particularly effective during these windows, as the boss remains stationary throughout the beam’s duration. Advanced players can pre-position to hit both the claw and head during the laser’s recovery frames for massive damage accumulation.
Advanced Combat Techniques
Consistent Perfect Guarding of the red body slam attack builds invisible stagger damage that eventually topples the Anguished Guardian. When he collapses, exercise caution – his falling animation still inflicts damage if you’re positioned incorrectly. Circle to either his head or claws and unleash your most powerful attacks during this vulnerable state. The Flamberge’s ability deals exceptional damage to these critical hitboxes.
Many players struggle with his sword slam that generates a circular area-of-effect explosion. If your dodge timing proves inconsistent, default to blocking rather than taking the full impact. While blocking consumes stamina and inflicts chip damage, it preserves your positioning and prevents the disorientation that often follows full hits. Immediately heal any lost health to maintain your aggression threshold.
Throughout the encounter, monitor your stamina management carefully. The Anguished Guardian’s extended combos can deplete your guard stamina if you’re forced into repeated blocking. Disengage temporarily to regenerate when below 30% stamina, as a broken posture leaves you completely vulnerable to his follow-up attacks. Patience and resource management ultimately determine victory in this demanding encounter.
No reproduction without permission:GameCDjnh » How to defeat Anguished Guardian of the Ruins in Lies of P Overture Master the Anguished Guardian boss fight with expert fire strategies, positioning tactics, and phase-specific counters