Complete guide to Ineffa’s constellations ranking with team optimization strategies and practical pull recommendations
Introduction to Ineffa’s Kit and Constellation Value
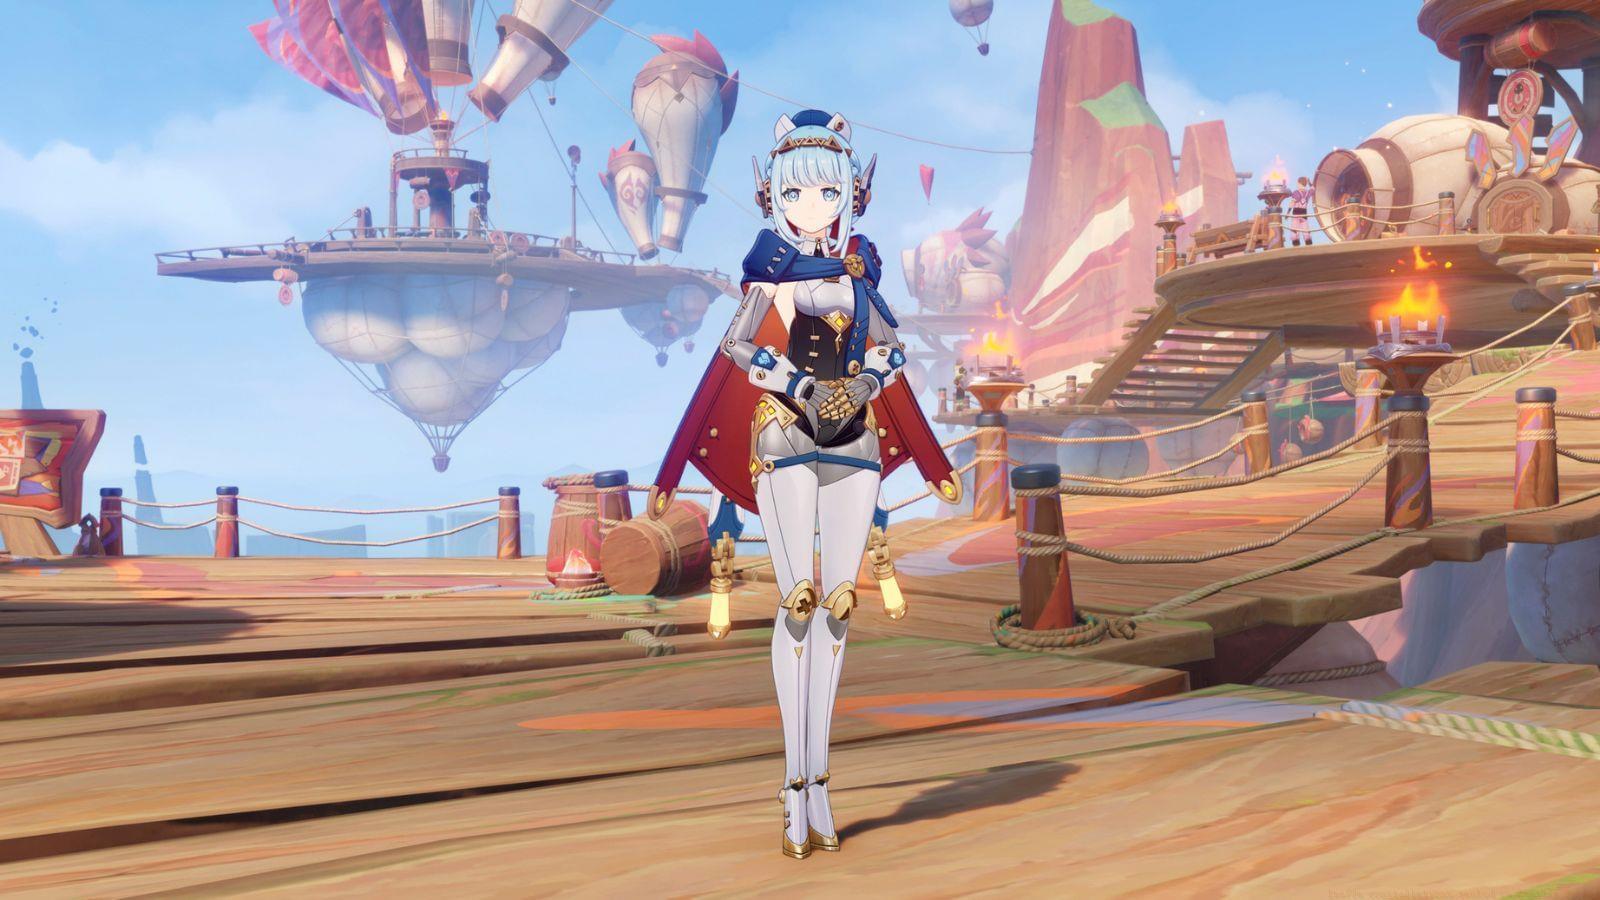
Ineffa represents the newest Electro character addition to Genshin Impact’s expanding roster, making her debut during Phase 1 of the version 5.8 update. She functions primarily as an off-field Electro damage dealer while also providing protective shield capabilities through her unique mechanics. Her combat style revolves heavily around the Lunar-Charged elemental reaction, with most optimal team compositions designed to maximize this interaction’s potential. A distinctive feature of her kit involves summoning Birgitta, her special combat companion, through activation of her Elemental Skill ability.
When evaluating constellation value for Ineffa, players should consider both individual power spikes and team-wide benefits. The constellation ranking system takes into account multiple factors including damage improvement percentages, utility enhancements, synergy with existing team compositions, and cost-effectiveness relative to the required number of wishes. Advanced players should also factor in their specific account needs and available team-building options when making pulling decisions.
C4 – Energy Abundance Constellation Analysis
The singular advantage offered by Ineffa’s fourth constellation lies in its energy regeneration properties, theoretically allowing players to concentrate more heavily on critical rate and critical damage statistics due to reduced Energy Recharge requirements. However, this benefit proves less impactful when examining her complete kit mechanics. Ineffa’s Elemental Burst demands a relatively modest 60 Energy cost, and her most effective team lineups typically incorporate additional Electro characters who collectively diminish the party’s overall Energy Recharge necessities through particle generation.
Furthermore, Ineffa’s fundamental design doesn’t heavily depend on stacking Energy Recharge attributes to maintain consistent burst uptime. The Electro Elemental Resonance effect generates additional Elemental Particles when pairing Ineffa with fellow Electro team members, further reducing the practical value of this constellation’s energy restoration capabilities. Many players fall into the trap of overvaluing Energy Recharge constellations without considering team synergy – a common mistake that can waste valuable resources.
Given that obtaining Constellation 4 requires substantial investment in terms of Primogems and wishes, coupled with its relatively minor practical benefits for most team configurations, this constellation ranks as one of the least recommended upgrades for Ineffa. Players seeking to optimize their resource allocation should prioritize other constellations that deliver more significant combat improvements.
C5 – Elemental Burst Upgrade Assessment
Constellation 5 enhances the talent level progression of Ineffa’s Elemental Burst ability. While the burst itself delivers substantial damage output, it doesn’t serve as her principal damage source within optimized rotations. The primary motivation for activating Ineffa’s Elemental Burst centers around refreshing the duration of Birgitta’s on-field presence and distributing Elemental Mastery buffs across the entire party composition.
These valuable team buffs operate independently of the Elemental Burst’s damage scaling coefficients. Increasing the burst’s talent levels through this constellation won’t provide transformative improvements to Ineffa’s damage potential because the majority of her damage originates from her Elemental Skill mechanics and supplementary passive talents. That stated, players may notice marginal damage per second increases due to enhanced multipliers for her burst damage calculations.
The substantial investment required to obtain Ineffa’s fifth constellation, combined with its relatively minor contributions to both personal damage and team utility, positions it as the second-least valuable constellation upgrade. Advanced players should note that the damage increase from C5 typically represents less than a 3% overall team DPS improvement in most practical scenarios, making it difficult to justify the significant resource expenditure.
C3 – Elemental Skill Enhancement Review
Ineffa’s third constellation elevates her Elemental Skill level, which constitutes one of her primary damage sources within most combat rotations. Upgrading this particular talent tier simultaneously strengthens her defensive shield capabilities and amplifies damage output from her summoned companion, Birgitta. The scaling improvements follow standard talent progression curves, with each level providing approximately 6-8% increased damage multipliers.
However, when measured against Ineffa’s alternative constellation options, C3 demonstrates relatively limited impact. While it confers moderate enhancements to both shield durability and personal damage output, it fails to deliver the same magnitude of damage per second improvements available through other constellation unlocks. Many players mistakenly prioritize skill levels over more impactful constellations, not realizing that passive talent scaling often contributes more significantly to her overall performance.
Since Ineffa derives the majority of her damage potential from her passive talent mechanics, and several of her other constellations enhance these more effectively, her third constellation secures the fourth position in our priority ranking. The shield strengthening, while noticeable, typically only becomes relevant in high-difficulty content where survival mechanics take precedence over damage optimization.
C2 – Damage and Shield Boost Evaluation
Ineffa’s second constellation substantially amplifies her damage output by a significant percentage margin. This upgrade represents an excellent selection for players seeking to elevate her damage per second metrics across various combat scenarios. With Constellation 2 activated, she can comfortably conquer most endgame challenges including Spiral Abyss floors, Imaginarium Theater sequences, and Stygian Onslaught encounters.
Beyond pure damage augmentation, this constellation introduces a unique defensive mechanic that extends shield protection to nearby party members following Elemental Burst activation. This particular feature proves exceptionally valuable in Cooperative gameplay modes, allowing Ineffa to distribute her Electro-infused shields to all adjacent allied players. The shield strength scales with her maximum HP, making hybrid builds more viable for players who value survivability.
Given its combination of distinctive mechanical effects and considerable damage amplification, Constellation 2 earns the third position in our priority ranking. It’s worth noting that while C2 delivers excellent overall value, her sixth constellation provides substantially greater personal damage potential for players focused exclusively on maximizing individual character performance. The co-op utility shouldn’t be underestimated for players who regularly engage in multiplayer content.
C6 – Maximum Power Constellation Breakdown
Ineffa’s sixth constellation stands as her most potent upgrade in terms of pure, unadulterated damage output capabilities. Upon activation, players gain access to enhanced off-field Electro application frequency, creating ideal conditions for teams requiring consistent Electro element attachment to trigger the Lunar-Charged reaction repeatedly. The additional damage instances from C6 can trigger reaction chains that significantly boost overall team performance.
However, obtaining Constellation 6 demands substantial resource investment through extensive wishing. While it delivers impressive damage numbers and moderately improves her elemental application rates, the exceptionally high acquisition cost positions it as the second-ranked constellation in our priority evaluation. Many players underestimate the actual improvement percentage from C5 to C6, which typically ranges between 15-20% personal damage increase – substantial but requiring careful cost-benefit analysis.
For free-to-play players or those with limited resources, stopping at C2 or C1 often represents the most efficient stopping point, as the additional value from C6 rarely justifies the potential 300+ wishes required to obtain it. whales and dedicated main should still consider C6 if they plan to use Ineffa as their primary damage dealer across multiple game modes.
C1 – Top Priority Constellation Analysis
Constellation 1 emerges as Ineffa’s most valuable upgrade due to its exceptional team-wide utility and damage amplification properties. It elevates the character’s Lunar-Charged reaction damage by as much as 50 percent, creating dramatic improvements in overall team damage per second metrics. Since this enhancement directly boosts the damage output of the Lunar-Charged reaction, players can observe substantial team damage increases regardless of which character triggers the reaction.
For combat enthusiasts seeking to maximize party damage output and optimize Lunar-Charged reaction performance, C1 represents the most impactful constellation acquisition. Its provision of significant value to the entire team composition, combined with direct amplification of this pivotal reaction’s damage, establishes C1 as her premier constellation option. Players will also notice corresponding damage improvements for Ineffa herself, as the constellation likewise enhances Lunar-Charged reaction damage she triggers.
The universal applicability of this damage boost across various team configurations, combined with its substantial magnitude, solidifies C1’s position as the top-ranked constellation. Strategic players should note that this constellation’s value increases exponentially in teams featuring multiple characters who can consistently trigger Lunar-Charged reactions, making it particularly potent in quick-swap team compositions with high elemental application rates.
Advanced Constellation Strategy Guide
When planning your constellation investment strategy for Ineffa, consider both your available resources and intended team compositions. For most players, the optimal stopping points are C1 for significant team-wide damage boosts or C2 for balanced personal damage and utility. The C6 constellation, while powerful, generally only justifies its cost for dedicated main or players with abundant resources.
A common mistake among players is underestimating the value of C1’s team-wide damage amplification in favor of higher-numbered constellations that offer flashier personal damage numbers. In team-based content, the 50% Lunar-Charged reaction damage increase from C1 often contributes more to clear times than the personal damage from C6, especially in reaction-focused teams.
Advanced optimization tips include pairing Ineffa with characters who can consistently trigger Lunar-Charged reactions to maximize C1 value, and building around her shield mechanics at C2 for challenging content. Remember that constellation value can shift based on future character releases and meta changes, so consider both current and potential future team synergies when making pulling decisions.
No reproduction without permission:GameCDjnh » Ineffa constellations ranked in Genshin Impact Complete guide to Ineffa's constellations ranking with team optimization strategies and practical pull recommendations