TL;DR
- The Vault requires level 57+ and completion of specific main scenario quests to unlock
- Ser Adelphel features a phase transition at 30% health with distinct mechanics in each phase
- Holy Shield Bash targets single players while Holiest of Holy requires group healing coordination
- Charging mechanics create environmental hazards that demand spatial awareness and positioning
- Success requires role-specific execution and understanding of phase transition timing
The Vault represents a pivotal Heavensward dungeon introduced in patch 3.0 that has regained prominence due to its essential role in anima weapon progression. While veteran players may recall this challenging instance from earlier expansions, its renewed significance stems from being mandatory for obtaining the coveted relic weapon upgrades. Newcomers to FFXIV will find this comprehensive guide invaluable for navigating both character advancement and weapon enhancement pathways through this demanding content.
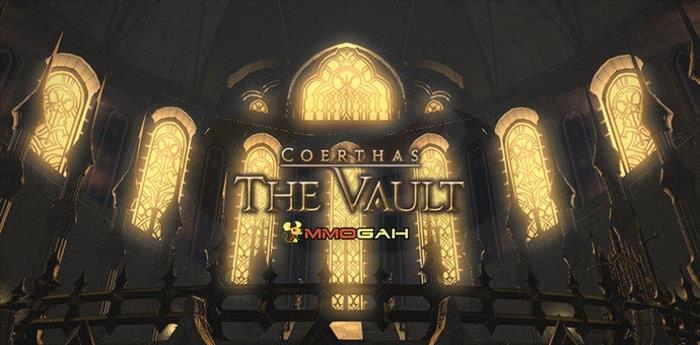
The dungeon’s architectural grandeur matches its mechanical complexity, featuring multi-phase boss encounters that test both individual skill and team coordination. Understanding these mechanics becomes crucial not just for completion but for efficient farming of the anima weapon materials that make The Vault a recurring destination for endgame players.
Gaining access to The Vault demands meeting specific progression milestones, beginning with achieving Level 57 or higher and initiating the Level 57 Main Scenario Quest “A Knight’s Calling.” Players can commence this quest chain by interacting with Hilda located in Foundation at coordinates (x12, y11). Additionally, completion of the level 57 Main Scenario Quest “Fire and Blood” serves as a prerequisite, ensuring narrative continuity and appropriate power level before facing the dungeon’s challenges.
Pro tip: Ensure your gear meets minimum item level requirements before queuing, as The Vault’s enemies hit substantially harder than previous Heavensward dungeons. Many groups struggle with the final boss due to undergeared party members, so verifying equipment standards beforehand can prevent frustrating wipes and time losses.

Ser Adelphel Brightblade
Ser Adelphel employs a limited but deadly moveset that escalates in complexity as the encounter progresses. Initially, he appears accompanied by three adds possessing exceptionally low health pools that should be eliminated quickly. Upon reducing Adelphel’s health to approximately 30%, he undergoes a dramatic transformation, unleashing a powerful knockback effect on all players and commencing the encounter’s true challenging phase.
-
During Holy Shield Bash, he designates a single player, leaps toward their position, and executes a combination stun and damage attack. Targeted players should utilize defensive cooldowns if available, while healers must prepare immediate follow-up healing due to the substantial damage output.
-
When casting Holiest of Holy, he inflicts moderate area-of-effect damage to all party members simultaneously. Healers should precast group healing spells as the cast begins, and all DPS should avoid using abilities with long animations that might prevent them from moving if necessary.
-
At regular intervals, Adelphel initiates charging sequences around the arena, dealing contact damage and depositing explosive light orbs along his path. These orbs detonate shortly after creation, inflicting significant damage to nearby players. Upon completing his charge pattern, he singles out one player and descends upon them with tremendous force.
Mastering The Vault requires role-specific execution beyond basic mechanics. Tanks must position Adelphel away from the group during charging phases to minimize orb placement in accessible areas. Healers should conserve mana for the intensive healing required during Holiest of Holy casts and the phase transition. DPS players need to maintain constant damage while remaining mobile enough to avoid environmental hazards.
Common mistakes include stacking too closely during charging sequences, failing to use personal mitigation for Holy Shield Bash, and not recognizing the visual tells for phase transitions. Advanced players can optimize clear times by coordinating limit breaks during phase transitions and utilizing role-specific advanced techniques from our Class Guide for maximum efficiency.
For players struggling with specific mechanics, reviewing our Complete Guide provides additional context for understanding FFXIV’s combat systems. Those focusing on gear progression may find our Weapons Unlock guide helpful for understanding the broader relic weapon journey that makes The Vault farming worthwhile.
Action Checklist
- Verify level 57+ and complete ‘A Knight’s Calling’ & ‘Fire and Blood’ quests
- Check gear meets minimum item level requirements for smooth progression
- Practice dodging Adelphel’s charging patterns while managing orb placement
- Coordinate role-specific responsibilities with party members before engaging bosses
- Master phase transition timing at 30% health for optimal cooldown usage
No reproduction without permission:GameCDjnh » Final Fantasy XIV Dungeon Strategy: The Vault Master The Vault dungeon in FFXIV with expert strategies for bosses, mechanics, and anima weapon progression
