Master the Clawbarella boss fight with proven strategies, common pitfalls, and advanced optimization tactics
Introduction to Clawbarella
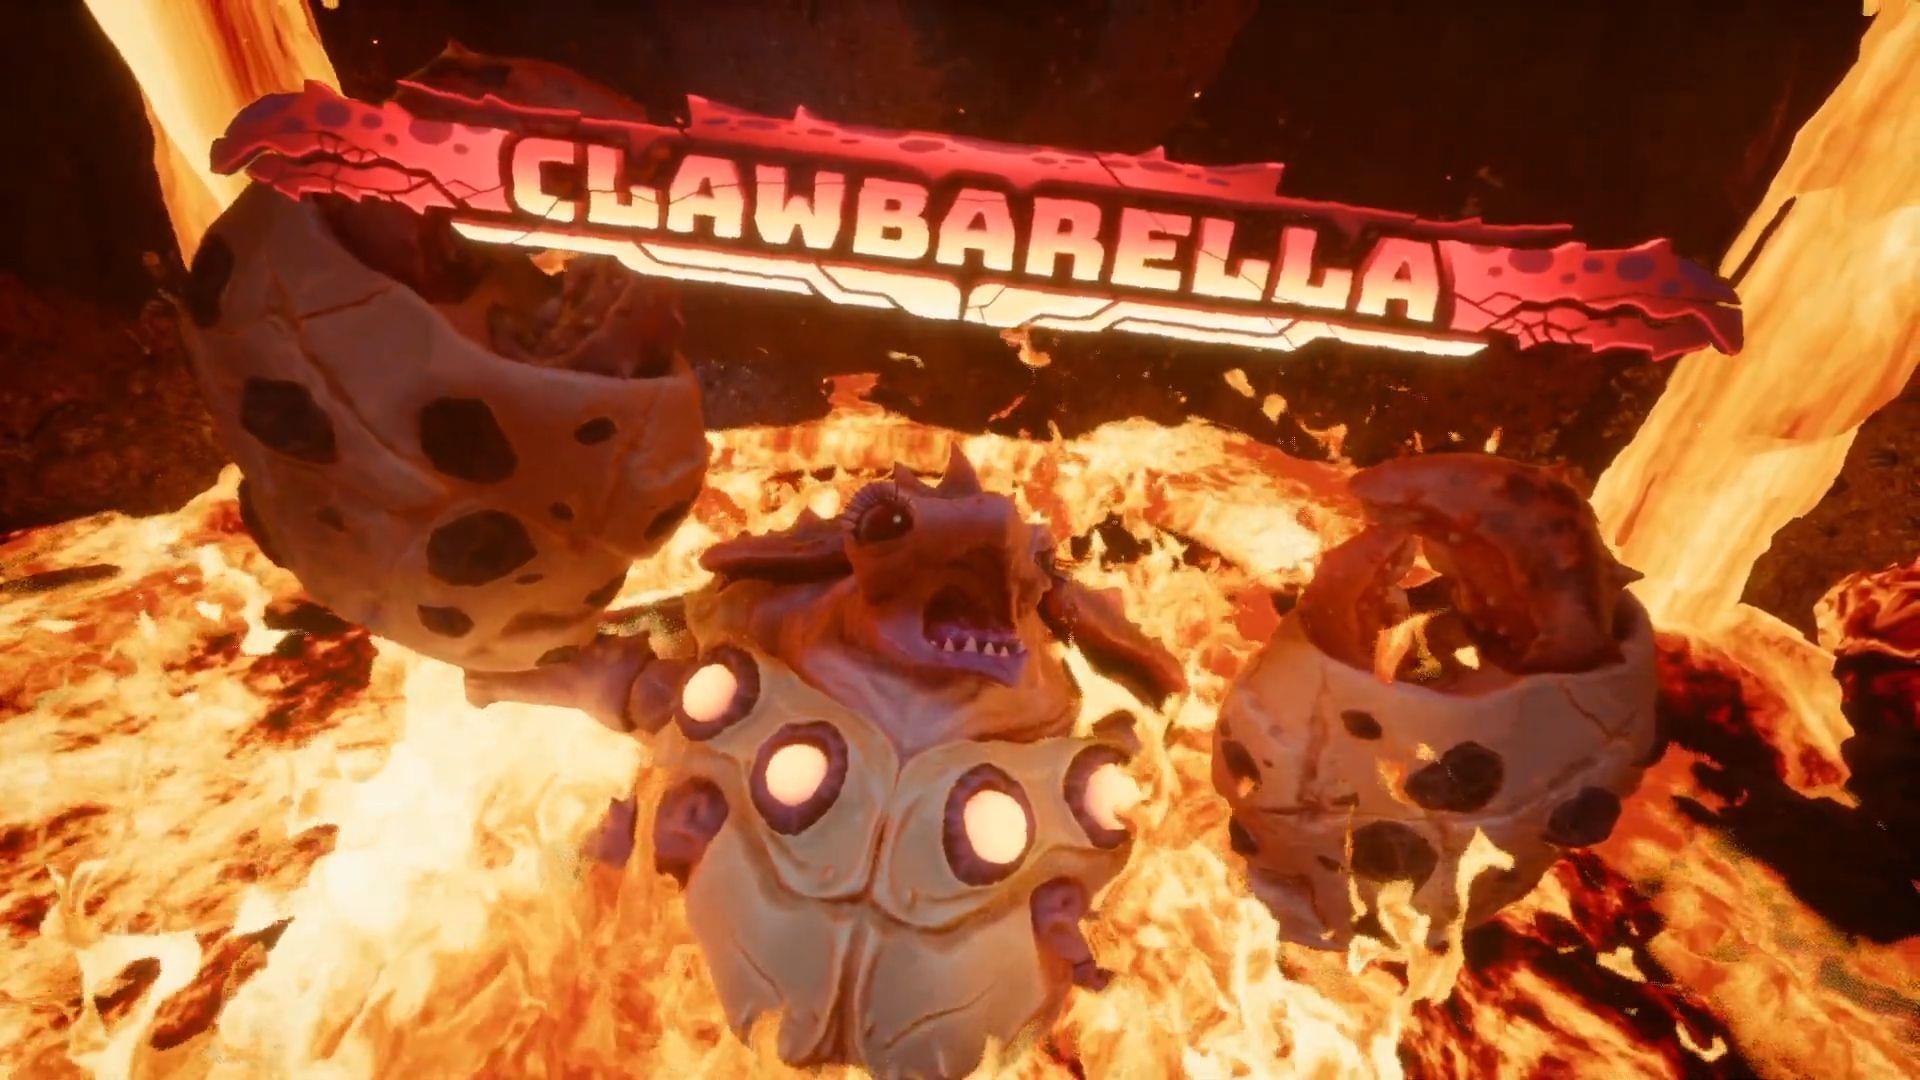
While Revenge of the Savage Planet maintains a relatively concise narrative structure, it delivers significant combat challenges through bosses like Clawbarella. This particular adversary becomes accessible upon reaching the Zenithian Rifts territory within the game’s progression. As the second primary boss encounter, Clawbarella manifests as an underground-dwelling crustacean that surfaces to engage players in combat.
Phase 1: Initial Attack Pattern
The combat sequence initiates with targeting multiple buttons distributed across the boss’s anatomy. Successful elimination of all primary targets creates an opportunity to ascend onto the creature’s claws. This tactical positioning reveals previously concealed circular weak points that require immediate engagement. Precision shooting against these newly exposed zones results in the detachment of the enemy’s primary offensive limbs.
Strategic positioning during this phase significantly impacts success rates. Maintain mid-range distance to clearly observe all button locations while retaining adequate reaction time for evasion maneuvers. The initial claw detachment typically requires 3-5 seconds of sustained fire on the glowing circles, so ensure your weapon is fully loaded before initiating this sequence.
Phase 2: Claw Regeneration Mechanics
Combat complexity escalates as the detached claws demonstrate rapid regenerative capabilities. This biological recovery occurs approximately 8-10 seconds after initial destruction, restoring the boss’s offensive potential. The methodology for repeated limb removal remains consistent with the initial approach, though execution becomes more challenging under time pressure.
Regeneration cycles introduce pattern variations that require adaptive responses. The second wave of glowing circles may appear in different configurations or with altered activation timing. Monitor the regeneration animation closely – the moment the claws fully reform presents the optimal window to begin your next assault sequence.
Phase 3: Flame Attack Management
The confrontation’s concluding stage introduces pyrotechnic hazards as the boss deplakes flame projectiles alongside the established claw mechanics. These incendiary attacks follow predictable arcing trajectories that can be avoided through properly timed vertical maneuvers. The fundamental victory condition remains unchanged: systematically target the reappearing luminous circles while maintaining defensive awareness.
Flame projectiles typically travel in sets of three with 1.5-second intervals between launches. The optimal evasion technique involves jumping just as the projectile begins its descent toward your position. Advanced players can utilize the brief invincibility frames during the jump’s apex to pass through flames safely. Final elimination requires destroying the last set of circles while simultaneously managing the increased environmental hazards.
Advanced Combat Strategies
Seasoned players can optimize their approach through strategic movement and weapon selection. Lateral movement patterns prove more effective than backward retreats when avoiding claw attacks, as the boss’s forward momentum creates natural safe zones along its flanks. Weapons with rapid fire rates and minimal reload requirements excel during the circle-targeting phases.
Environmental awareness provides additional tactical advantages. The arena contains subtle elevation changes that can be used for improved firing angles or as platforms for evasive maneuvers. Time your attacks to coincide with the boss’s animation recovery periods – striking during these brief windows reduces exposure to counterattacks.
Common Mistakes and Solutions
Many players fail by prematurely abandoning the claw-targeting sequence. The regeneration mechanic requires persistent engagement rather than single-phase completion. Another frequent error involves misjudging flame projectile trajectories – remember they arc downward, so horizontal movement alone provides insufficient protection.
Positioning too close to the boss limits visibility of all weak points while increasing vulnerability to melee attacks. Conversely, excessive distance reduces weapon accuracy and extends engagement duration. The optimal combat range maintains clear visual on all targetable elements while providing adequate reaction time for evasion.
Explore additional Revenge of the Savage Planet guidance through these resources:
No reproduction without permission:GameCDjnh » Clawbarella: How to defeat Clawbarella boss fight in Revenge of the Savage Planet Master the Clawbarella boss fight with proven strategies, common pitfalls, and advanced optimization tactics