Complete guide to completing the Return to Light hidden quest with strategic tips and efficient sticker collection methods
Quest Overview and Preparation
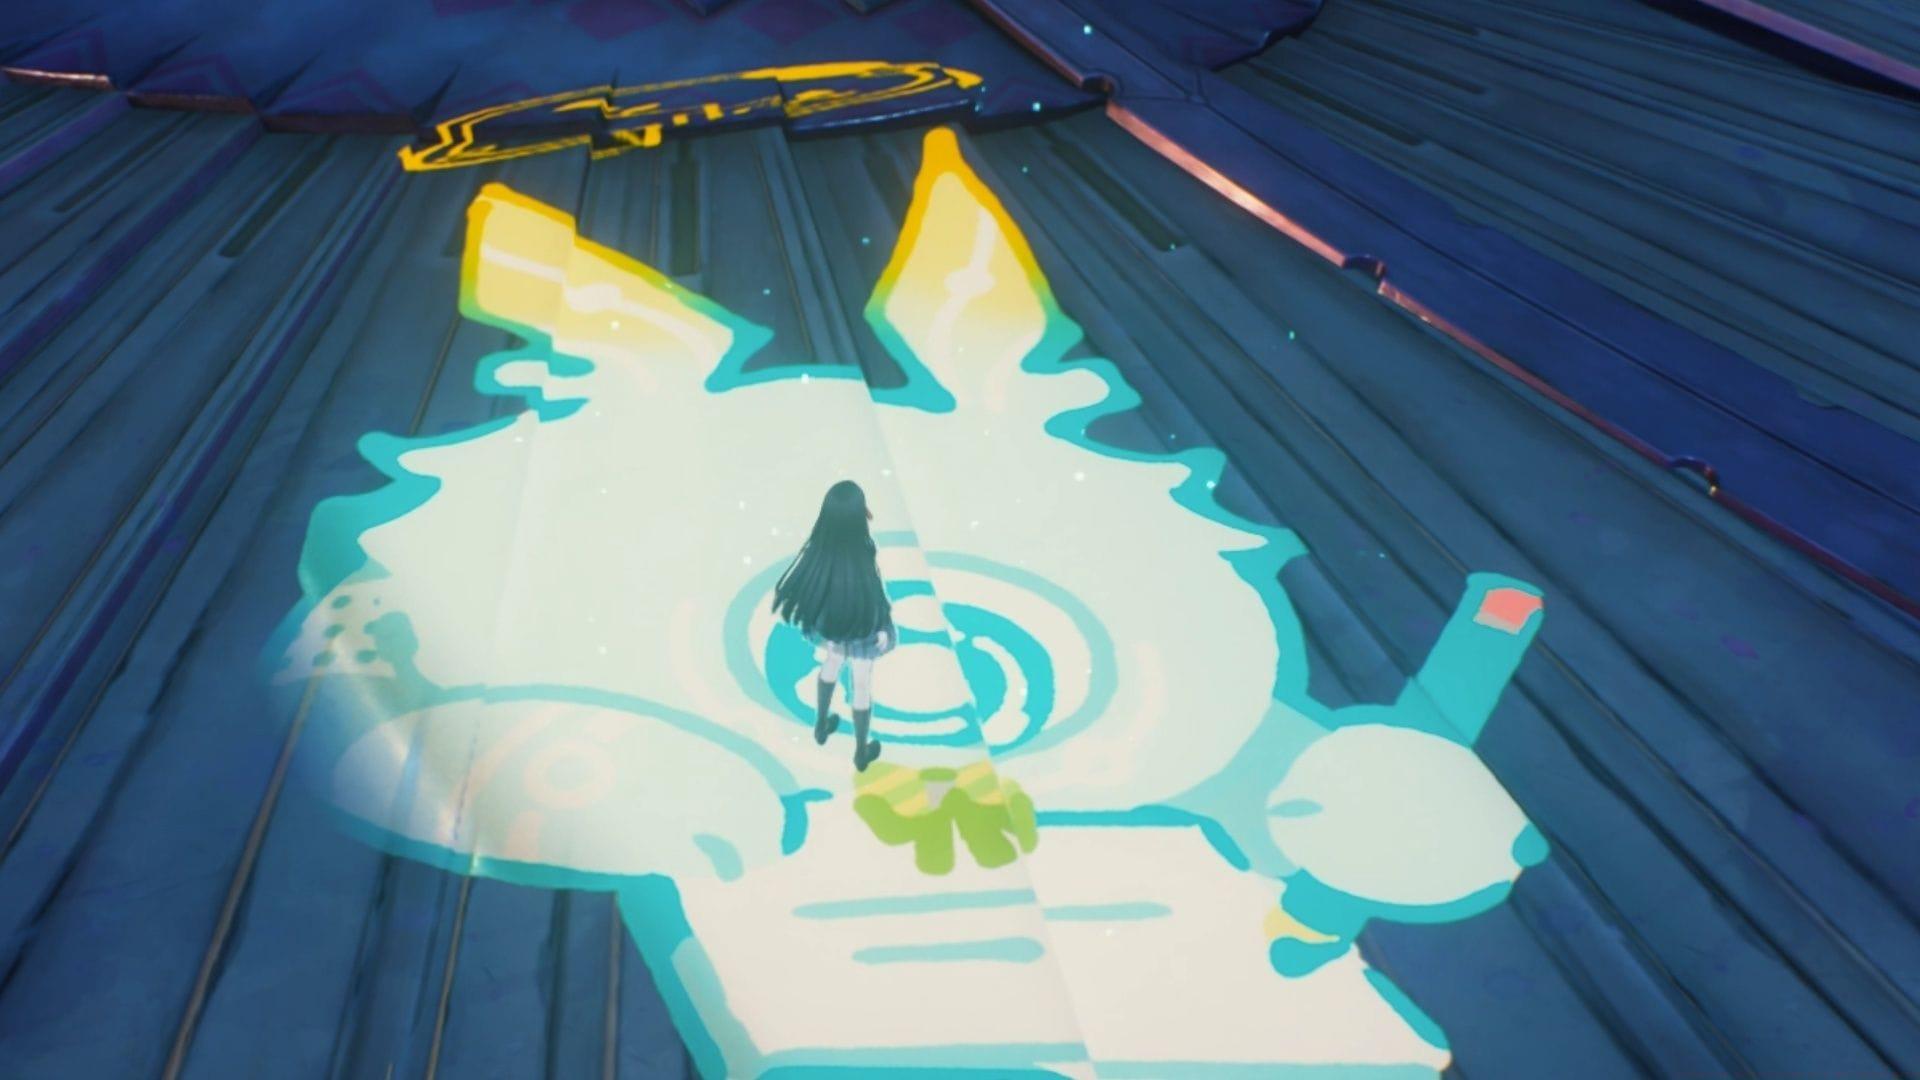
The Return to Light represents one of Wuthering Waves’ hidden side quests situated within the Etching Plains region. This emotionally-driven narrative centers around a young girl named Misha who anxiously awaits her mother’s return but cannot venture out herself due to safety concerns. Players undertake the responsibility of locating five specific camps to gather collectible stickers that will ultimately help reunite the family. Successfully completing this mission yields valuable rewards including premium currency and cosmetic items for vehicle customization.
Before initiating the quest, ensure your character is adequately leveled for combat encounters and has sufficient inventory space. The recommended character level for this activity is 20+, though skilled players can complete it at lower levels with proper strategy. Begin by locating Misha near her tent in the central Etching Plains area where she’ll provide initial context and the first sticker location.
Sticker Collection Locations Guide
Following your conversation with Misha, immediately check the area adjacent to her temporary shelter to acquire the introductory sticker. This initial collectible serves as your starting point for the broader scavenger hunt across the region.
Camp 1 – Western Position: Travel directly westward from Misha’s coordinates until visual indicators automatically appear signaling the first campsite. This location contains hostile entities that must be eliminated before proceeding. Once the area is secured, thoroughly search both the tent structure and adjacent golden-hued wall to obtain two separate stickers. Enemy composition typically includes standard Outcast units, so prepare appropriate combat strategies.
Also read: Urban Legend quest series guide
Camp 2 – Spacetrek Observatory Vicinity: Navigate southeast from the astronomical facility to discover the second campsite. This location features reduced enemy presence with only a single sticker positioned on the right flank of the tent structure. Approach cautiously as some camps may contain patrolling enemies not immediately visible.
Camp 3 – Orbit Valley Pass: This high-altitude location presents a peaceful collection opportunity with no hostile encounters. The targeted sticker rests on the right side of the tent, allowing for quick acquisition without combat preparation. Use this as a strategic respite between more challenging camps.
Camp 4 – Startorch Academy Perimeter: Positioned southeast of the academic institution, this camp requires careful navigation. Stickers appear in two distinct locations: atop the tent roof and on a nearby building protected by Outcast guards. Prioritize stealth approaches or prepare for multi-enemy engagements.
Also read: The Lost Melody quest guide
Camp 5 – Ribcage Bends Northern Sector: The final collection point lies north of the skeletal formation area. This camp contains both a sticker and treasure chest, but requires defeating all surrounding enemies first. The combat here tends to be more intensive, so ensure your health and resources are adequate before engaging.
Advanced Strategies and Completion
After successfully gathering all five camp stickers, return directly to Misha’s Etching Plains location to deliver the collected items. The quest progression then requires manipulating the in-game time mechanism – advance the clock by one full cycle to trigger the next story phase. Investigate the message left on the interior table within Misha’s tent to conclude the Return to Light narrative arc.
For optimal efficiency, plan your route in a circular pattern starting from Camp 1 (west), proceeding to Camp 2 (southeast), then Camp 3 (Orbit Valley), followed by Camp 4 (academy area), and finishing with Camp 5 (northern sector). This routing minimizes backtracking and optimizes travel time between objectives. Consider using mobility-enhancing Resonators or movement abilities to further reduce transit duration.
Combat-focused players should prioritize clearing enemies quickly using area-of-effect abilities at camps 1, 4, and 5, while stealth-oriented approaches work well at camps 2 and 3. Always check your sticker inventory after each camp to ensure successful collection before proceeding to the next location.
Common Mistakes and Pro Tips
Avoid These Common Errors: Many players mistakenly attempt to collect stickers without first clearing all enemies at guarded camps, resulting in interrupted collection attempts. Others forget to advance the in-game time after returning to Misha, causing confusion about quest progression. Additionally, some travelers overlook the dual sticker locations at camps 1 and 4, necessitating return trips.
Advanced Optimization Strategies: Experienced players can complete this quest in under 15 minutes by using fast travel points strategically and employing crowd control abilities against enemy groups. The 30 Astrites reward represents significant premium currency value, while the Studious Soliskin sticker provides permanent cosmetic customization for your bike. Consider completing this quest early in your gameplay to benefit from the additional resources during character progression.
Check out our other Wuthering Waves guides:
No reproduction without permission:GameCDjnh » Wuthering Waves Return to Light quest guide Complete guide to completing the Return to Light hidden quest with strategic tips and efficient sticker collection methods