Master The River’s Fury quest with expert strategies, puzzle solutions, and reward optimization in Where Winds Meet
Quest Overview and Strategic Preparation
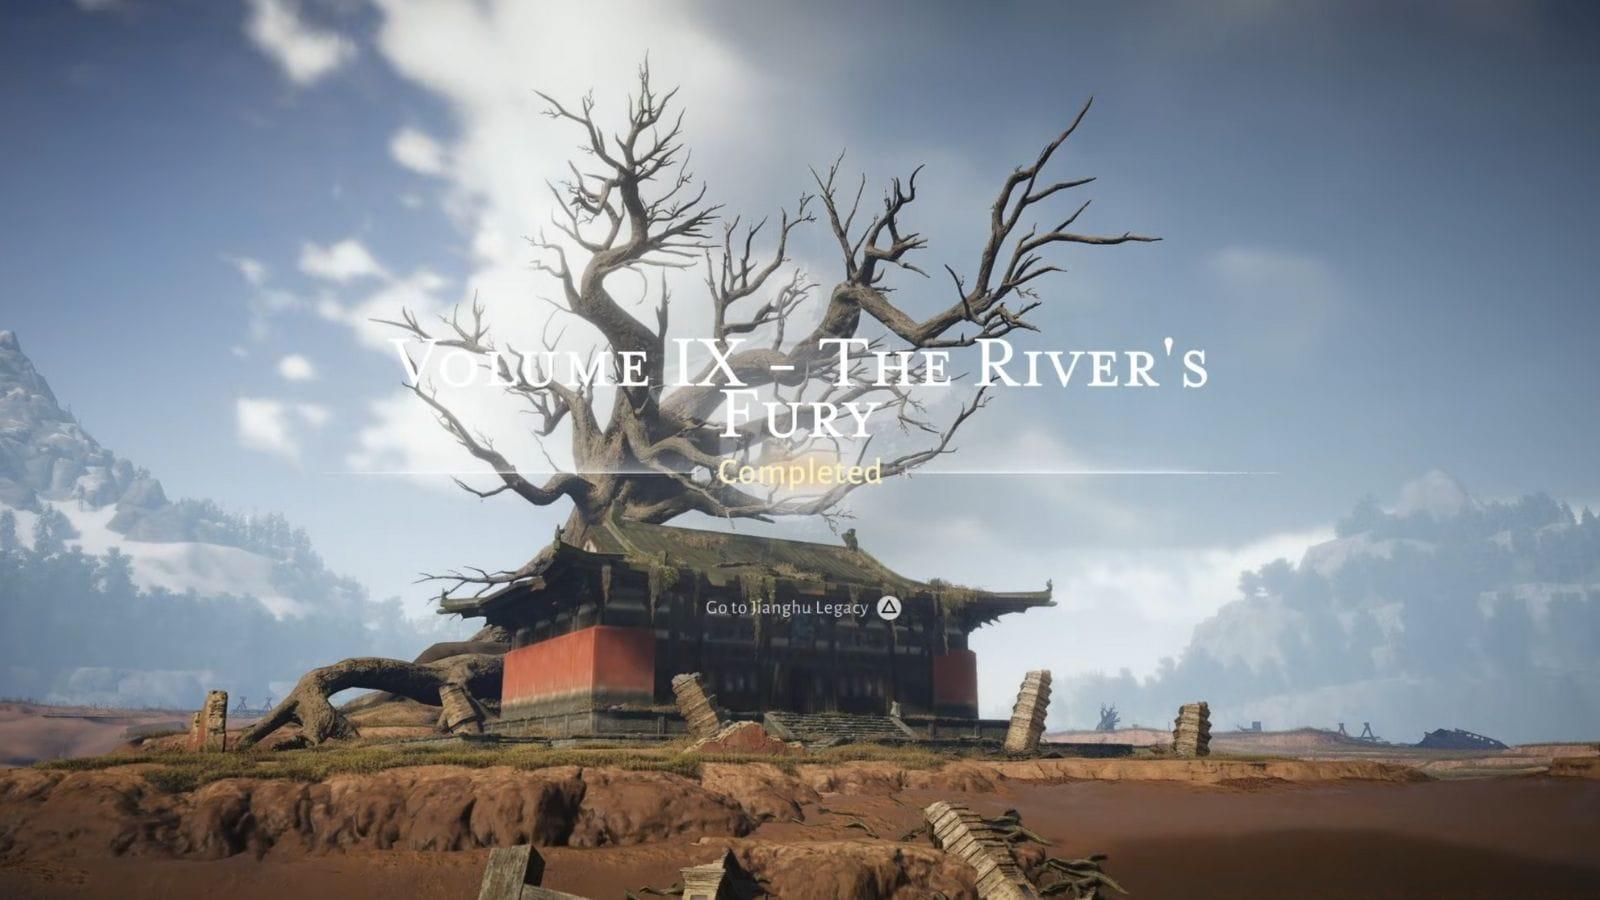
The River’s Fury represents one of the challenging Jianghu Legacy questlines available within Where Winds Meet, specifically located within the Roaring Sands district of Kaifeng. Successfully navigating this quest chain grants substantial Enlightenment progression points, the exclusive Red Fish Sword weapon, rare Echo Jade materials, valuable Ebon Iron components, and numerous additional valuable rewards that enhance character progression.
Strategic teleportation planning significantly reduces travel time. If you’ve previously activated the Eternal Solitude Hall Boundary Stone, direct teleportation becomes available. Alternatively, utilize the Fishwood River or Fallen Invader’s Mound Boundary Stones as secondary options, then navigate manually toward the Eternal Solitude Hall structure and enter through its main entrance.
Pro Tip: Before initiating this quest, ensure your Tai Chi ability is readily accessible on your hotbar and practice timing the activation precisely when water streams approach. Mastering this timing early prevents frustration during critical puzzle sequences.
Eternal Solitude Hall: Secrets and Initial Objectives
Upon entering the hall, an introductory cinematic sequence plays automatically. Following this, engage in conversation with the Eccentric Elder character, who will request retrieval of specific ceremonial items. These objects remain scattered throughout the hall interior, and activating your Wind Sense ability highlights their exact positions through environmental glow effects.
The initial required object, labeled as the Vial artifact, rests upon a small pedestal structure positioned to your immediate left. The secondary item, known as the Dusty Spirit Table, awaits discovery to your right side, nestled adjacent to a wooden fence barrier. Advanced players can secure a bonus third item, the Double Fish Peace Pendant, by employing the Celestial Seize ability directly upon the Eccentric Elder himself before submitting any items.
Common Mistake: Many players immediately submit the first item they find, missing the opportunity to collect the secret Double Fish Peace Pendant. Always use Celestial Seize on the Elder before proceeding with item submission.
Present any single collected item to the Eccentric Elder, triggering his movement away from his central position. Assume his previous location and perform three consecutive bowing gestures toward the main statue, which activates a previously concealed doorway mechanism.
Mastering Water Mechanism Puzzles and Tai Chi Applications
Approaching the newly revealed secret doorway triggers the Eccentric Elder to forcefully push you through the entrance, simultaneously unlocking the Flowbreaker Monument Landmark Teleport point. Progress toward the quest marker indicator leads to a compact pool area where another cinematic sequence initiates. To advance further, you must successfully operate a specialized mechanical contraption.
To activate the primary mechanism, position yourself precisely atop the Stone Slab platform and await the Water Dragonhead’s aqueous discharge. Deploy your Tai Chi ability milliseconds before the water stream makes contact, redirecting the flow toward the Water Wheel mechanism situated on your right flank. Successful activation lowers the pool’s water level substantially, enabling quest progression. Exercise caution around crimson-colored plants, as they detonate violently upon physical contact.
Advanced Technique: The timing window for Tai Chi activation is approximately 0.5 seconds before impact. Practice this rhythm: stand on slab, watch dragonhead, activate Tai Chi as water begins moving toward you.
Following the water level reduction, descend deeper into the subterranean complex. Locate a narrow entrance passage; crossing this threshold triggers seismic vibrations throughout the chamber. Your objective updates, directing you to investigate the vibration source.
Continue advancing through cavern passages until encountering stair formations. To your left, identify an opening requiring a downward jump. This leads to another submerged area requiring underwater traversal. Meticulously follow quest markers while maintaining distance from explosive red flora.
Also read: Where Winds Meet walkthrough: Gift of Gab minigame guide
Advanced Underground Navigation and Fragment Collection
After completing underwater navigation, you encounter another chamber containing a more complex mechanical puzzle. This configuration differs from previous mechanisms, requiring you to transport a statue artifact onto the Stone Slab platform. Subsequently, navigate to the Water Dragonhead’s emission point and employ Tai Chi to redirect water toward the adjacent Water Wheel.
Solving this hydraulic puzzle elevates the pool’s water level, facilitating continued progression through The River’s Fury questline.
Also read: Where Winds Meet fishing guide
Post water-level elevation, proceed toward the gate structure and manipulate the adjacent lever, activating another Water Wheel mechanism. The opposite side reveals a Boundary Stone alongside the Water Dragonhead apparatus. Note that simply stepping on the Stone Slab proves ineffective here; the Water Dragonhead requires repair before operational use.
Navigate following quest markers, entering submerged sections once more. Persistently track the waypoint indicator until a cinematic sequence triggers near a specific item. After the cinematic concludes, acquire the Hetu Fragment and journey toward the Water Dragonhead location.
Also read: How to unlock Meridian Touch Mystic Art in Where Winds Meet (and what it does)
Optimization Tip: When navigating underwater sections, use the quest marker’s vertical position to determine depth requirements. If the marker appears above your position, surface periodically to reorient yourself.
With Hetu Fragment acquired, repair the malfunctioning Water Dragonhead mechanism. Position yourself on the Stone Slab to activate the Water Dragonhead, then utilize Tai Chi to channel water toward the gate-adjacent Water Wheel.
Final Challenges and Reward Acquisition
Successfully redirecting water drains the area completely, revealing the underground’s lowest level. The quest marker now guides toward a Hero’s Tomb location. Follow navigation markers deeper into cavern systems, simultaneously unlocking the Dragon’s Mound teleportation waypoint.
This area contains a Water Dragonhead, Stone Slab, and ceremonial altar, though initial interaction remains disabled. Navigate leftward, ascending small rock formations to reach the upper level.
Also read: How to farm Zhou Coins quickly in Where Winds Meet
On the initial floor, locate a control lever alongside a Water Dragonhead adjacent to a Water Wheel. Activate the lever to open the gate, then position yourself on the central Stone Slab (positioned between Dragonhead and wheel) to activate the Dragonhead. Employ Tai Chi to redirect water toward the wheel mechanism.
Also read: How to increase Solo mode max level in Where Winds Meet
A brief cinematic plays, after which a small aperture becomes visible several meters beyond the previous mechanism’s Stone Slab. Approach this entrance, turn leftward, and discover another gate featuring an adjacent Water Wheel. Here, locate and collect a small statue object.
Transport the statue toward the quest marker, placing it upon a different Stone Slab platform. This activates the Water Dragonhead. Return to the statue’s original chamber and utilize Tai Chi to direct water toward the Water Wheel, unlocking the gate and revealing a third Water Wheel near your objective marker.
With the gate opened, employ Tai Chi once more to redirect water toward the tertiary wheel. Completing this puzzle sequence substantially reduces the area’s water level.
Also read: Battle Pass in Where Winds Meet: All rewards, prices, and is it worth buying?
Time-Saving Strategy: Use Cloud Steps immediately when you see the boot icon to bypass complex platforming sections. This ability significantly reduces navigation time between puzzle areas.
Boss Encounter and Quest Completion
Following water reduction, a boot icon appears on your interface; activate Cloud Steps ability for rapid navigation toward subsequent areas. Track the quest marker and scale the stone barrier to encounter another mechanical contraption.
Here, ascend stone staircases, collect the statue, position it on the Stone Slab, and utilize Tai Chi to activate the mechanism, opening the ground-level gate. Descend and pursue the quest objective. Discover a secondary Water Wheel mechanism beside a gate at your destination.
Also read: Where Winds Meet Weapon Skill guide: How to unlock and use them
From this wheel, turn left to identify a narrow pathway leading toward a lever and gate combination. Manipulate the lever to open this gate, then proceed inside. Here, locate a Stone Slab. Now employ Tai Chi to redirect water back toward the initial Water Wheel.
Adjacent to the Stone Slab, discover another small statue. Position this statue on the slab, then navigate toward the quest marker. Observe the secondary Water Wheel, then turn right and leap toward the confronting cliff face. Deploy Tai Chi to finalize this mechanism, unlocking the Water Wheel-adjacent gate.
Progress toward the objective marker to acquire the Luoshu Fragment from a table surface. Subsequently, pull the nearby lever to open the subsequent gate, then activate Cloud Steps to return to the Dragon’s Mound Boundary Stone and altar area.
Also read: Where Winds Meet trophy list: All achievements and how to unlock
Upon returning, utilize the Luoshu Fragment to restore the Water Dragonhead statue. Position yourself on the Stone Slab to activate the mechanism, redirecting water toward the quest marker’s Water Wheel. This triggers a cinematic sequence and further reduces the area’s water level.
The Eccentric Elder reappears following water recession. Interact with the altar situated near the Stone Slab.
Also read: All currencies in Where Winds Meet explained
The Eccentric Elder materializes once more post-water descent. Engage with the Stone Slab-positioned altar. Following interaction, collect the Red Fish Sword and Nuo Dance Mask artifacts. Equipping both items proves mandatory for quest progression.
Ephemeral Life – Mad, an enormous piscine entity, materializes before you, requiring defeat. This creature remains non-aggressive if you’ve equipped the altar-acquired items beforehand. Failure to equip these items triggers immediate hostility. For optimal combat efficiency, equip both artifacts before initiating engagement.
Also read: Where Winds Meet Mystic Arts guide: How to unlock and use them
Boss Strategy: Even with the protective items equipped, maintain distance and use ranged abilities. The fish has area-of-effect attacks that can still damage you if you stand too close during its animation sequences.
Following the aquatic entity’s defeat, your objective updates, directing travel toward the Final Burial Chamber. A dialogue sequence initiates upon reaching the quest marker. Dialogue completion presents a return-to-entrance option marked by a nearby quest indicator.
Selecting this option teleports you inside the Eternal Solitude Hall. Here, perform a bowing gesture toward the central statue to trigger the concluding cinematic and finalize The River’s Fury quest in Where Winds Meet.
Also read: How to unlock and use Internal Arts in Where Winds Meet
Upon successful completion of The River’s Fury questline in Where Winds Meet, you receive these substantial rewards:
Also read: All weapon types in Where Winds Meet explained
Reward Optimization: The Inner Way Note – Custom Chests can be saved until you reach higher levels, as their contents scale with your character’s progression, providing more valuable resources later in the game.
No reproduction without permission:GameCDjnh » Where Winds Meet walkthrough: How to complete The River’s Fury quest Master The River's Fury quest with expert strategies, puzzle solutions, and reward optimization in Where Winds Meet