Master SHUHUA’s gameplay with optimal weapons, skill priorities, team compositions and advancement strategies in Solo Leveling Arise
Understanding SHUHUA’s Core Mechanics
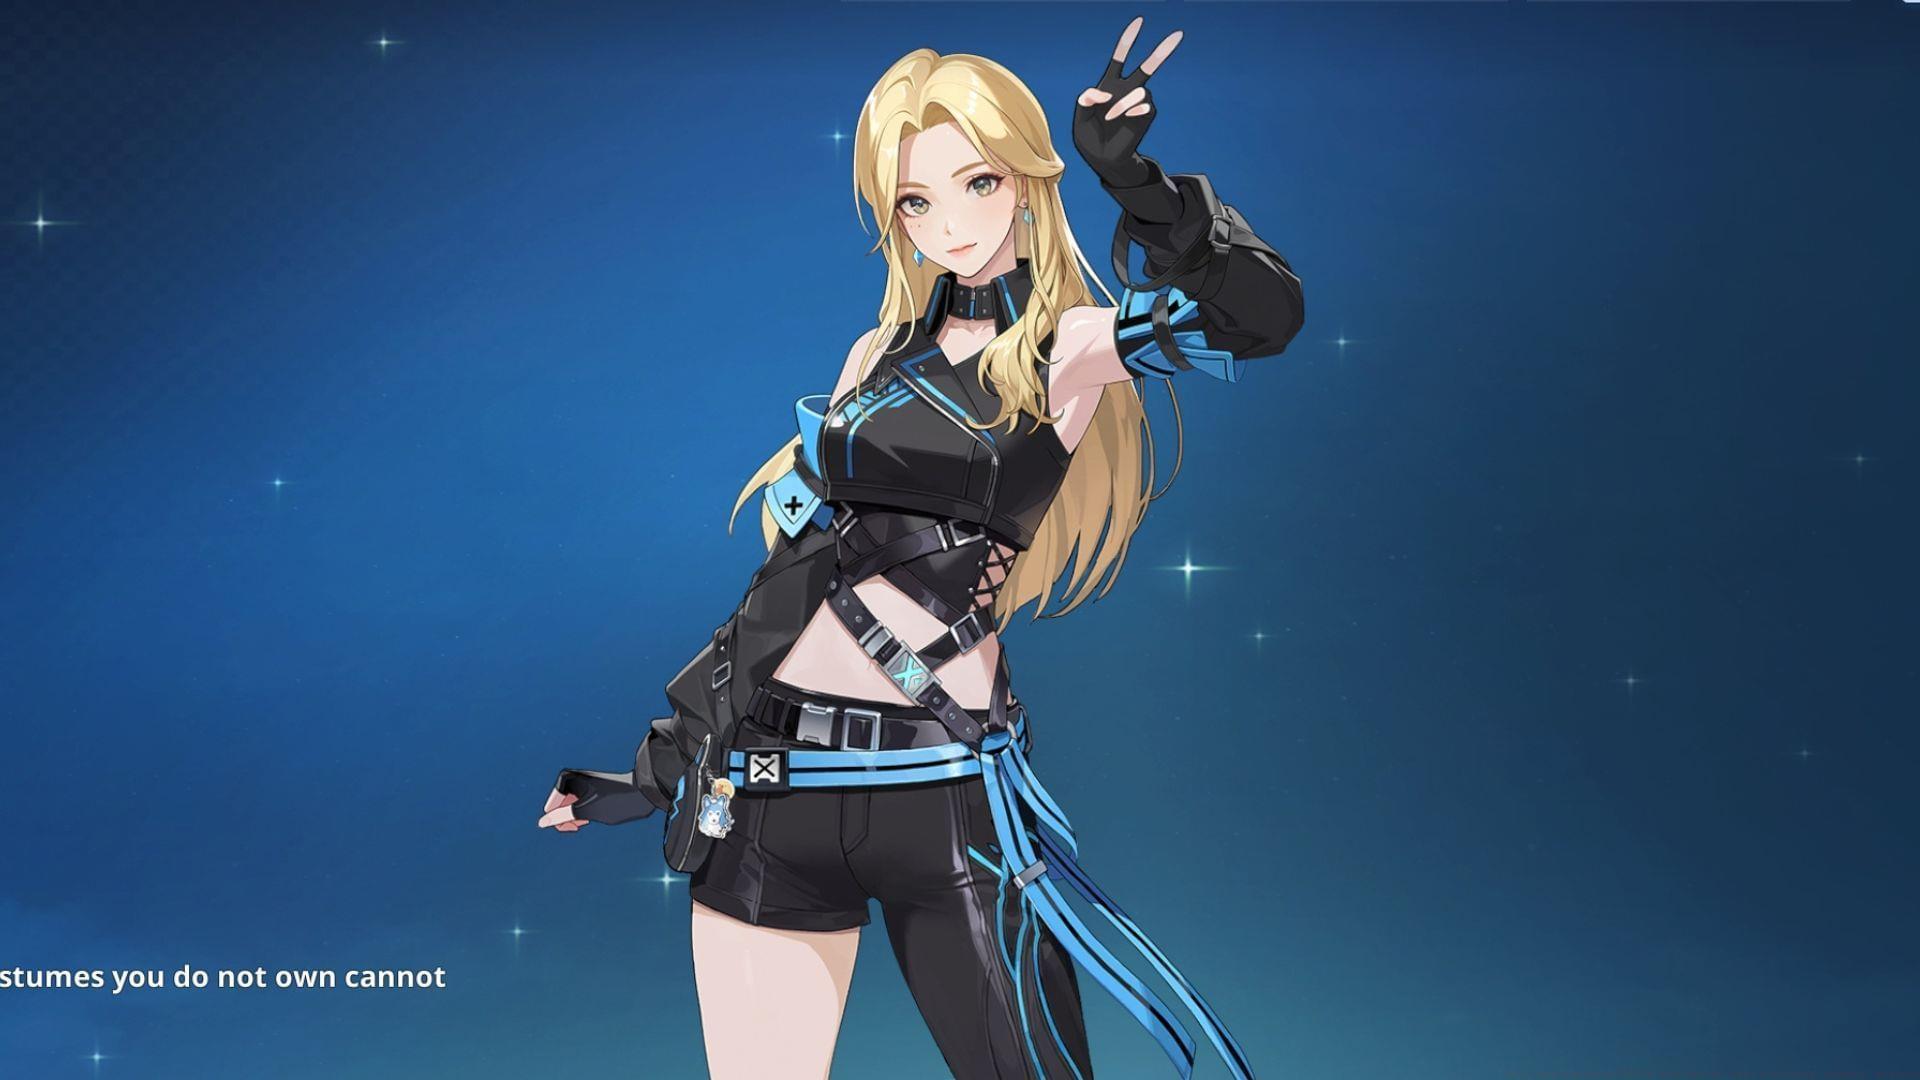
SHUHUA arrives as a collaborative character alongside MIYEON during the Solo Leveling Arise i-dle crossover event. Operating as a Water-element Assassin hunter, her combat effectiveness centers around core attack sequences that deliver substantial damage while maintaining survivability through the Performance buff. This unique mechanism generates protective Shields matching her attack power while amplifying core attack potency.
For optimal performance, understanding her ability interactions proves crucial. The Performance effect activates when using Pop Star Landing, creating a rhythmic combat pattern that rewards strategic timing. Meanwhile, High-energy transformations modify her core attacks into enhanced versions, significantly boosting damage potential when properly executed.
Advanced players should focus on mastering the cooldown reduction mechanics, which trigger whenever her core attacks successfully connect with targets. This system enables more frequent skill usage, dramatically increasing her damage per second output when properly managed.
Optimal Weapon Selection and Artifacts
When constructing your SHUHUA loadout, artifact selection significantly impacts her combat effectiveness. The complete Burning Curse artifact set delivers consistent damage amplification throughout engagements. For rapid encounters, combine four Burning Curse pieces with Obsidian components to maximize burst damage potential.
Extended battles benefit from pairing Burning Curse with the Expert collection, which escalates attack power following successful critical strikes. This combination scales exceptionally well against high-health targets where sustained damage becomes paramount.
Her signature weapon, The Place Bathed in Moonlight, stands as the premier choice for serious builds. At baseline, it elevates attack statistics by 5% while specifically enhancing Catharsis in Harmony Ultimate damage when triggered through Rhythmic Beatdown or High Energy Beat techniques. These bonuses accumulate across ten stacks during thirty-second windows, resetting when the Ultimate concludes.
Budget-conscious alternatives include:
Strategic tip: Always prioritize weapons that complement her core attack focus, as this represents her primary damage source. Critical rate secondary stats provide excellent value for maximizing Expert set procs during prolonged encounters.
Skill Upgrade Priority and Rotation
Efficient skill progression follows this strategic sequence:
Core Attack (Rhythmic Beatdown) > Ultimate Skill (Catharsis in Harmony) > Basic Skill 2 (Starlight Bark) > Basic Skill 1 (Pop Star Landing) > Support Skill (Showtime) > QTE Skill (Twinkline Arpeggio) > Basic Attack (Do-Re-Me Glitch)
This prioritization maximizes damage per resource investment, focusing first on her primary damage sources before enhancing utility abilities. Core Attack upgrades provide the most significant overall damage increase, making them the top investment priority.
Optimal rotation begins with Pop Star Landing to activate Performance effects, followed by Starlight Bark to trigger High-energy conversion. Execute Rhythmic Beatdown transformed into High-energy Beat during core attack windows, utilizing the cooldown reduction to rapidly cycle abilities. Time Catharsis in Harmony when Performance and High-energy stacks reach maximum for explosive damage bursts.
Common mistake: Neglecting to weave basic attacks between skill cooldowns reduces overall damage output. Always maintain attack uptime during ability recovery periods to maximize DPS. Advanced technique: Pre-cast Showtime before engaging bosses to ensure buff availability during critical damage phases.
Team Composition Strategies
Building synergistic teams around SHUHUA dramatically enhances her combat effectiveness. Ideal partners include:
Shadow selection focuses on damage amplification:
Team composition strategy: Position SHUHUA as primary damage dealer supported by Seorin’s damage amplification and Meilin’s sustain. This creates a balanced team capable of handling diverse content while maximizing SHUHUA’s damage potential. Against Water-weak enemies, this composition becomes exceptionally potent due to layered damage multipliers.
Advanced tip: Time Seorin’s Water vulnerability application immediately before SHUHUA’s damage windows to maximize burst potential. Coordinate Meilin’s healing with predictable damage phases to maintain optimal health levels during challenging encounters.
Advancement Tier Analysis
SHUHUA’s passive abilities undergo significant enhancements at each Advancement Tier, fundamentally altering her gameplay potential:
The definitive Advancement Tier remains A5, delivering unparalleled damage escalation through multiple synergistic enhancements. The combination of attack speed increases, critical rate bonuses, and damage amplification creates the highest possible damage output configuration.
Progression recommendation: While A5 represents the ultimate goal, A3 provides substantial power spike for resource-conscious players. The Performance enhancement at A3 significantly improves both damage and survivability, making it an excellent mid-game target before pursuing maximum investment.
No reproduction without permission:GameCDjnh » Solo Leveling Arise SHUHUA build guide: Best artifacts, weapons, and more Master SHUHUA's gameplay with optimal weapons, skill priorities, team compositions and advancement strategies in Solo Leveling Arise