Master Schedule 1 West Bridge navigation for business deals, dead drops, and seed purchases with strategic routes
West Bridge Strategic Importance in Schedule 1
The Schedule 1 West Bridge represents a critical operations center where numerous business transactions and trade agreements occur as you develop your narcotics network. This location’s strategic value stems from its hidden nature—it deliberately doesn’t appear on your in-game phone map, creating navigation hurdles for players attempting to reach it for dead drop collections or dealer purchases. The intentional obscurity forces players to develop advanced spatial awareness and route memorization skills.
Professional players recognize this location as one of three primary commerce hubs in the game, each with distinct access challenges. Unlike marked locations, the West Bridge requires environmental familiarity rather than waypoint dependence, making early mastery essential for efficient empire expansion.
Precise Location Identification and Landmarks
Also read: Where is the Canal stash in Schedule 1?
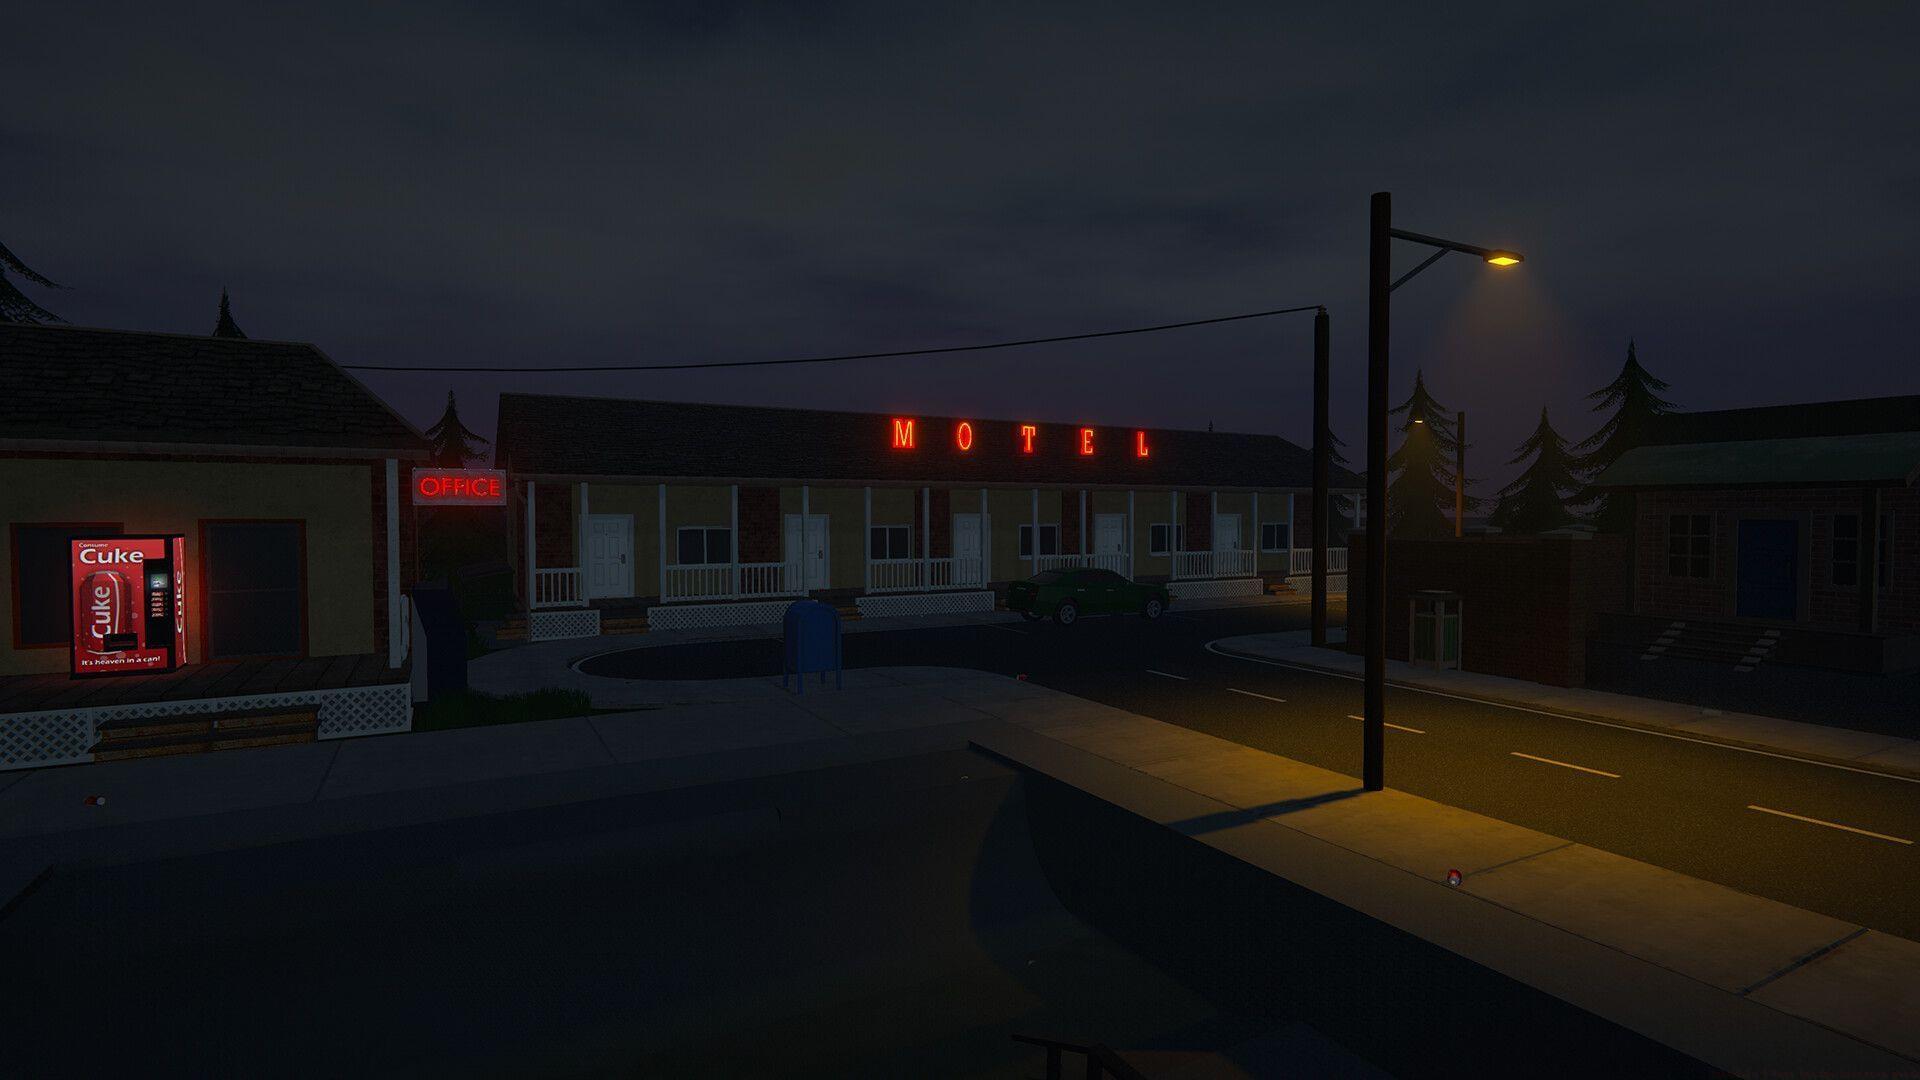
Pinpointing the Schedule 1 West Bridge requires understanding its relationship to the Canal system. The bridge spans the central waterway in the western industrial district, characterized by its rusted steel construction and distinctive arched design. Unlike marked locations, you’ll identify it through environmental cues rather than map indicators.
Access the area by descending from any accessible point along the Canal’s edges—multiple entry locations exist on both northern and southern banks. Once at water level, proceed beneath the bridge structure, which serves as a designated meeting zone for various in-game characters. The architectural design provides natural cover from aerial surveillance and pedestrian observation.
Beneath the Schedule 1 West Bridge, you’ll discover a compact trapdoor mechanism marked with a clearly visible “X” symbol. This indicator designates the dead drop location and proves invaluable when coordinating bulk contraband transfers from suppliers. The marking’s placement ensures quick identification while maintaining subtlety from casual observers.
Advanced Navigation Strategies and Route Planning
Mastering West Bridge navigation involves developing multiple approach vectors rather than relying on a single path. From the northern industrial complex, descend using the broken ladder system near the warehouse district. Southern approaches utilize the drainage pipe network that empties into the Canal. Eastern access comes through the maintenance tunnel beneath the railway tracks.
Efficient players memorize at least three separate routes to account for police patrol patterns and rival gang activity. Time your movements to coincide with shift changes at nearby factories when ambient noise provides acoustic cover. Advanced navigation incorporates rooftop pathways that offer superior visibility before descending to Canal level.
Stealth movement beneath the bridge requires understanding guard patrol timings and camera sightlines. The western pillar provides the best concealment during transactions, while the eastern approach offers quicker escape options. Always position your vehicle within 30 seconds of sprint distance for emergency extraction scenarios.
Business Operations and Transaction Procedures
The West Bridge serves as your meeting point with Albert Hoover for purchasing various cultivation seeds—an essential component for expanding your product variety. Transactions occur during specific in-game time windows (typically between 20:00-04:00) when law enforcement presence diminishes. Bring sufficient cash and ensure your inventory has space for acquired seeds.
Dead drop procedures require precise timing—suppliers typically allow 15-minute collection windows after notification. The trapdoor beneath the bridge contains security features preventing unauthorized access. When depositing items, ensure complete concealment and verify the ‘X’ marker visibility for your contact.
Security protocols mandate conducting reconnaissance before approaching, checking for surveillance vehicles, and establishing lookout positions. Never conduct back-to-back transactions—allow at least one in-game day between operations at the same location. Use the Canal’s water currents to dispose of evidence if compromised during exchanges.
Advanced Optimization and Common Pitfalls
Seasoned players optimize West Bridge operations by coordinating multiple deals during single visits—purchasing seeds while simultaneously collecting dead drops. Time efficiency improves dramatically when you master the quick descent from the railway maintenance hatch, saving approximately 45 seconds compared to standard routes.
Common mistakes include approaching during peak daylight hours (10:00-18:00) when visibility maximizes detection risk. Novice players often miss the subtle ‘X’ marker placement, wasting precious mission time searching incorrectly. Another frequent error involves inadequate escape planning when police raids occur.
Pro strategies incorporate distraction techniques—triggering car alarms upstream to draw attention away from your position. Advanced players utilize the sewer system connecting to the Canal for completely covert access. Always verify dead drop contents immediately after collection to avoid accepting compromised merchandise.
Stay updated with Sportskeeda for additional guidance, tactical updates, and breaking news.
No reproduction without permission:GameCDjnh » Schedule 1 West Bridge location guide Master Schedule 1 West Bridge navigation for business deals, dead drops, and seed purchases with strategic routes