TL;DR
- Phase 1 emphasizes individual mechanics mastery with sun/moon affix positioning
- Phase 2 requires perfect team coordination between separated parties
- Sun party needs destruction bombs; moon party requires burst damage classes
- Communication is critical for interpreting laser signal patterns correctly
- Boss enrages if weak spots aren’t destroyed within tight time windows
The Abyss Raid Argos represents Lost Ark’s premier Tier 3 endgame challenge, offering valuable rewards including Tier 3 Accessories, Ability Stones, rare Cards, and enhancement materials. Upon successful completion, players can invest Lost Ark gold to acquire bonus loot. This demanding encounter spans three distinct phases, with our guide focusing specifically on mastering phases 1 and 2. Special acknowledgment to TenTen for the comprehensive visual reference material.
Reward Highlights:
Beyond the primary drops, Argos provides honing materials crucial for progressing your gear score. Strategic gold investment post-clearance can significantly boost your acquisition rate.
Phase 1 Item Level Requirement: 1370
Unlike later phases, Phase 1 prioritizes individual mechanical execution over complex team coordination. Mastering personal positioning and affix management becomes paramount for success.
Phase 1 establishes the foundational mechanics that will recur throughout the entire encounter. Individual awareness and rapid reaction times prove more valuable than complex team strategies at this stage.
Sun/Moon Affix System
Affix Assignment Mechanics
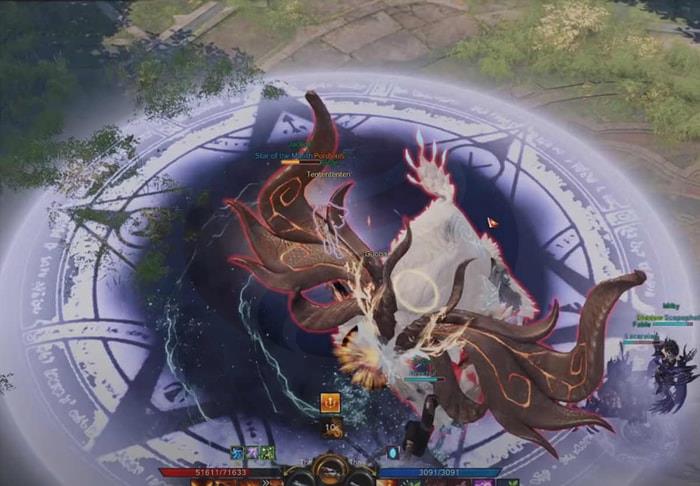
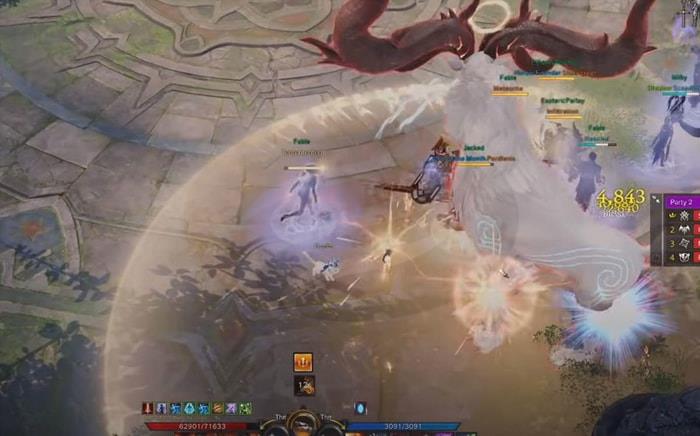
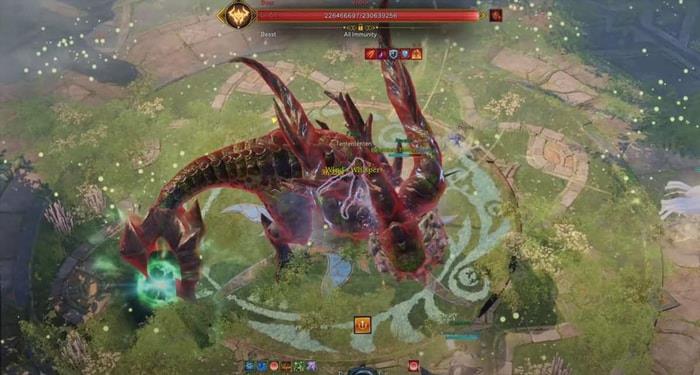
Combat initiation assigns each party member either a lunar or solar affiliation, visually represented by purple or yellow circles beneath characters. This designation remains active throughout the engagement, influencing all major mechanic resolutions.
The affix system governs environmental hazards – purple AoE attacks provide sanctuary for moon-affiliated players while threatening solar members. Positional awareness according to your assigned element becomes the cornerstone of survival.
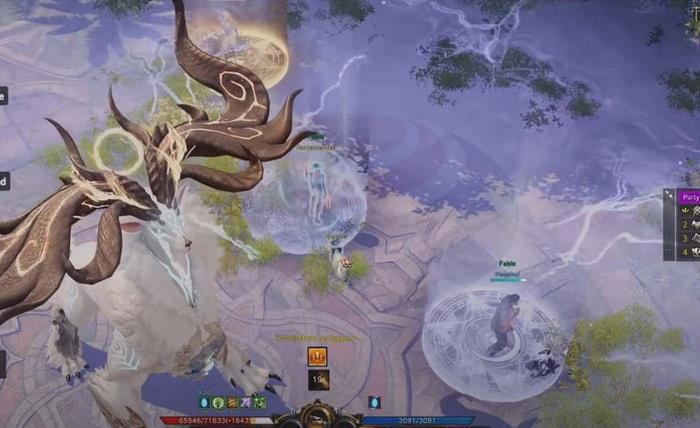
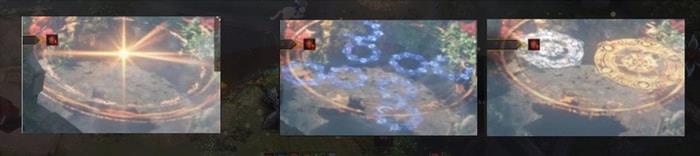
Concentric Ring Mechanics
Double-ring configurations extend the affix principle to layered safe zones. Initial engagements may position moon players in outer rings while solar members occupy inner sanctums.
Critical awareness: Argos alternates ring polarity with each activation. Subsequent iterations may invert safe zone positioning, demanding constant visual confirmation rather than pattern memorization.
Orb Management Protocol
Periodic orb summons present absorption challenges. Corresponding affix members must intercept these projectiles before detonation sequences complete.
Absorption limitation: Each player can safely consume only one orb simultaneously. Multiple orb contact triggers catastrophic damage exceeding standard survival thresholds.
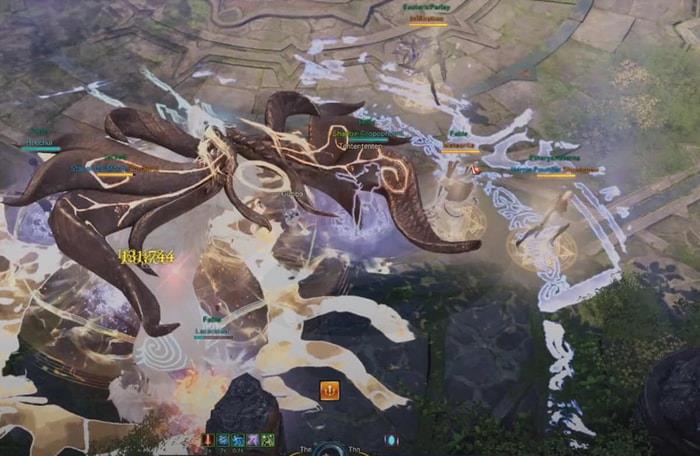
Pizza Slice Positioning
Argos’s distinctive roar partitions the battlefield into alternating solar and lunar segments. Rapid navigation to your designated slice proves essential, with the mechanic typically repeating 2-3 times consecutively.
Giant Ring Meter Management
Monolithic ring conjurations introduce debuff mechanics. Players possessing opposite affix alignment to the ring’s color accumulate a dangerous meter above their character.
Meter expiration triggers near-fatal damage. Strategic withdrawal from the ring’s influence immediately clears the accumulating gauge, permitting safe re-entry once the threat subsides.
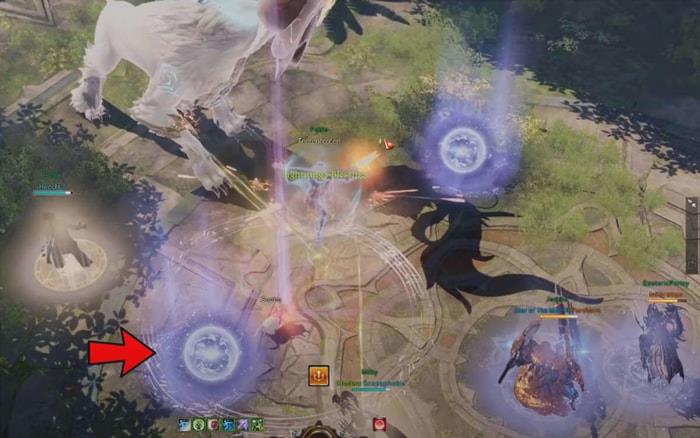
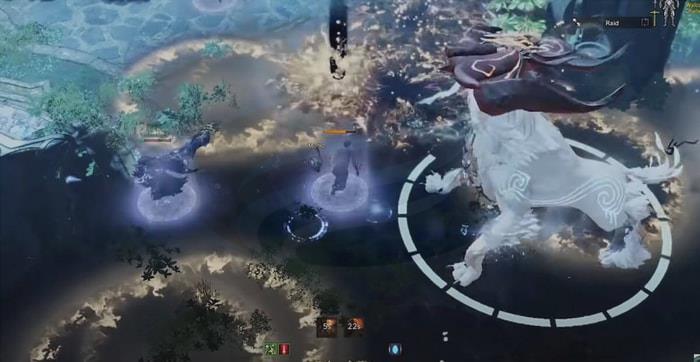
Safe Zone Allocation System
Argos generates eight designated safe areas distributed radially. Lunar positions consistently occupy proximal locations while solar assignments maintain distance from the central entity.
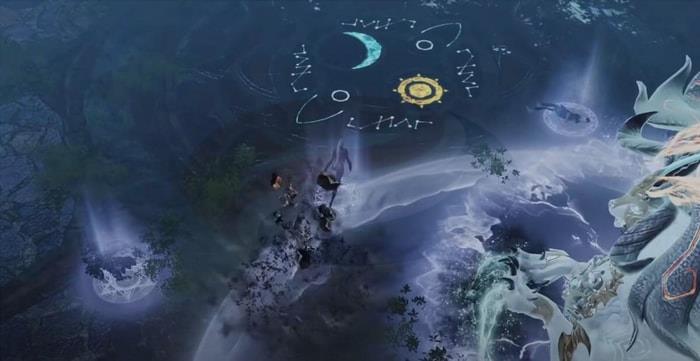
Post-safe zone activation, Argos initiates a central dial mechanism directly beneath its position. At this critical juncture, complete cessation of offensive actions becomes mandatory until the dial completes its cycle.
Mechanic completion triggers affix inversion – previous lunar designations convert to solar and vice versa. This reversal necessitates immediate mental adjustment for subsequent mechanics.
Phase 2 Item Level Requirement: 1385
Phase 2 elevates the challenge significantly through mandatory team separation and coordinated mechanic execution across divided battlefields.
Strategic Party Division
Early in the engagement, your team permanently splits into solar and lunar contingents. Solar members transport to Sky Garden for mini-boss confrontation while lunar forces maintain primary engagement with Argos.
Critical Preparation Note: Solar party members must equip destruction bombs for weak point exploitation, while lunar teams benefit from high-damage specialists and reliable stagger capabilities. Classes like Berserker and Sorcerer excel in lunar roles, though superior gear score can compensate for class limitations.
Argos Pattern Extensions
Argos maintains Phase 1 patterns like the pizza mechanic while introducing new threats including projectile rock patterns avoidable through linear movement.
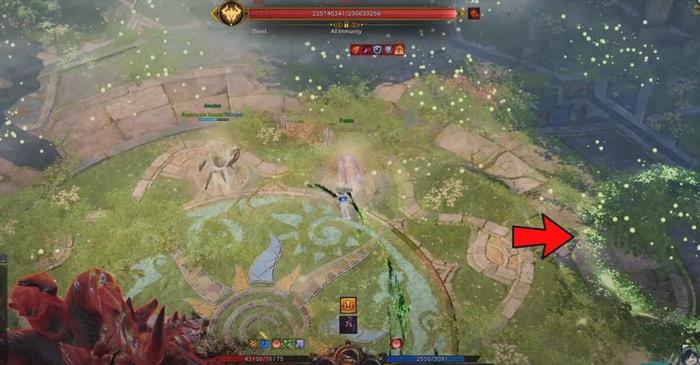
Solar Mini-Boss Engagement
Sky Garden’s subordinate entity employs relatively straightforward attack routines including extended tail sweeps requiring lateral evasion.
Environmental hazards include viridian projectiles spawning terrestrially or aerially. These emerald threats inflict both direct damage and stun effects upon double impact, creating vulnerable periods for additional damage.
Stagger success exposes vulnerable weak points requiring immediate destruction. The extremely limited exposure window necessitates prepared destruction bombs. Failure to eliminate weak points triggers boss enragement, dramatically amplifying attack lethality.
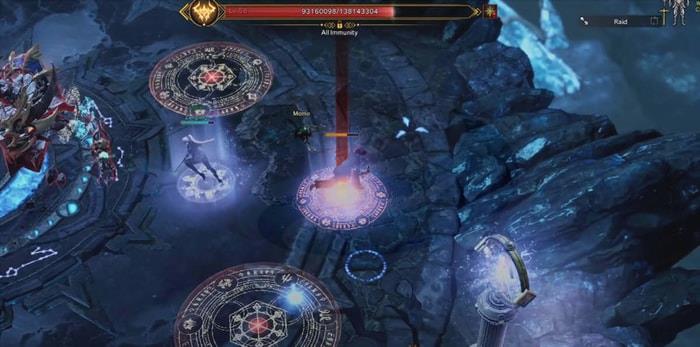
Laser Communication Protocol
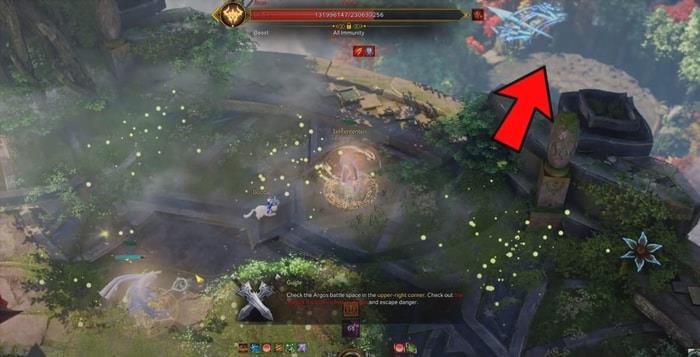
Argos assumes a seated posture, projecting a skyward laser beam signaling mechanic commencement. A dial materializes beneath the entity, functioning as an explicit timer for current sequence resolution.
Simultaneously, one solar party member must navigate to the arena’s northeastern precipice and survey the unique pattern exclusively visible to their contingent.
Six distinct patterns convey critical instructions between separated teams. Accurate pattern recognition and communication prevents catastrophic party elimination.
Initial three patterns direct lunar party positioning within the main arena until Argos’s dial exhausts.
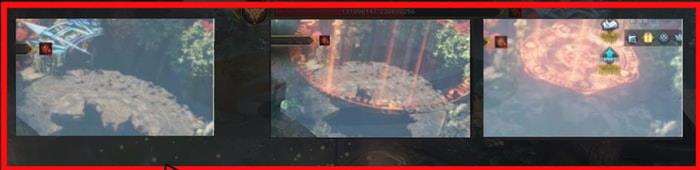
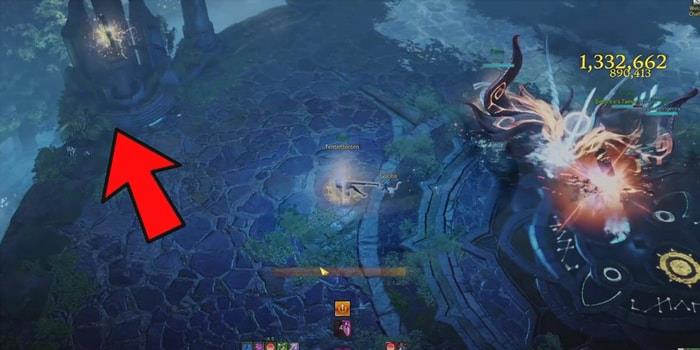
Pattern interpretation: Left configuration indicates northwestern positioning; center designates main circle occupation; right specifies peripheral area placement.
Arrow-marked patterns designate specific map coordinates for team congregation, with the illustrated example indicating upper left quadrant positioning.
Secondary pattern trio governs different mechanics:
First pattern mandates solar party central arena positioning upon dial completion.
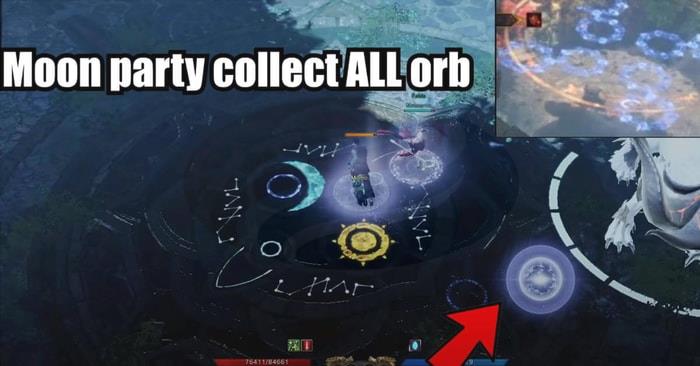
Second configuration spawns orbs encircling Argos, requiring lunar party collection before timer expiration.
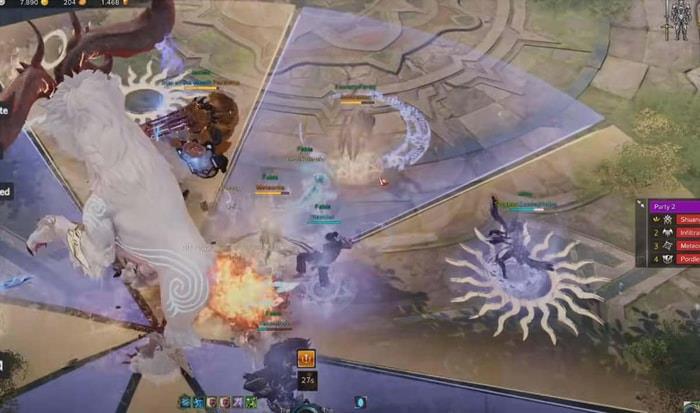
Third pattern generates circular zones at the four cardinal map extremities within Argos’s combat area.
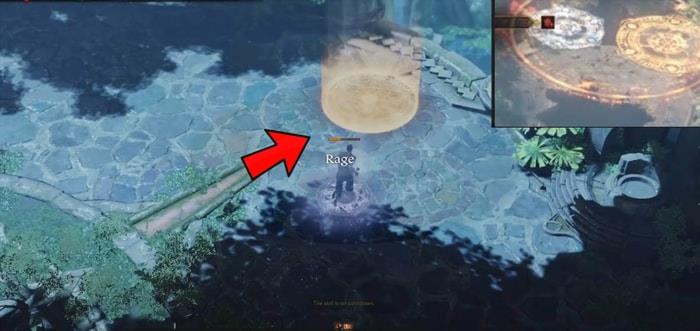
Lunar members must occupy these circles, awaiting purple transformation to accumulate stacks. Upon reaching maximum stack capacity, striking Argos transfers the accumulated charges. Repeat this process until the boss’s underlying dial transforms into lunar imagery.
Lunar Mini-Boss Confrontation
Argos subsequently teleports the lunar contingent to engage the secondary mini-boss. Aggressive burst damage utilizing dark bombs and awakening abilities proves essential to reach 70% health depletion within 90 seconds, thereby avoiding elimination mechanics.
Failure to achieve the damage threshold activates backup protocols where solar members can destroy scattered totems visible on mini-maps.
Totem destruction eliminates movement speed impairments affecting lunar members and prevents team wipe mechanics, though initial burst strategy remains preferable.
Crimson pillar manifestations above player heads signal four safe zone spawns. Each member must claim distinct zones within 3 seconds to avert devastating area-wide shockwaves.
The lunar mini-boss employs subterranean evasion tactics while deploying a tertiary mini-boss with high stagger susceptibility but damage resistance. Complete stagger bar depletion dramatically increases damage vulnerability, enabling rapid tertiary entity elimination and subsequent main boss reappearance for concentrated burst opportunities.
Upon reaching 30% health threshold, the primary mini-boss repeats hiding behavior, necessitating the stagger process repetition. Successful lunar mini-boss defeat returns all members to the primary arena for the conclusive Argos engagement, typically requiring minimal additional effort due to significantly depleted health reserves.
Phase 2 Stage Progression
• Unified Argos engagement (all players)
• Solar party teleportation to Sky Garden for mini-boss combat
• Solar party return following mini-boss defeat
• Lunar party transportation for moon mini-boss confrontation
• Final eight-player coordinated assault on Argos
Beyond basic mechanics, several advanced strategies significantly improve success rates and prevent common failure points that frequently challenge raid groups.
Optimization Techniques:
• Pre-assign solar party members with high destruction capability classes
• Designate specific communication officers for pattern reporting to minimize confusion
• Practice meter management in training modes to develop instinctive withdrawal timing
• Coordinate awakening skill usage across parties to maximize damage during vulnerable phases
Common Failure Points:
• Orb collection mismanagement remains the leading cause of Phase 1 failures
• Communication breakdown during laser signal interpretation frequently wipes Phase 2 attempts
• Insufficient destruction bomb preparation causes solar mini-boss enrages
• Poor stagger coordination extends lunar mini-boss phases dangerously
Teams consistently clearing both phases typically complete Phase 1 within 8-12 minutes and Phase 2 within 15-20 minutes with proper execution.
For comprehensive class selection guidance, check out our BF6 Class Selection Guide to optimize your party composition.
Understanding these mechanics in depth will prepare you for the ultimate challenge of Phase 3. Our Complete Guide provides additional context for mastering Lost Ark’s endgame content.
Execute these steps systematically to master Argos Phases 1 and 2.
Action Checklist
- Verify all members meet minimum item level requirements (1370/1385)
- Assign solar party members destruction bombs; lunar party high burst damage
- Practice sun/moon affix recognition and rapid positioning adjustments
- Designate communication officers for Phase 2 pattern reporting
- Master orb collection timing and single-absorption discipline
- Coordinate awakening skills for maximum damage during staggered phases
No reproduction without permission:GameCDjnh » Lost Ark Abyss Raid – How to Complete Argos Phase 1 and Phase 2 & Mechanics Guide Master Argos Phase 1 & 2 mechanics with expert strategies and team coordination tips