Master the Stun Bomb in Death Stranding 2 with advanced stealth tactics, unlocking methods, and combat optimization strategies
Stun Bomb Overview and Core Mechanics
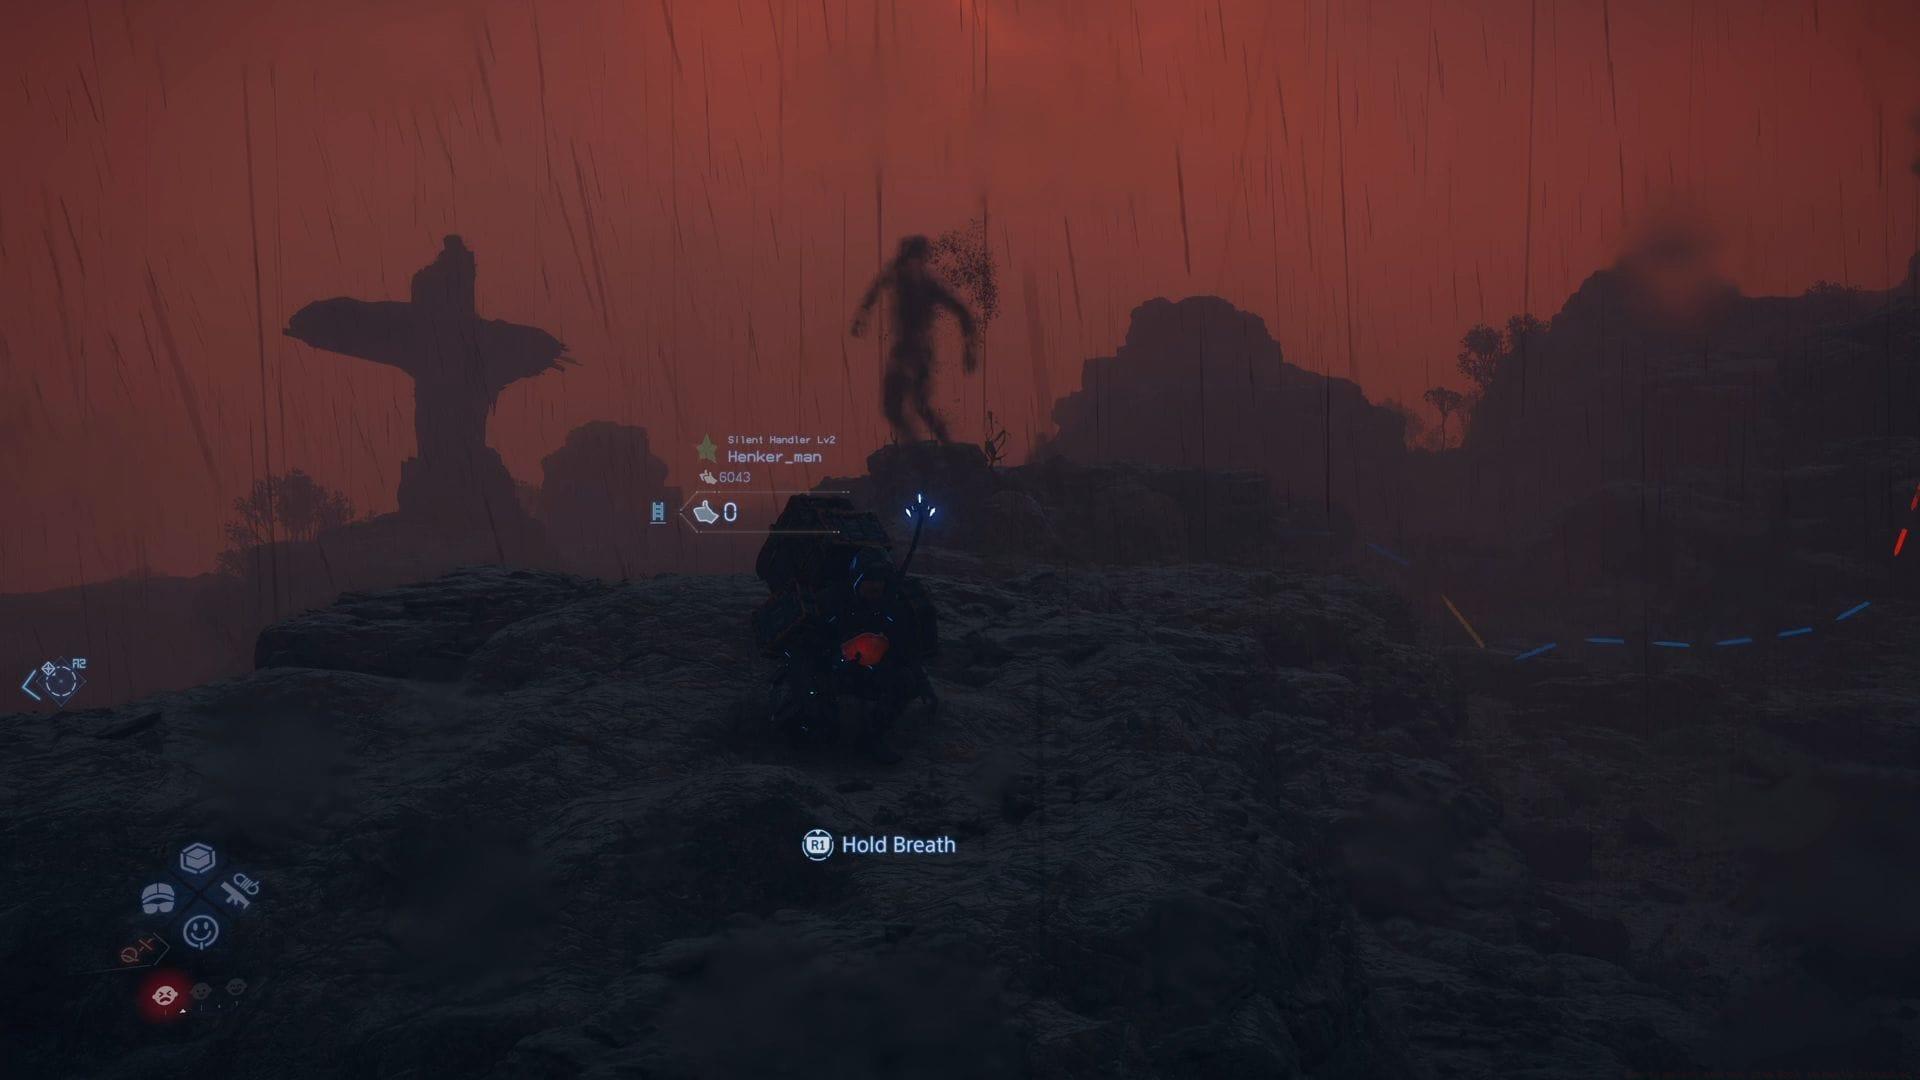
The Stun Bomb in Death Stranding 2 represents a sophisticated non-lethal tactical tool designed for incapacitating multiple hostiles simultaneously while maintaining operational silence. This deployable device serves as an essential component of any stealth-oriented loadout, particularly valuable for operators who prioritize subtle infiltration over lethal force. Veterans of the original Death Stranding will immediately recognize its familiar design, with protagonist Sam Porter Bridges often remarking on its familiar construction upon acquisition.
Beyond its basic functionality, the Stun Bomb introduces strategic depth through its area-of-effect capabilities that don’t compromise your隐蔽 position. Unlike conventional weapons that generate noise signatures, this tool operates through electromagnetic discharge that temporarily disables neural functions without permanent harm. This makes it particularly effective for pacifist playthroughs or scenarios where maintaining positive faction relationships matters more than eliminating threats permanently.
Unlocking the Stun Bomb: Detailed Progression Guide
Acquiring the Stun Bomb blueprint in Death Stranding 2 requires achieving Connection Level 2 with the enigmatic Inventor character. This specialist prepper operates from a remote facility situated well beyond primary distribution routes, demanding deliberate exploration and substantial relationship investment. Locating the Inventor’s outpost presents a significant navigation challenge that tests your wilderness traversal skills and patience.
The progression path involves systematic delivery completions to build reputation with the Inventor. Focus on prioritizing Standard Orders that originate from or pass near his territory, as these provide substantially higher connection growth than standard deliveries. The investment pays dividends beyond just the Stun Bomb—successful relationship building also rewards operators with the innovative Otter Hood accessory, which provides unique aquatic mobility advantages.
Pro Tip: Begin building connection with the Inventor early in your playthrough rather than waiting until you specifically need the Stun Bomb. This staggered approach ensures the weapon becomes available precisely when its tactical advantages prove most valuable during mid-game stealth sequences.
Advanced Usage Techniques and Controls
Mastering Stun Bomb deployment involves understanding its nuanced control scheme and timing mechanics. The fundamental throwing sequence requires holding L2 to enter aiming mode followed by pressing R2 to execute the throw. However, advanced operators should master the charged throw technique by holding R2 for extended periods, which significantly increases projectile velocity and maximum range.
Charged throws prove exceptionally effective when engaging distant targets or moving vehicles, but this enhanced capability comes with strategic trade-offs. The extended charging duration leaves you vulnerable during the wind-up animation, requiring careful positioning and situational awareness before commitment. For rapid-response scenarios, standard quick throws provide immediate area denial despite their range limitations.
Advanced Technique: Practice the partial charge method—holding R2 for approximately one second rather than full duration. This provides about 60% of the maximum range benefit while reducing vulnerability windows by nearly half, creating an optimal balance for most combat situations.
Tactical Deployment Scenarios
The Stun Bomb’s versatility shines across multiple engagement scenarios, with particular effectiveness in these tactical situations:
Environmental Mastery: Beyond water amplification, consider how other environmental factors affect Stun Bomb effectiveness. Enclosed spaces like caves or building interiors often contain the blast, increasing its potency, while open windy areas may slightly reduce its consistency.
Advanced Strategies and Pro Tips
Beyond basic applications, elite operators develop sophisticated Stun Bomb methodologies that maximize its strategic potential. The device’s completely silent operation makes it invaluable for maintaining stealth during delicate delivery missions where combat avoidance is paramount. However, several common mistakes can undermine its effectiveness.
Avoid these critical errors: Premature throwing before assessing enemy patrol patterns often wastes the device on isolated targets. Underestimating the charged throw timing leaves you exposed during critical moments. Failing to account for environmental conductivity misses significant effectiveness bonuses.
Expert Tactics: Deploy Stun Bombs as area denial tools during package retrieval missions, creating safe zones for objective completion. Use them as diversionary tools by throwing away from your position to draw enemy attention. Combine with height advantages for increased throwing range and better area coverage. Remember that unconscious enemies can be restrained with Strands for extended neutralization.
The Stun Bomb remains one of the most versatile non-lethal options in Death Stranding 2, serving multiple tactical roles from crowd control to stealth enhancement. Its silent operation and environmental synergies make it particularly valuable for operators who prefer strategic engagement over direct confrontation.
No reproduction without permission:GameCDjnh » How to unlock and use Stun Bomb in Death Stranding 2 Master the Stun Bomb in Death Stranding 2 with advanced stealth tactics, unlocking methods, and combat optimization strategies