Master Death Stranding 2 trading mechanics with advanced strategies, common pitfalls, and optimization tips
Understanding Porter Trading Fundamentals
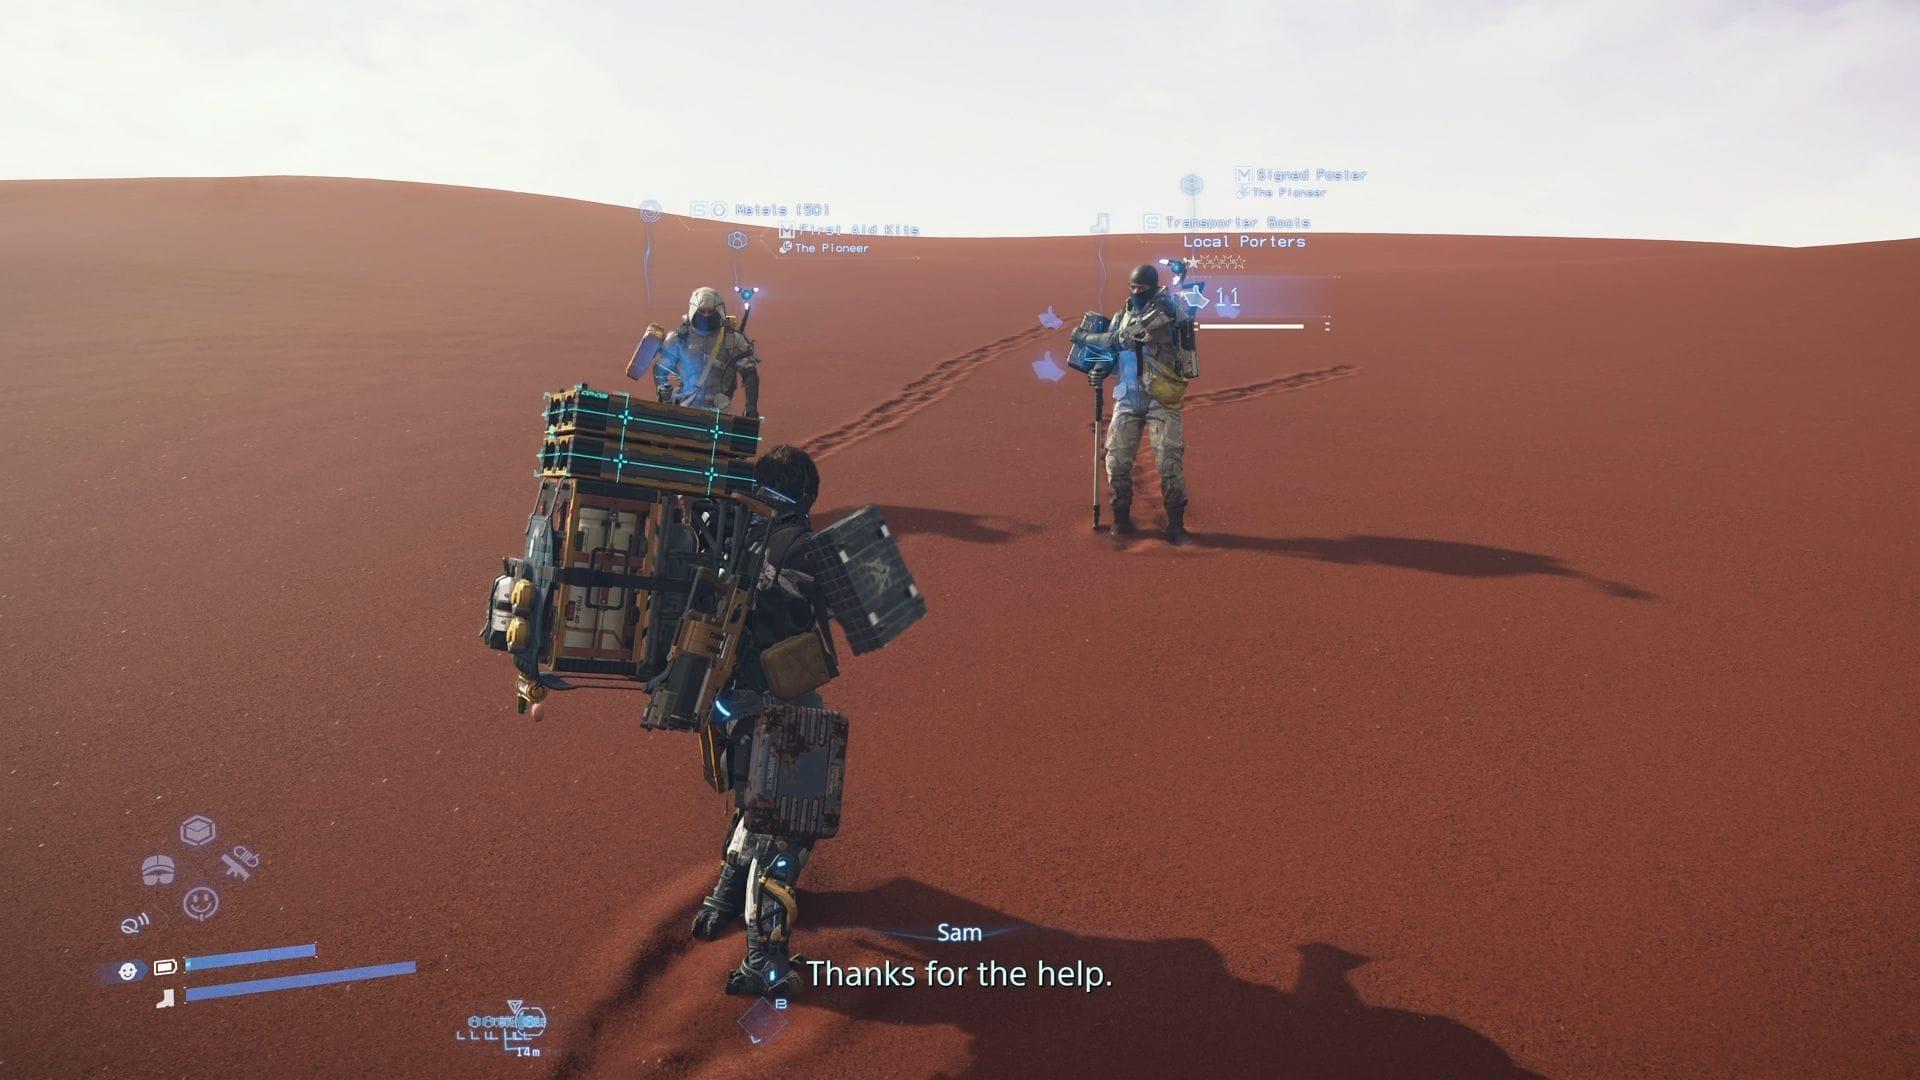
Engaging with local porters represents a cornerstone survival mechanism within Death Stranding 2’s desolate landscape. These non-player characters serve as vital resource conduits, enabling you to sustain Sam Bridges’ expedition across the fractured American wilderness. Establishing chiral network connections at distribution centers and waystations activates additional porter encounters, creating an expanding web of trade opportunities throughout your journey.
Beyond simple item exchange, these interactions facilitate a unique social economy where ‘likes’ function as supplementary currency. This dual-layer trading system rewards both practical resource management and community engagement, providing multiple pathways to strengthen your connection with the rebuilding civilization.
Step-by-Step Trading Process
The fundamental exchange protocol requires carefully unloading your cargo within a porter’s proximity and awaiting their acceptance gesture. Follow this comprehensive execution sequence for optimal results:
- Initiate the Cargo Management interface by pressing upward on your controller’s directional pad, accessing your inventory organization system
- Curate specific trade commodities from your available stock, assigning them to either your dominant or secondary hand based on weight distribution preferences
- Position selected items adjacent to the target porter within their visible range, ensuring clear line of sight for transaction initiation
- Complete the reciprocal exchange by pressing Triangle or utilizing L2/R2 triggers to collect the porter’s offered resources, maintaining balanced load management
Execution timing proves critical—approach porters during their stationary phases rather than attempting interactions mid-transit. Observe their movement patterns and wait for natural pauses in their routing behavior.
Advanced Trading Strategies
Seasoned couriers maximize efficiency through strategic cargo prioritization and multi-porter coordination. Focus on exchanging surplus equipment and depleted resources first, preserving essential survival gear and specialized tools for critical missions. This inventory rotation system prevents carrying capacity bottlenecks while maintaining operational readiness.
Develop porter reconnaissance techniques by scanning horizons for distinctive silhouettes and monitoring chiral network activity maps for concentrated porter presence indicators. When encountering porter groups, sequence your exchanges to capitalize on diverse resource availability—different porters often carry specialized item categories.
Implement risk mitigation by maintaining defensive positioning during transactions. While porters themselves pose no threat, exchange locations may attract MULEs or other hazards. Always preserve emergency mobility capacity by not trading your last mobility-enhancing equipment.
Common Mistakes and Solutions
Recognition failures represent the most frequent trading obstruction. Novice porters often initiate exchanges prematurely before establishing proper visual contact. Ensure the target porter has completed their acknowledgment animation—typically indicated by raised hands or vocal cues—before unloading your cargo. Aggressive movements or approaching from blind spots may trigger defensive reactions, temporarily disabling trade capabilities.
Cargo selection errors commonly undermine trading efficiency. While porters accept virtually any commodity, strategic discrimination significantly impacts your resource economy. Avoid trading mission-critical equipment, rare crafting components, or irreplaceable story items. Instead, prioritize bulky common resources, duplicate tools, or region-specific surpluses that replenish easily.
Environmental factors frequently disrupt exchange attempts. Inclement weather conditions, timefall activity, or terrain instability may cause porters to alter their routes or seek shelter. Monitor meteorological forecasts and plan trading expeditions during clear weather windows for reliable interactions.
Community Integration
While direct player-to-player trading remains unavailable, the community assistance system provides alternative resource distribution channels. Vigilantly monitor waystation notice boards and environmental signage requesting specific commodities. These community resource appeals enable you to contribute surplus items to fellow couriers’ endeavors, strengthening the collective rebuilding effort.
The distributed sign network serves as an indirect trading mechanism, allowing strategic resource placement for other players encountering similar challenges. Deploy emergency supply caches near treacherous terrain or resource-scarce regions, creating safety buffers for the wider porter community.
Also Read: Is Death Stranding 2 coming to PC
Network expansion remains intrinsically linked to trading opportunities. Each new chiral connection unlocks additional porter spawn points and specialized resource providers. Prioritize network expansion missions to gradually build a comprehensive trade infrastructure across the continent.
No reproduction without permission:GameCDjnh » How to trade with local porters in Death Stranding 2 Master Death Stranding 2 trading mechanics with advanced strategies, common pitfalls, and optimization tips