Master the Raging Conchfly boss fight in Hollow Knight Silksong with advanced strategies and optimal loadouts
Introduction to Raging Conchfly Encounter
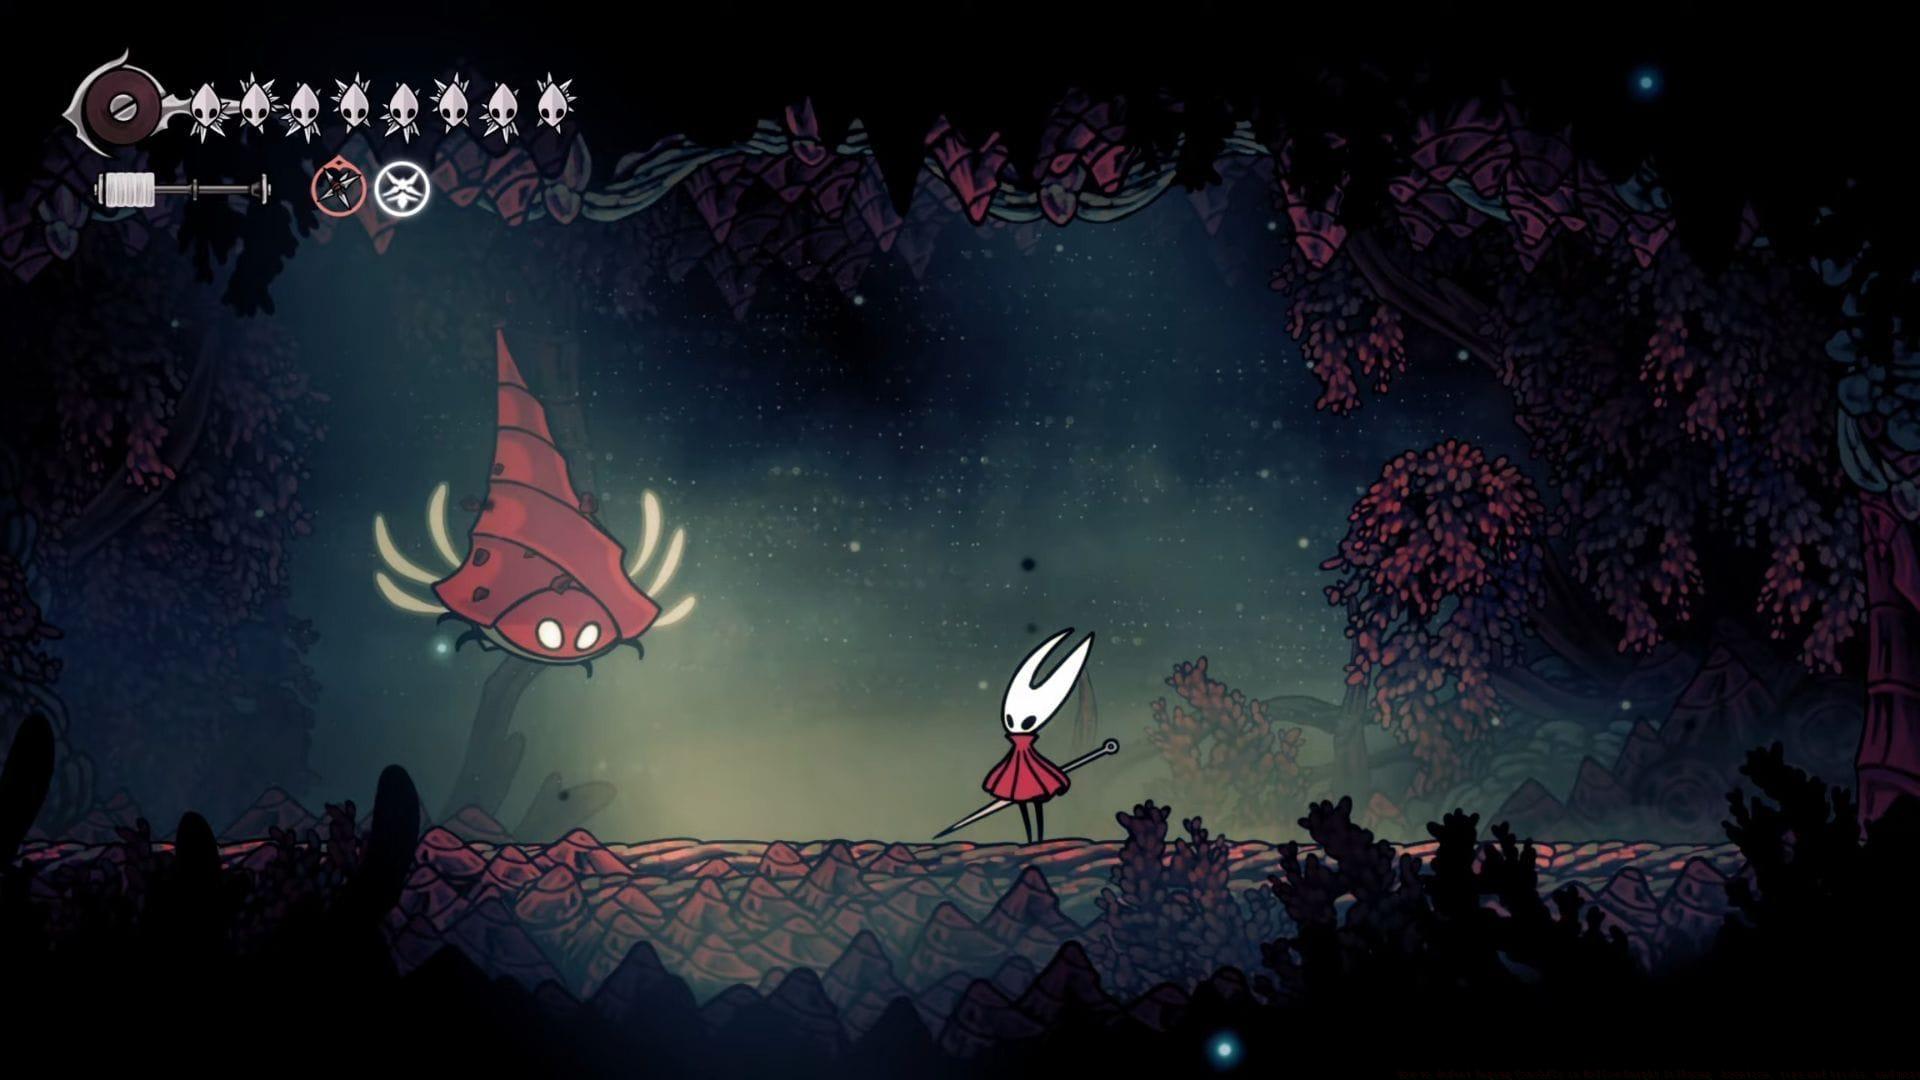
Raging Conchfly presents as an optional boss encounter within Hollow Knight Silksong that protagonist Hornet confronts during Act 2 when venturing into the Coral Tower. This formidable adversary resides specifically within the Sands of Karak region, guarding the valuable Conchcutter tool that functions as a powerful ranged implement. This versatile weapon proves exceptionally useful against numerous future encounters, making the confrontation with this guardian entity strategically worthwhile for progression.
Navigating to the Boss Arena
Accessing the Raging Conchfly’s domain requires precise platforming navigation. Players can utilize Silksoar to efficiently traverse the broader area or employ strategic platform sequencing to ascend vertically. Upon reaching the summit, navigate leftward until contacting the boundary wall. Execute a calculated leap toward the opposing wall and deploy the Clawline tool to reach the leftward platform that grants entry to the boss chamber. Expert navigators recommend mastering the Clawline’s momentum mechanics for optimal positioning before engaging the boss.
Phase 1 Attack Patterns and Counters
Raging Conchfly manifests as an exceptionally agile antagonist featuring two distinct combat phases in Hollow Knight Silksong. This entity can rapidly overwhelm unprepared players through coordinated drill assaults, projectile barrages, and minion summons. Consequently, disciplined patience emerges as the fundamental principle for successfully defeating this opponent.
Also read: How to get Wreath of Purity in Hollow Knight Silksong
The signature drill attack represents Raging Conchfly’s most recognizable combat maneuver, requiring Hornet’s absolute evasion. The boss propels itself toward your position and embeds within walls or ceiling structures upon impact. Crucially, the drill assault indicated by smoke trails can manifest as either horizontal or vertical trajectories, demanding situational awareness of your spatial positioning relative to environmental boundaries.
Additionally, maintain vigilance against conch spit projectiles that carom unpredictably off boundary surfaces. These ricocheting attacks create complex angular trajectories that standard evasion patterns may not adequately address. Advanced players learn to anticipate the second and third bounces to establish safe zones.
Phase 2 Advanced Mechanics
Initiating the second phase occurs after sufficiently damaging the stationary boss. During this escalated confrontation, Raging Conchfly summons multiple minion reinforcements and coordinates synchronized offensive strikes. Evasive maneuvering becomes critically essential for survival during this intensive phase. Remain particularly alert for the randomized delayed drill assault featuring abbreviated windup animation, dramatically reducing reaction windows. The boss retains utilization of all Phase 1 combat techniques while introducing these additional complexities.
Phase 2 introduces three key strategic shifts: minion density management, attack timing variations, and environmental pressure. The summoned minions create spatial congestion that limits safe maneuvering areas while the boss maintains offensive pressure. Successful players prioritize target acquisition windows while maintaining constant positional awareness.
Optimal Equipment and Tools
Strategic equipment selection significantly influences combat effectiveness against Raging Conchfly. Essential evasion of drill assaults and conch spit projectiles remains paramount, as these attacks can rapidly deplete health reserves. Monitor smoke indicators carefully, as they telegraph Raging Conchfly’s emergence from concealment.
Execute pogo maneuvers on the boss to generate additional aerial momentum while dealing damage. This technique proves particularly effective during Phase 2 when spatial constraints intensify.
During the second phase, you may eliminate minions through direct strikes. However, we advocate evasion prioritization since they automatically despawn after brief durations. This conservation of resources and focus proves more valuable than expendable minion elimination.
Equipping the Flintslate tool enhances Hornet’s needle damage output while enabling incendiary effects on struck targets. The burn damage over time provides consistent pressure during evasion periods.
The Cogfly tool represents another excellent selection, permitting summoning of venom-injecting insects that apply persistent damage. This tool excels for hit-and-run tactics while focusing on evasion.
Additionally, carrying the Fractured Mask provides crucial survivability by absorbing one instance of otherwise fatal damage. This safety net proves invaluable during learning phases or intense Phase 2 sequences.
Both Reaper Crest and Architect Crest demonstrate strong performance against Raging Conchfly. The former enhances pogo maneuver effectiveness while the latter enables carrying three Red Tools for greater tactical flexibility.
Advanced Combat Strategies
Mastering Raging Conchfly requires understanding nuanced combat timing and resource allocation. The boss presents specific vulnerability windows following drill attacks and during minion summoning animations. These brief intervals provide prime damage opportunities while minimizing risk.
Advanced positioning utilizes the arena’s vertical space to create reaction time advantages. High positioning affords better visibility of attack telegraphs while enabling dive-based counterattacks. The pogo mechanic serves dual purposes for both mobility and damage application when mastered.
Tool management separates novice from expert play. The Conchcutter itself, obtained after victory, provides ranged options that would have simplified this encounter. This irony underscores the importance of equipment progression throughout Silksong’s campaign.
Check out our other articles from Hollow Knight Silksong:
No reproduction without permission:GameCDjnh » How to defeat Raging Conchfly in Hollow Knight Silksong: Location, tips and tricks, and more Master the Raging Conchfly boss fight in Hollow Knight Silksong with advanced strategies and optimal loadouts