Master the dual boss fight against Curseblade and Divine Beast Warrior with positioning tactics and class-specific strategies
Understanding the Dual Boss Challenge
The Curseblade and Divine Beast Warrior in Elden Ring Nightreign encounter serves as a significant skill check early in The Forsaken Hollows DLC expansion. This demanding dual Night Boss confrontation concludes Night 1 of the Balancers’ expedition, emphasizing tactical positioning, situational awareness, and intelligent target selection over pure damage output.
For optimal challenge progression, engaging at Level 7 provides balanced difficulty, though veteran player groups may attempt this encounter earlier for increased intensity. Proper preparation includes stocking healing items, upgrading weapons, and understanding each boss’s movement patterns before engaging.
Also read: How to play Undertaker in Elden Ring Nightreign
Boss Mechanics and Attack Patterns
Success hinges on recognizing that Curseblade and Divine Beast Warrior employ fundamentally different combat methodologies that require distinct approaches.
Curseblade’s combat characteristics include:
- Utilizes extended-range slashing assaults
- More manageable to distance but severely penalizes delayed reactions
- High mobility with rapid repositioning capabilities
- Preference for flanking maneuvers and hit-and-run tactics
Divine Beast Warrior’s combat profile features:
- Methodical but devastatingly powerful strikes
- Extremely durable against physical damage
- Extended assault sequences with substantial recovery intervals
- Ground-shaking area attacks that require spatial awareness
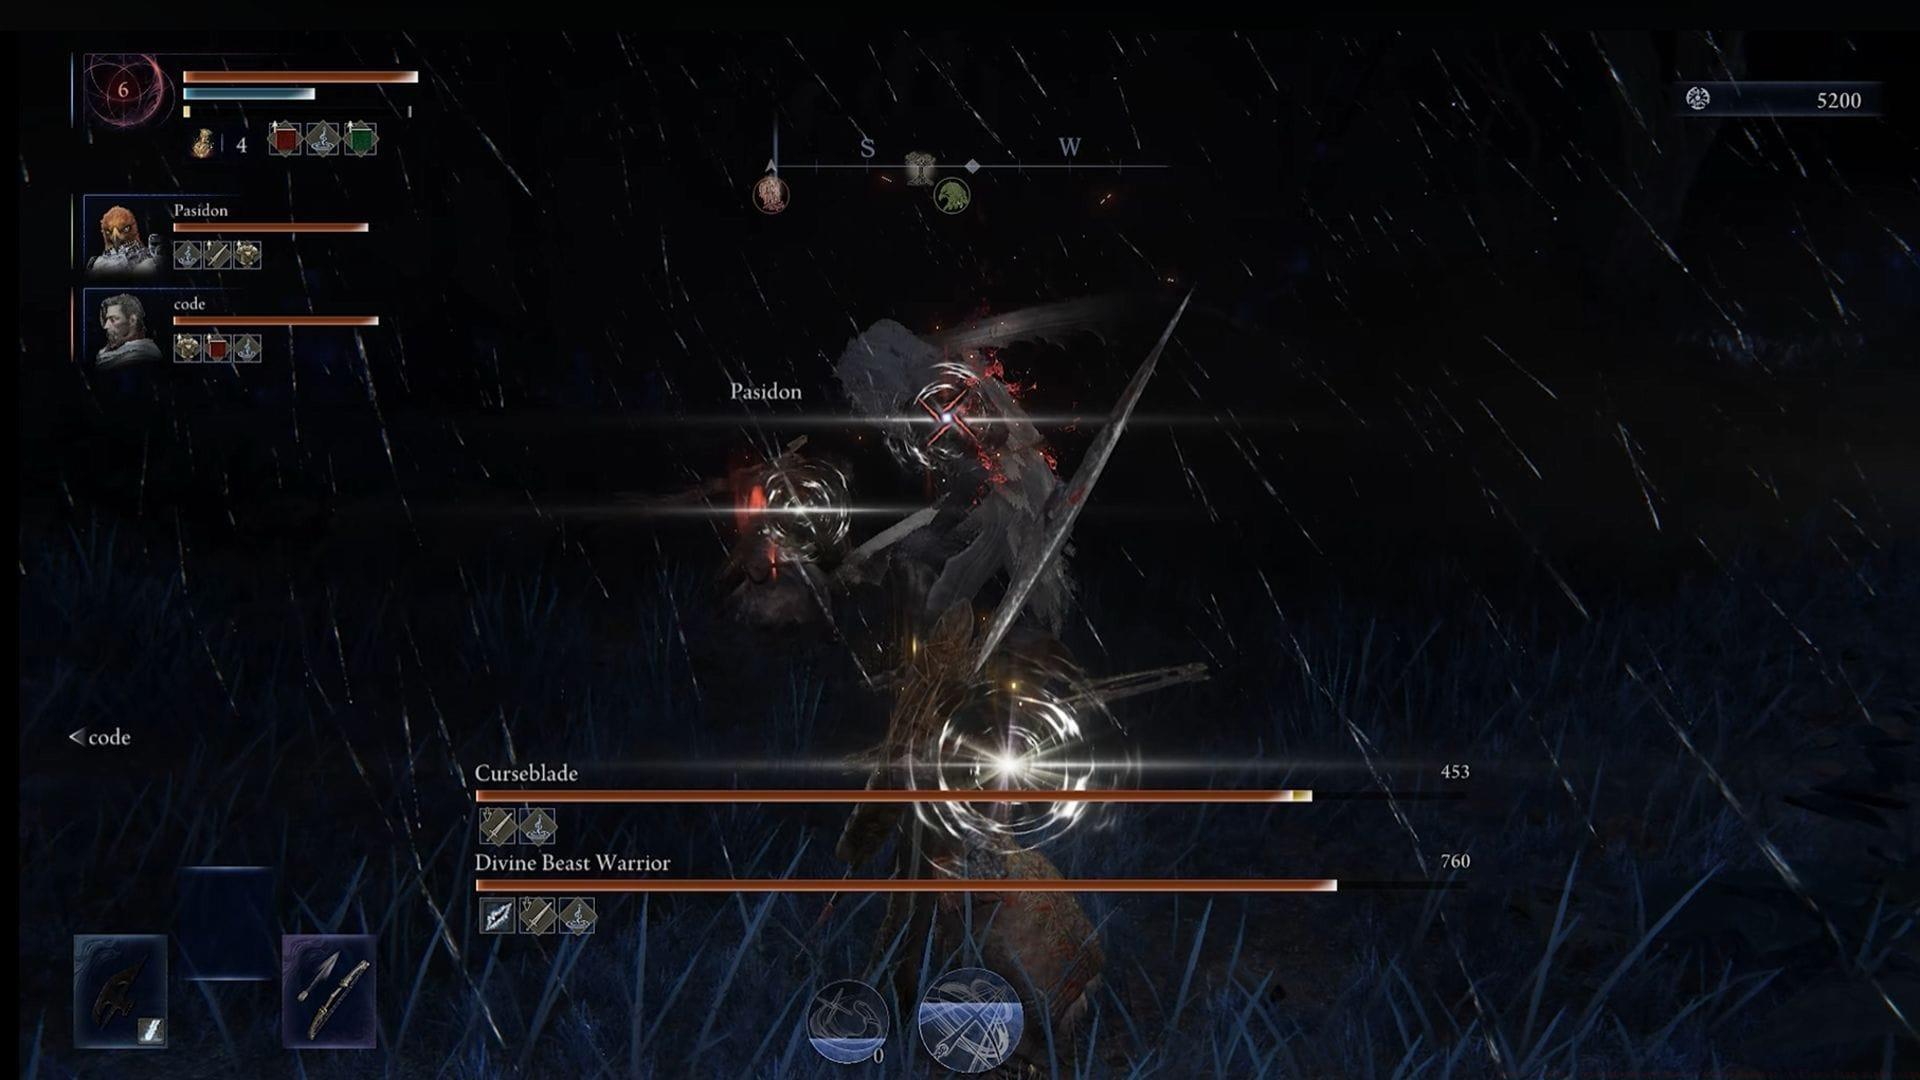
The battlefield remains significantly darkened while Curseblade remains active, complicating visual tracking of both adversaries simultaneously. While target locking assists, visibility substantially improves after Curseblade’s defeat. Since Curseblade represents the less resilient combatant, prioritizing its elimination early reduces overall pressure and clarifies the combat arena. Fire Pots inflict respectable damage and continue to be effective against Curseblade’s vulnerabilities.
Combat Strategies and Positioning
The encounter fundamentally operates most effectively when approached as two structured duels rather than a single disorderly confrontation. During solo gameplay, the bosses demonstrate surprisingly predictable behavior. After evading the initial lightning assault, create distance from the Divine Beast Warrior. Curseblade will pursue you, effectively enabling separation of the encounter into distinct one-versus-one engagements. Cooperative play demands significantly greater coordination between participants.
A robust strategy involves having ranged specialists apply pressure to Curseblade, given its greater agility and difficulty for close-quarters combatants to maintain contact. Designate melee-focused players to engage the Divine Beast Warrior, luring attacks and capitalizing on recovery animations. Both adversaries frequently overcommit to their assaults, making patience the decisive factor in this confrontation.
When Scholar class is accessible, this encounter becomes considerably more manageable. Communion (Ultimate Art) can establish a connection between Curseblade and Divine Beast Warrior, causing them to share received damage. Conversely, Analyse (Character Skill) can:
- Rapidly shift battle momentum when employed cautiously
- Reveal vulnerability windows in enemy defenses
- Provide tactical information about incoming attack patterns
Exercise caution, however, as Analyse renders Scholar vulnerable, so deploy it exclusively when enemies are mid-combination or repositioning. Consult our specialized guide for comprehensive Scholar gameplay optimization.
Advanced Techniques and Common Pitfalls
Both opponents depend on extended attack sequences followed by clearly identifiable recovery phases.
- Resist the temptation to exchange blows unnecessarily
- Counterattack exclusively when animations completely conclude
- Maintain optimal spacing to avoid being caught in combination finishers
- Use environmental features for temporary cover during intense assault waves
The Divine Beast Warrior proves particularly hazardous when approached aggressively. Permit it to complete its swing sequences, then target its rear or sides before reestablishing combat distance. Common mistakes include:
- Attempting to damage both bosses simultaneously
- Underestimating the range of Curseblade’s sliding attacks
- Greedy attacks during minimal recovery windows
- Poor stamina management during extended engagements
Advanced optimization involves timing your heavy attacks to coincide with the Divine Beast Warrior’s longest recovery animations and using throwable items to interrupt Curseblade’s casting sequences. Position yourself near arena edges to limit flanking opportunities and force more predictable attack approaches.
If this article is to your liking, you can check other Elden Ring Nightreign content below:
- How to complete Scholar’s Remembrance in Elden Ring Nightreign
- All bosses in Elden Ring Nightreign
- Best PC Optimization Guide for Elden Ring Nightreign
No reproduction without permission:GameCDjnh » How to defeat Curseblade and Divine Beast Warrior in Elden Ring Nightreign Master the dual boss fight against Curseblade and Divine Beast Warrior with positioning tactics and class-specific strategies