Master the Fulghor boss fight with advanced tactics, gear recommendations, and phase-specific strategies
Boss Overview and Preparation
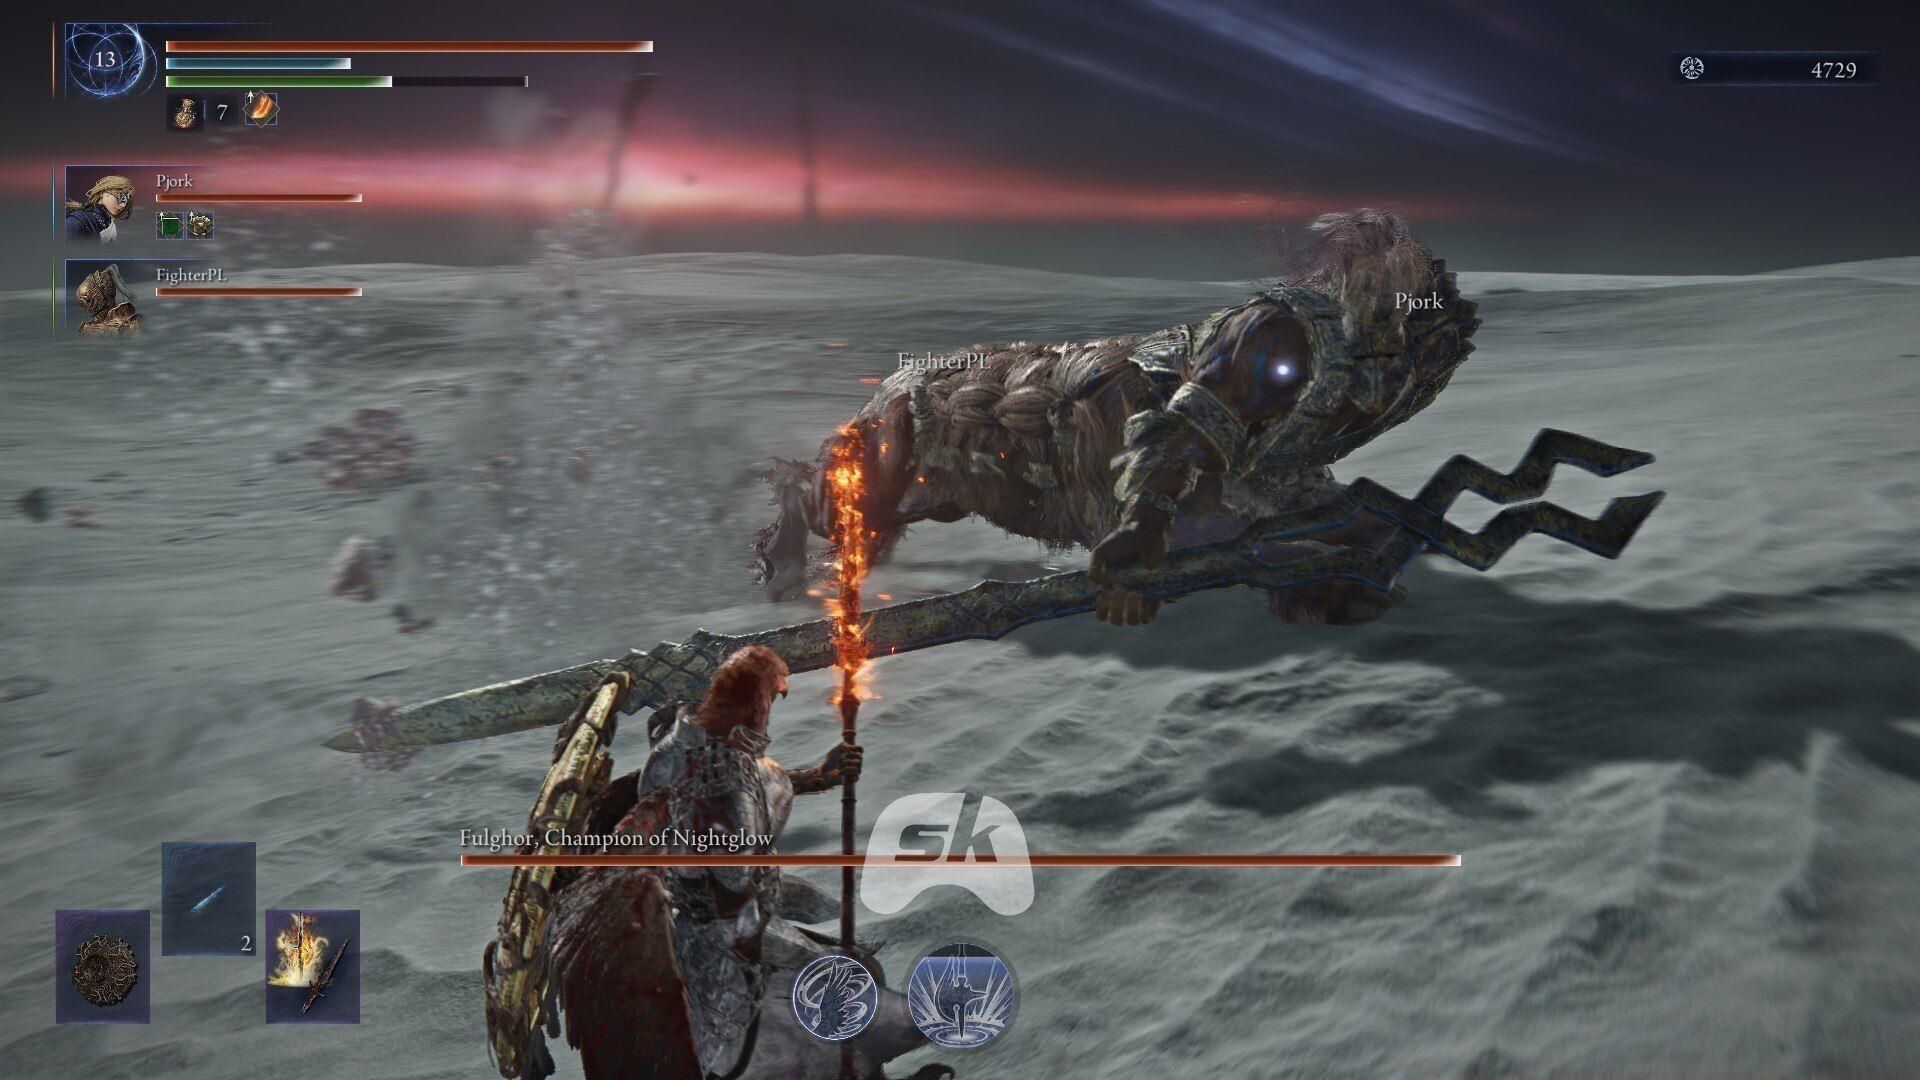
Fulghor, Champion of Nightglow in Elden Ring Nightreign, represents one of the primary Nightlords confronting players during their journey. This formidable adversary emerges on Day 3 of the Darkdrift Knight Expedition, presenting substantial combat challenges through aggressive spear assaults, crushing stomp maneuvers, and a transformative second phase featuring a massive violet arm capable of wide-area destruction.
Successful encounters require strategic team composition, with a melee-focused Raider character essential for absorbing Fulghor’s attention while ranged specialists like Ironeye deliver consistent damage from safer distances. Fulghor demonstrates particular vulnerability to Lightning and Blood Loss effects, though his exceptional mobility makes Blood Loss weaponry the optimal choice for sustained damage application. Preparing appropriate gear and understanding attack patterns before engaging significantly improves success rates.
Advanced preparation should include weapons with inherent bleed properties like the Crimson Dagger or Serrated Blade, alongside protective gear with high physical resistance. Consumables such as Lightning Grease can provide additional damage during safe windows, while stamina regeneration items help maintain dodging capability throughout the extended encounter.
Phase One Combat Strategy
Combat initiation follows a predictable pattern that experienced players can exploit for early advantage. When the confrontation begins, Fulghor consistently opens with an enormous leap-and-slam maneuver, elevating both front limbs before crashing them earthward to generate a destructive shockwave. This initial assault proves easily avoidable provided you position away from his immediate landing zone during the startup animation.
Remain vigilant against the boss’s primary spear offensives throughout this phase. Fulghor’s spear possesses exceptional reach and utilizes sweeping motions that can catch rolling players prematurely. The attack wind-up animations deliberately deceive – they appear quicker than actual execution timing. Perfect your dodge rhythm to evade at the last possible moment, then counter with rapid-striking Blood Loss implements during his recovery frames.
At intermittent intervals, Fulghor will drive his spear into the battlefield surface, activating golden energy spears that erupt beneath player positions. These projectiles feature brief activation delays before manifestation, requiring swift lateral movement rather than premature evasion. Following this attack sequence, Fulghor experiences a noticeable recovery period where your Raider can safely advance and deliver multiple impactful strikes.
Advanced technique: Bait the spear slam by positioning at medium range, then dodge diagonally forward through the golden spears to maximize punish windows. This risky maneuver requires precise timing but significantly increases damage opportunities.
Phase Two Violet Arm Tactics
The battle’s second segment introduces a dramatic escalation as Fulghor manifests a colossal violet arm augmenting his offensive capabilities. This new limb facilitates repeated ground-slam combinations and expansive area-of-effect sweeps covering nearly half the battlefield. When these devastating attacks commence, your ranged units must maintain maximum distance while applying continuous pressure, as the Raider focuses on diverting Fulghor’s attention.
If your roster includes Ironeye, strategically deploy its Marking capability to influence Fulghor’s movement patterns and create breathing space for party repositioning. The marking effect not only increases damage but subtly manipulates enemy pathing, forcing more predictable attack sequences that skilled players can anticipate and counter.
Despite the intimidating visual spectacle of this phase, its duration typically proves shorter than initial impressions suggest. Parties employing dedicated Blood Loss weaponry will find Fulghor’s health rapidly deteriorating through accumulated hemorrhage effects, often concluding the encounter before mastering all violet arm patterns becomes necessary.
Critical positioning tip: During violet arm attacks, position near the arm’s shoulder joint rather than the fingertips – this reduces the effective hitbox size and provides clearer visual cues for impending strikes.
Advanced Optimization and Common Mistakes
Maximizing Blood Loss efficiency requires understanding the mechanic’s internal cooldown – subsequent procs require building the meter again, but with increased damage each time. Weapons with multi-hit capabilities like twinblades or flails excel here, rapidly building hemorrhage while maintaining mobility.
Common positioning errors include clustering with party members during violet arm attacks (increasing AoE vulnerability) and overcommitting to attacks during seemingly safe windows. Fulghor frequently follows recovery animations with unexpected quick jabs that punish greedy players.
Resource management proves crucial – conserve stamina for emergency dodges rather than exhausting it on extended attack chains. Consider equipping the Green Blossom charm for passive stamina regeneration, or allocating attribute points to endurance if consistently falling short on evasion stamina.
Advanced players should master the quick-swap technique: begin with a high-damage weapon for phase one, then switch to a dedicated Blood Loss weapon for phase two when openings become narrower but hemorrhage effects more valuable.
Fulghor, Champion of Nightglow in Elden Ring Nightreign, becomes manageable through intelligent positioning, precise dodging, and strategic Blood Loss application to gradually dismantle his substantial defenses.
No reproduction without permission:GameCDjnh » How to defeat Fulghor, Champion of Nightglow (Darkdrift Knight) in Elden Ring Nightreign Master the Fulghor boss fight with advanced tactics, gear recommendations, and phase-specific strategies