Master the Bell Beast boss fight with advanced strategies and unlock Silksong’s fast travel system
Understanding the Bell Beast Encounter
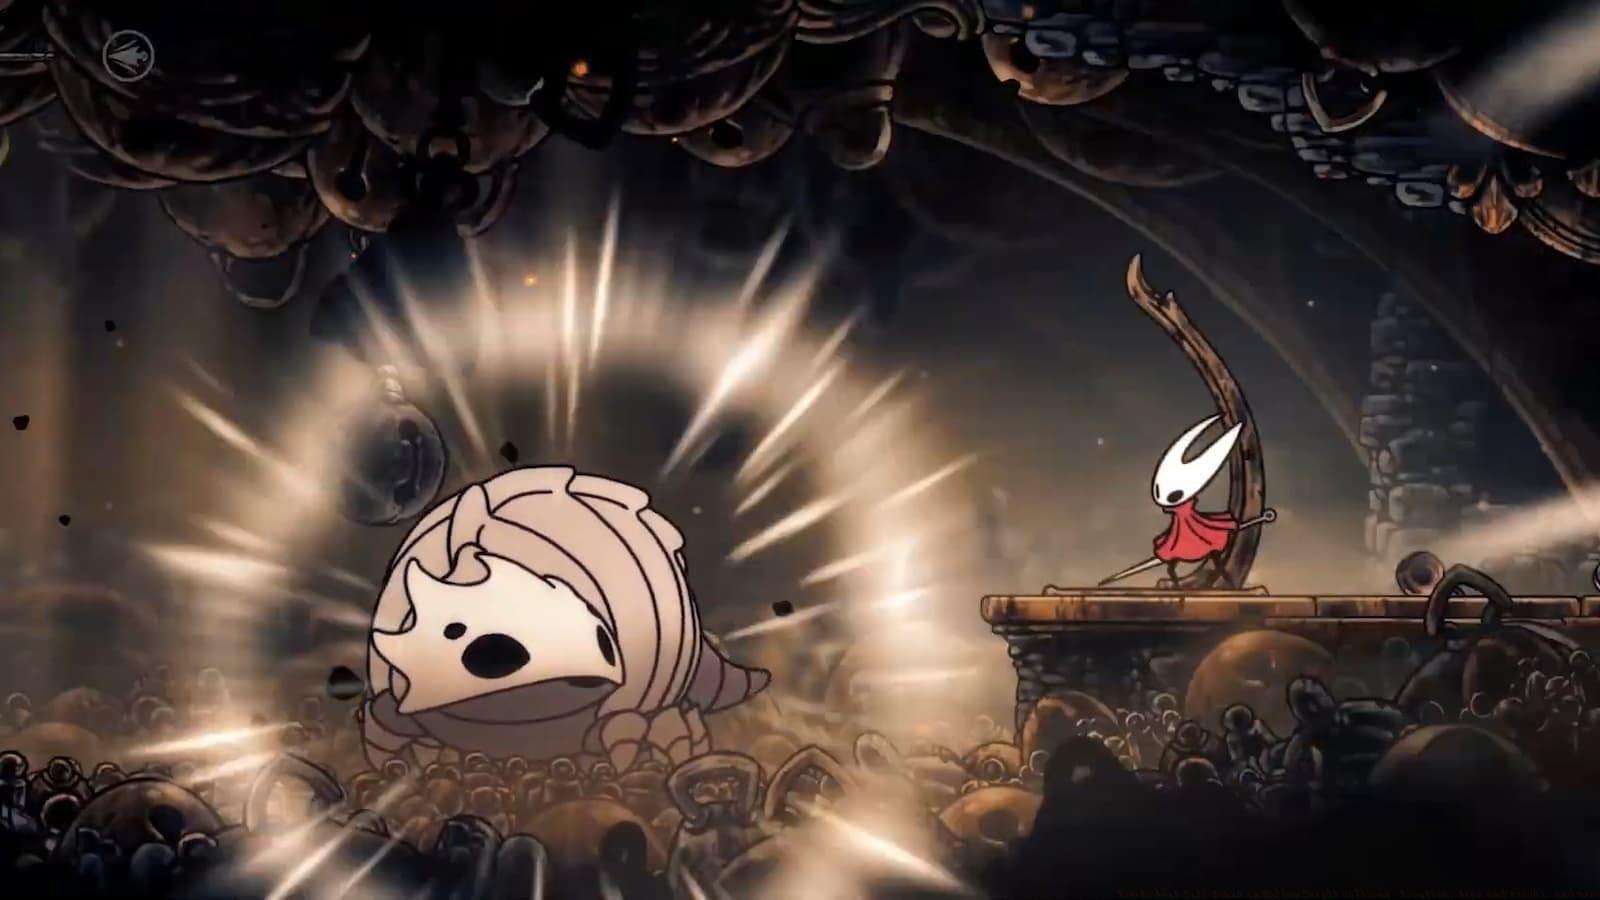
Defeating the Bell Beast represents a critical progression milestone in your Hollow Knight Silksong adventure, as this encounter unlocks the game’s primary transportation network. The boss employs a limited but punishing moveset consisting of three distinct attacks, each featuring clear visual indicators that test your fundamental combat awareness and reaction timing.
Initially, you’ll discover the Bell Beast imprisoned within rapidly regenerating silk barriers. Conventional nail attacks prove ineffective against these defenses, as they reconstruct themselves too quickly for sustained damage.
To liberate the Bell Beast in Hollow Knight Silksong, acquiring the Silkspear technique becomes mandatory, as this ability slices through entire silk layers in a single activation. You can locate this essential tool within the Mosshome vicinity.
Before initiating the confrontation, ensure you’ve accessed the gate positioned left of Shakara, since a recovery bench awaits immediately beyond this passageway. Proper preparation significantly increases survival chances during this skill-check encounter.
Comprehensive Attack Pattern Analysis
The Bell Beast’s combat methodology revolves around three primary assault patterns with unmistakable telegraphing. The creature consistently burrows underground before executing attacks, with the width of ground disturbances and its emerging posture serving as crucial behavioral indicators.
Pounce Attack: The boss erupts from one arena extremity and instantly traverses to the opposite side. Position yourself centrally to accurately assess whether it’s preparing a charging maneuver or leaping assault. Following landing, the Beast remains stationary for approximately two seconds, creating optimal windows for up to three nail strikes or a high-damage Silkspear thrust if confident.
Charge Assault: When the Bell Beast emerges flattened against the terrain, it prepares to dash across the arena. Unlike the pounce, this includes a one-second windup animation where it focuses toward the center, providing your jumping cue. During traversal, execute diagonal pounces above the Beast for automatic safe landing, though aerial evasion remains the safer alternative for those still mastering Silksong’s updated pogo mechanics.
Bell Projection: Compact ground tremors near the arena center signal an impending bell excavation. The creature unearths two bells that bounce once before rolling toward opposite edges and dissipating. These projectiles impact the same position twice during bouncing and cannot be deflected with your needle. Immediate evacuation from the epicenter, avoiding vertical impact zones, and leaping over approaching bells constitute the only viable responses.
Phase 2 Enhancements: After sustaining substantial damage, the Bell Beast initiates its secondary phase with a powerful roar that dislodges ceiling bells. Dust pillars forming beforehand reveal impact locations, with 4-5 bells falling, bouncing once, rolling briefly, then vanishing. Initial phase transition involves randomization since bell rolling directions remain unpredictable. A conservative approach involves hugging one arena boundary while remaining prepared for the Beast’s reemergence. Phase 2 also modifies the bell toss by adding an extra falling bell and introduces potential ceiling bells following charge or pounce conclusions – constantly monitor dust trails.
Advanced Combat Strategies and Positioning
The Bell Beast ranks among Silksong’s more manageable bosses, though strategic positioning proves crucial for consistent victory. Maintain central arena positioning throughout most encounters, except during phase 2 initiation. Carefully observe rumble locations when the boss prepares to surface:
Advanced Combat Recommendations for Challenged Players:
Common Strategic Errors: Many players underestimate the importance of central positioning, leading to unavoidable damage during phase transitions. Others attempt aggressive plays during charge attacks without proper pogo proficiency, resulting in predictable damage. The most frequent mistake involves healing during active attack sequences rather than waiting for complete burrow animations.
Optimization Techniques: Advanced players can maximize damage by combining nail strikes with Silkspear usage during stationary periods. Mastering the diagonal pogo on charge attacks significantly reduces encounter duration. Phase 2 efficiency involves predicting bell trajectories by observing initial bounce angles rather than reacting to rolling patterns.
Post-Victory Platforming and Rewards
Upon conquering the Bell Beast, you enter a dream sequence requiring platform navigation. Ascend upward until reaching a platform featuring a central protruding lever – repeatedly strike this mechanism to rotate the wheel and continue climbing. Reaching the summit rewards you with the inaugural Silk Heart, enabling passive silk regeneration throughout your journey.
This victory additionally activates Hollow Knight Silksong’s primary fast travel framework. Mirroring the Stag system from the original Hollow Knight, the Bell Beast now serves as your transportation method between various travel nodes scattered throughout the kingdom.
Strategic Implications: The Silk Heart dramatically improves your sustainability between encounters, reducing resource management pressure. The fast travel system fundamentally transforms exploration efficiency, enabling targeted backtracking and optimized routing through previously inaccessible areas.
Explore our additional game guides:
No reproduction without permission:GameCDjnh » How to beat Bell Beast in Hollow Knight Silksong: Location, tips and tricks, and more Master the Bell Beast boss fight with advanced strategies and unlock Silksong's fast travel system