Strategic guide to the best C1 constellations from Genshin Impact’s new character enhancement event for optimal gameplay
Event Overview and Strategic Selection
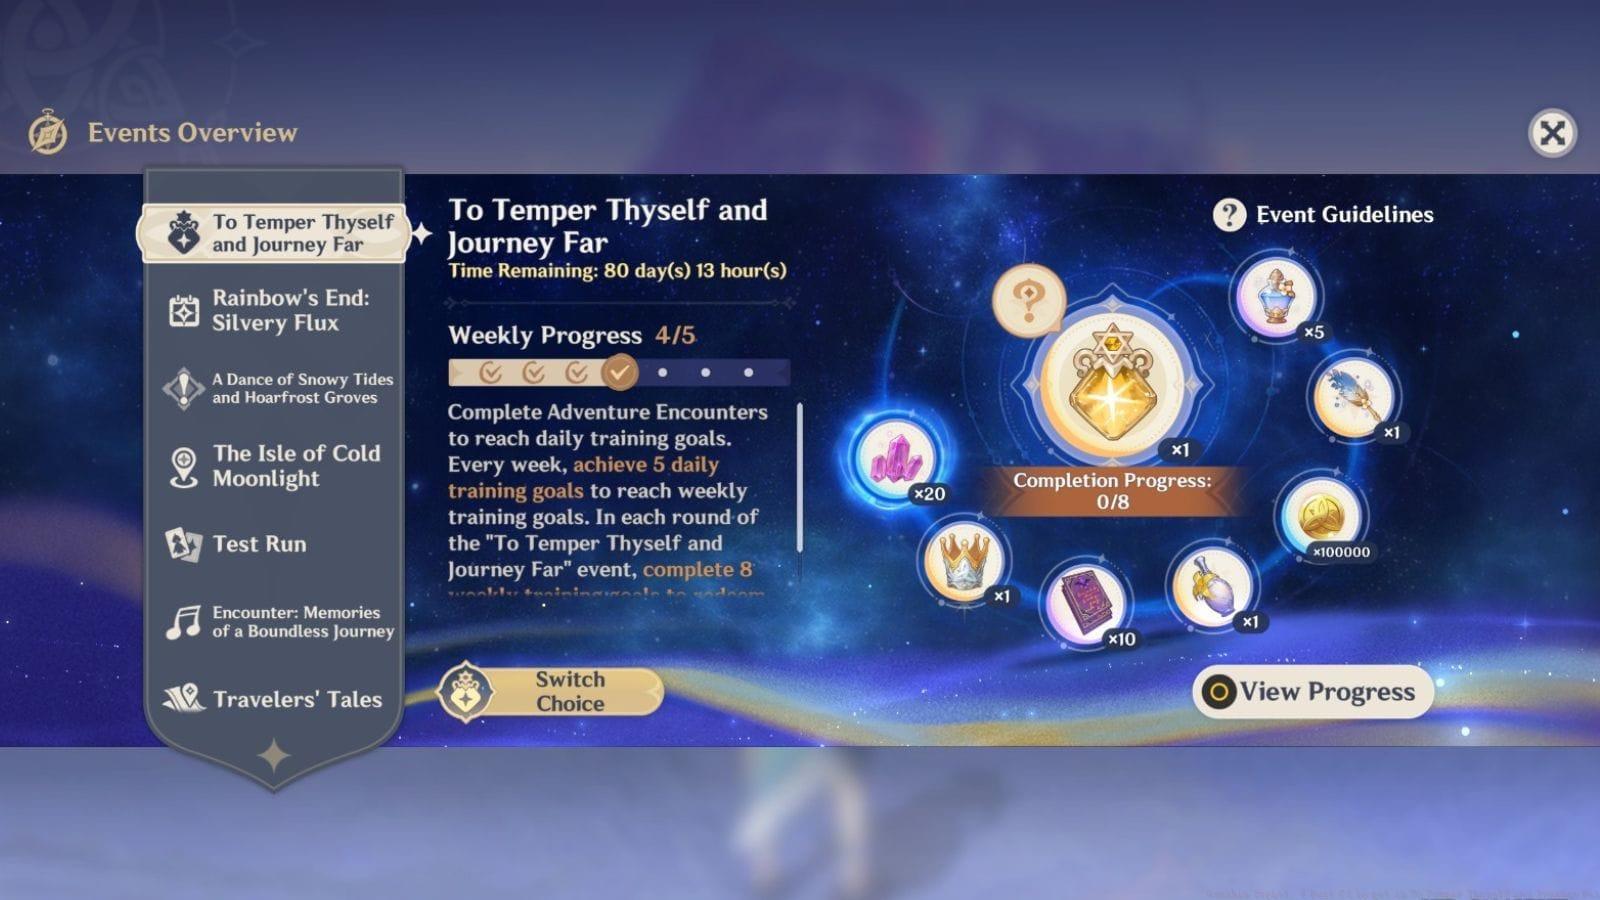
Genshin Impact’s latest Luna I update introduces the To Temper Thyself and Journey Far event, offering players an exceptional opportunity to acquire free first constellations for specific characters through completing weekly objectives over an eight-week period. This long-term commitment requires strategic planning, as participants must already possess the characters they wish to enhance and consistently complete the designated challenges.
When selecting your C1 constellation, consider both immediate gameplay improvements and long-term account value. Many players make the mistake of choosing based solely on damage numbers without considering how the constellation transforms gameplay mechanics. The optimal selection depends on your current roster, preferred playstyles, and which characters you use most frequently in spiral abyss and domain farming.
Also read: New Genshin Impact feature will give you free constellations for older characters
Hu Tao C1: Game-Changing Stamina Freedom
Hu Tao’s initial constellation stands as arguably the most transformative upgrade available in this event, fundamentally altering her combat flow by eliminating stamina consumption during charged attacks while in Paramita Papilio state. This enhancement allows for significantly more aggressive play patterns and dramatically increases her damage potential through extended combo sequences.
Advanced Hu Tao players can achieve approximately 20% damage increases through optimized N1CJ (Normal 1 Charged Jump Cancel) or N2CJ (Normal 2 Charged Jump Cancel) combinations that were previously stamina-limited. For casual players, the quality-of-life improvement is substantial – no longer needing to meticulously manage stamina bars during her elemental skill duration enables more relaxed and consistent performance.
Team building considerations shift with C1 Hu Tao, as you can prioritize more offensive supports rather than stamina management helpers. Pair her with Xingqiu/Yelan for vaporize reactions and Zhongli for shield security to maximize her new-found stamina freedom. Avoid the common mistake of over-spamming charged attacks and losing positional advantage – maintain strategic movement between attacks.
Shenhe C1: Cryo Support Mastery
Shenhe’s first constellation provides two charges of her elemental skill, revolutionizing cryo team rotations and enabling comprehensive buff coverage for characters like Ayaka, Ganyu, and Wriothesley. This additional charge allows players to utilize both tap and hold versions consecutively, accessing all available Icy Quill buffs without downtime.
The tactical advantage comes from being able to deploy five Icy Quills with 15% elemental skill and burst damage bonus (tap version), followed immediately by seven Icy Quills with 15% normal, charged, and plunging attack damage bonus (hold version). This dual-buff approach maximizes damage windows during cryo DPS bursts, particularly effective in freeze team compositions.
Proper quill management becomes crucial with C1 Shenhe – avoid wasting quills on minor enemies and save them for priority targets during damage phases. Energy recharge requirements may decrease slightly with the additional skill use, allowing for more offensive artifact substats. Rotation sequencing should prioritize quill application immediately before your main DPS’s burst window for maximum value.
Also read: Genshin Impact Snare Hook weapon guide
Ganyu C1: Energy and Resistance Control
Ganyu’s initial constellation offers dual benefits that enhance both her personal damage and team utility through cryo resistance shred and energy regeneration. The 15% cryo resistance reduction applied by her frostflake arrow blooms significantly increases damage output for all cryo characters in the party, making it particularly valuable in mono-cryo and freeze compositions.
The energy regeneration component reduces Ganyu’s ER requirements by approximately 15-20%, allowing for more aggressive artifact stat distribution toward critical damage and attack percentage. This makes her burst more consistently available for both Morgana-style teams and melt compositions, improving overall rotation fluidity.
Artifact optimization shifts with C1 Ganyu – consider reallocating ER substats to critical damage while maintaining sufficient energy for burst uptime. Team synergy benefits extend to characters like Ayaka and Shenhe who capitalize on the resistance shred. Avoid the common pitfall of underestimating the resistance shred’s value – it provides substantial team damage increase beyond Ganyu’s personal damage improvement.
Also read: Genshin Impact: How to unlock Commissions in Nod-Krai
Nilou C1: Bloom Team Enhancement
Nilou’s first constellation substantially improves both her on-field DPS capability and bloom team performance through increased normal attack damage during her elemental skill state and extended Tranquility Aura duration. The damage increase to her hydro-infused normal attacks makes her more viable as a primary driver in bloom compositions, while the aura extension enables 100% skill uptime.
With C1, players can maintain constant hydro application through the Tranquility Aura while benefiting from enhanced normal attack damage during their on-field time. This dual enhancement makes Nilou more flexible in various team compositions, particularly in bloom teams where consistent hydro application is critical for generating dendro cores.
Rotation optimization becomes crucial with C1 Nilou – time your skill uses to maximize aura uptime during dendro applicator cooldowns. Team composition should include durable dendro applicators like Nahida or Collei who can maintain dendro aura during Nilou’s enhanced hydro application. Avoid the common mistake of building too much ER on C1 Nilou, as the extended skill duration reduces her energy needs significantly.
Also read: Genshin Impact Serenity’s Call weapon guide
Wanderer C1: DPS Acceleration
Wanderer’s initial constellation provides both attack speed enhancement and passive talent damage amplification during his elemental skill state, resulting in up to 11% DPS increase over his C0 version. The increased normal and charged attack speed allows for additional attacks within his skill duration, while the enhanced Gales of Reverie passive adds substantial damage to his wind arrow projectiles.
Attack pattern optimization with C1 Wanderer involves adjusting cancel timings to capitalize on the increased attack speed without sacrificing damage frame efficiency. The constellation synergizes exceptionally well with attack speed buffers like Yun Jin C6 and certain weapon effects, creating potentially higher DPS increases in optimized teams.
Weapon selection considerations change with C1 – weapons with normal/charged attack damage bonuses become more valuable relative to pure stat sticks. Avoid the common mistake of over-prioritizing attack speed at the expense of critical stats – maintain balanced build priorities while leveraging the constellation’s benefits. The DPS increase makes Wanderer more competitive in speed-run scenarios and spiral abyss clears.
Also read: Genshin Impact Crimson Cleansing quest guide
Tighnari C1: Reliable Damage Boost
Tighnari’s first constellation offers a straightforward but effective 15% critical rate increase to his charged attacks, translating to approximately 6.5% overall DPS improvement while providing significant artifact flexibility. This consistent damage boost makes him more reliable in quick-swap compositions and spread reaction teams where his charged attacks comprise the bulk of his damage output.
The critical rate bonus enables more aggressive artifact building toward critical damage substats, potentially increasing his damage ceiling beyond the direct DPS calculation. For players lacking other constellation options, Tighnari’s C1 represents a solid F2P-friendly choice that improves his performance without requiring complex gameplay adjustments.
Artifact balancing becomes more flexible with C1 Tighnari – aim for approximately 70% critical rate before buffs to maximize damage consistency while stacking critical damage. Team composition should focus on dendro reaction enablers like Fischl, Yae Miko, or Nahida to capitalize on his enhanced charged attack damage. This constellation provides excellent value for players who frequently use Tighnari in abyss or domain farming rotations.
Also read: All Nod-Krai Local Legends in Genshin Impact Luna I
No reproduction without permission:GameCDjnh » Genshin Impact: 6 Best C1 to get in To Temper Thyself and Journey Far Strategic guide to the best C1 constellations from Genshin Impact's new character enhancement event for optimal gameplay