TL;DR
- Three specialized DLC builds that become powerful early: Dark Paladin (defense/healing), Pyro Mage (hybrid damage), Blood Fiend (arcane burst)
- Dark Paladin focuses on guard counters with holy damage and self-sustain through multiple healing sources
- Pyro Mage offers balanced combat with twin blades and spellcasting versatility
- Blood Thirsty Fiend excels at area control and massive burst damage through blood mechanics
- Each build includes specific stat priorities, talisman combinations, and combat strategies
Discover three exceptional character builds specifically designed for Elden Ring’s Shadow of the Erdtree expansion. These specialized configurations provide significant power advantages during the early DLC stages while utilizing the most effective new weapons and equipment. What makes these builds particularly valuable is their accessibility – each can be assembled with minimal grinding and offers distinct playstyles catering to different combat preferences.
Each build follows a carefully optimized progression path that maximizes effectiveness from the moment you enter the DLC areas. Unlike many late-game builds that require extensive completion, these configurations deliver immediate results while scaling effectively into endgame content.
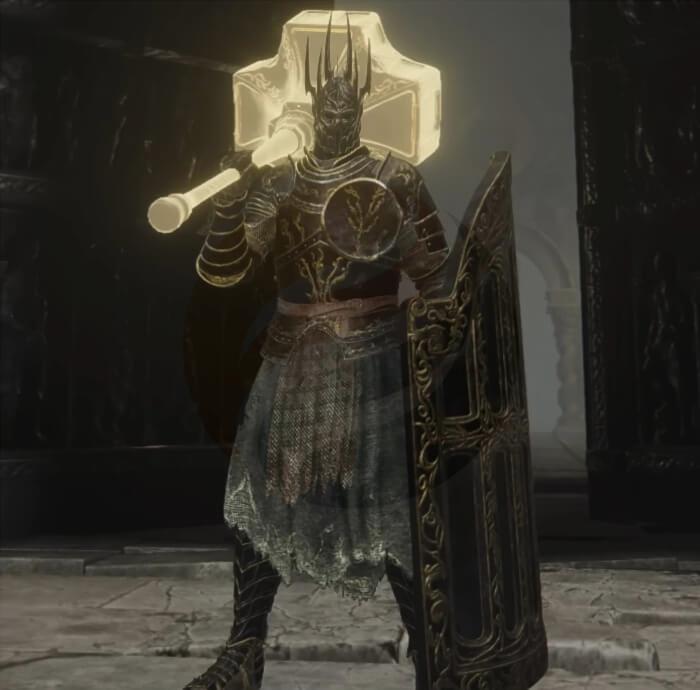
Black Steel GreatHammer
The Dark Paladin configuration demonstrates why evasion becomes optional for skilled players. This holy-themed Strength and Faith hybrid specializes in wielding the Black Steel great hammer, which features unique holy-infused properties that transform standard guard counters into devastating offensive opportunities.
When executing a properly timed guard counter, the weapon triggers a golden explosion that deals substantial holy damage while staggering enemies twice – first from the block impact, then from the explosive follow-through. This double-stagger effect creates extended vulnerability windows, allowing follow-up attacks or strategic repositioning.
Deflecting Hardtear
The newly introduced Deflecting Hardtear significantly enhances this build’s defensive capabilities. When active, this cracked tear amplifies guard counter effectiveness when performing deflection blocks similar to perfect parries. Timing your block at the precise moment before enemy impact activates this bonus, substantially boosting your subsequent attack power.
Advanced Technique: Master the deflection timing by practicing against slower enemy attacks first. The visual cue occurs during the enemy’s wind-up phase – block as their weapon begins its forward motion toward you.
Ash of War
Utilizing the black hammer paired with a black steel shield using sacred affinity creates a formidable foundation. The Sacred Blade Ash of War provides both ranged capability and additional holy damage enhancement. Alternatively, Prayerful Strike offers both burst damage and sustained healing, passively restoring health with each successful enemy strike.
Strategic Combination: Pair Prayerful Strike with the Assassin’s Crimson Dagger talisman for dual healing sources – health restoration on hits plus critical strike recovery. This combination, when coupled with a heavy shield, creates nearly unstoppable survivability during exploration.
Essential talismans include the Curved Sword Talisman for guard counter optimization, Two-Headed Turtle for stamina management, and Great-Jar’s Arsenal for equipment load capacity. The physick flask should contain both deflection and holy-shrouded cracked tears for maximum effectiveness.
Attributes
● Endurance 30
● Strength 50-60
● Faith 50-60
Stat priority focuses on reaching soft caps for both Strength and Faith while maintaining sufficient Endurance for sustained combat. Stamina management proves crucial since your defensive capabilities depend entirely on having available stamina for blocks and counters.
Common Mistake: Neglecting Endurance in favor of pure damage stats often results in being unable to maintain guard or execute counters when needed most.
The Pyro Mage configuration, designated “Burning Moon,” provides exceptional combat versatility through multiple damage types and engagement options. This balanced approach allows adaptation to various enemy types and combat scenarios.

Rellana’s Twin Blade
Rellana’s Twin Blades deliver one of the most satisfying power stance move sets available, featuring rapid successive strikes combined with great sword power stance mechanics. Even single-handed heavy attacks maintain impressive speed, enabling shield usage while delivering fast heavy strikes directly from blocking positions.
The twin blades pair effectively with a medium shield – the turtle shield provides valuable stamina regeneration bonuses. The Staff of the Great Beyond, a new DLC item, enables simultaneous casting of both incantations and sorceries, significantly expanding your tactical options.
Talisman optimization includes Curved Sword Talisman for guard counter enhancement, Shard of Alexander for skill damage, and the new Rellana’s Cameo talisman that boosts weapon art damage by 15% after maintaining stance for two seconds. Millicent’s Prosthesis further amplifies successive attack damage on power stance combinations.
Attributes
● Mind 25
● Strength 35
● Dexterity 30
● Intelligence 35
● Faith 30
This stat distribution creates a true hybrid character capable of effective melee combat while maintaining potent spellcasting capabilities across multiple magic schools.
Pro Tip: Rotate between melee engagements and spellcasting to maintain pressure while managing stamina and focus points efficiently.
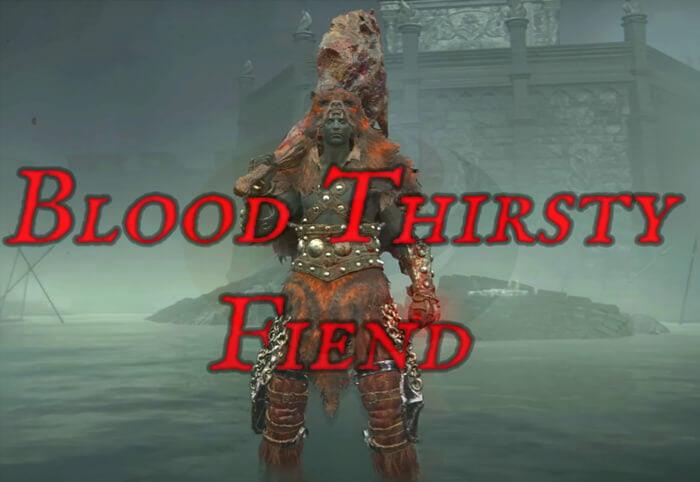
Bloodfiend’s Arm
The primary weapon, Bloodfiend’s Arm, presents as a visually striking colossal weapon with a uniquely disturbing heavy attack mechanic. Fully charging heavy attacks causes the weapon to splash your character’s blood in a small area of effect, effectively spreading status effects while dealing substantial damage, particularly on high Arcane investments.
Axe Talisman
After augmenting charged heavy attacks with the Axe Talisman, this build delivers massive burst damage potential. The secondary Bloodfiend weapon, the Sacred Spear, offers complementary capabilities – while the “turkey leg” excels against individual targets, the sacred spear provides superior versatility and engagement range through its weapon art.
The blood affinity applied to these weapons maximizes their inherent bleeding capabilities while scaling with your Arcane investment.
Ash of War
Cragblade represents an optimal Ash of War selection, further enhancing staggering potential and poise damage. Talisman configuration includes Axe Talisman, Lord of Blood’s Exultation, and the new two-handed sword talisman, collectively maximizing heavy attack damage output.
Attributes
● Endurance 25-30
● Strength 40-50
● Faith 15-25
● Arcane 55-60
Arcane takes priority as the primary damage stat, with Strength providing minimum requirements and Faith offering supplementary utility.
Advanced Strategy: Use the blood splash to control space in group encounters, then focus charged heavies on priority targets while status effects accumulate on surrounding enemies.
Timing Consideration: Fully charged heavy attacks require approximately 2-3 seconds, making positioning and timing critical for successful execution.
Success with these builds extends beyond proper stat allocation and equipment selection. Mastering combat rhythms and understanding enemy attack patterns proves essential for maximizing effectiveness.
For Dark Paladin: Practice the deflect timing against various enemy types – slower enemies provide easier practice, while faster opponents test your reflexes. The key is blocking during the initial forward motion of enemy attacks rather than at impact.
Pyro Mage Optimization: Develop fluid transitions between power stance combos and spellcasting. Use the Staff of the Great Beyond to maintain pressure at range when melee engagement becomes risky.
Blood Fiend Execution: Master the charged heavy attack rhythm – the blood splash creates area denial that controls enemy positioning while setting up focused damage on primary targets.
Common Pitfalls: Avoid overcommitting to attacks when low on stamina. Never neglect Vigor investment despite the defensive capabilities these builds offer. Always have backup strategies for enemies resistant to your primary damage types.
Progression Path: Begin collecting key items immediately upon DLC entry. The Dark Paladin components become available within the first few areas, while the other builds may require slightly more exploration.
For comprehensive guidance on character development fundamentals, consult our Class Guide which covers foundational build principles applicable across multiple game systems.
Action Checklist
- Collect Black Steel great hammer and shield for Dark Paladin build foundation
- Acquire Deflecting Hardtear from specified DLC location
- Practice guard counter timing against slower enemies to master deflection mechanics
- Optimize stat distribution according to build-specific soft caps
- Test build effectiveness in controlled environments before challenging major bosses
- Refine combat rotations and develop muscle memory for optimal skill execution
No reproduction without permission:GameCDjnh » Elden Ring Shadow of the Erdtree DLC – Best Top 3 New Builds Master three powerful Elden Ring DLC builds with optimized stats, gear, and advanced combat strategies