Master Battlefront 2’s specialist class with optimal loadouts, strategic tips, and advanced tactics for dominating long-range combat
Introduction to the Specialist Class
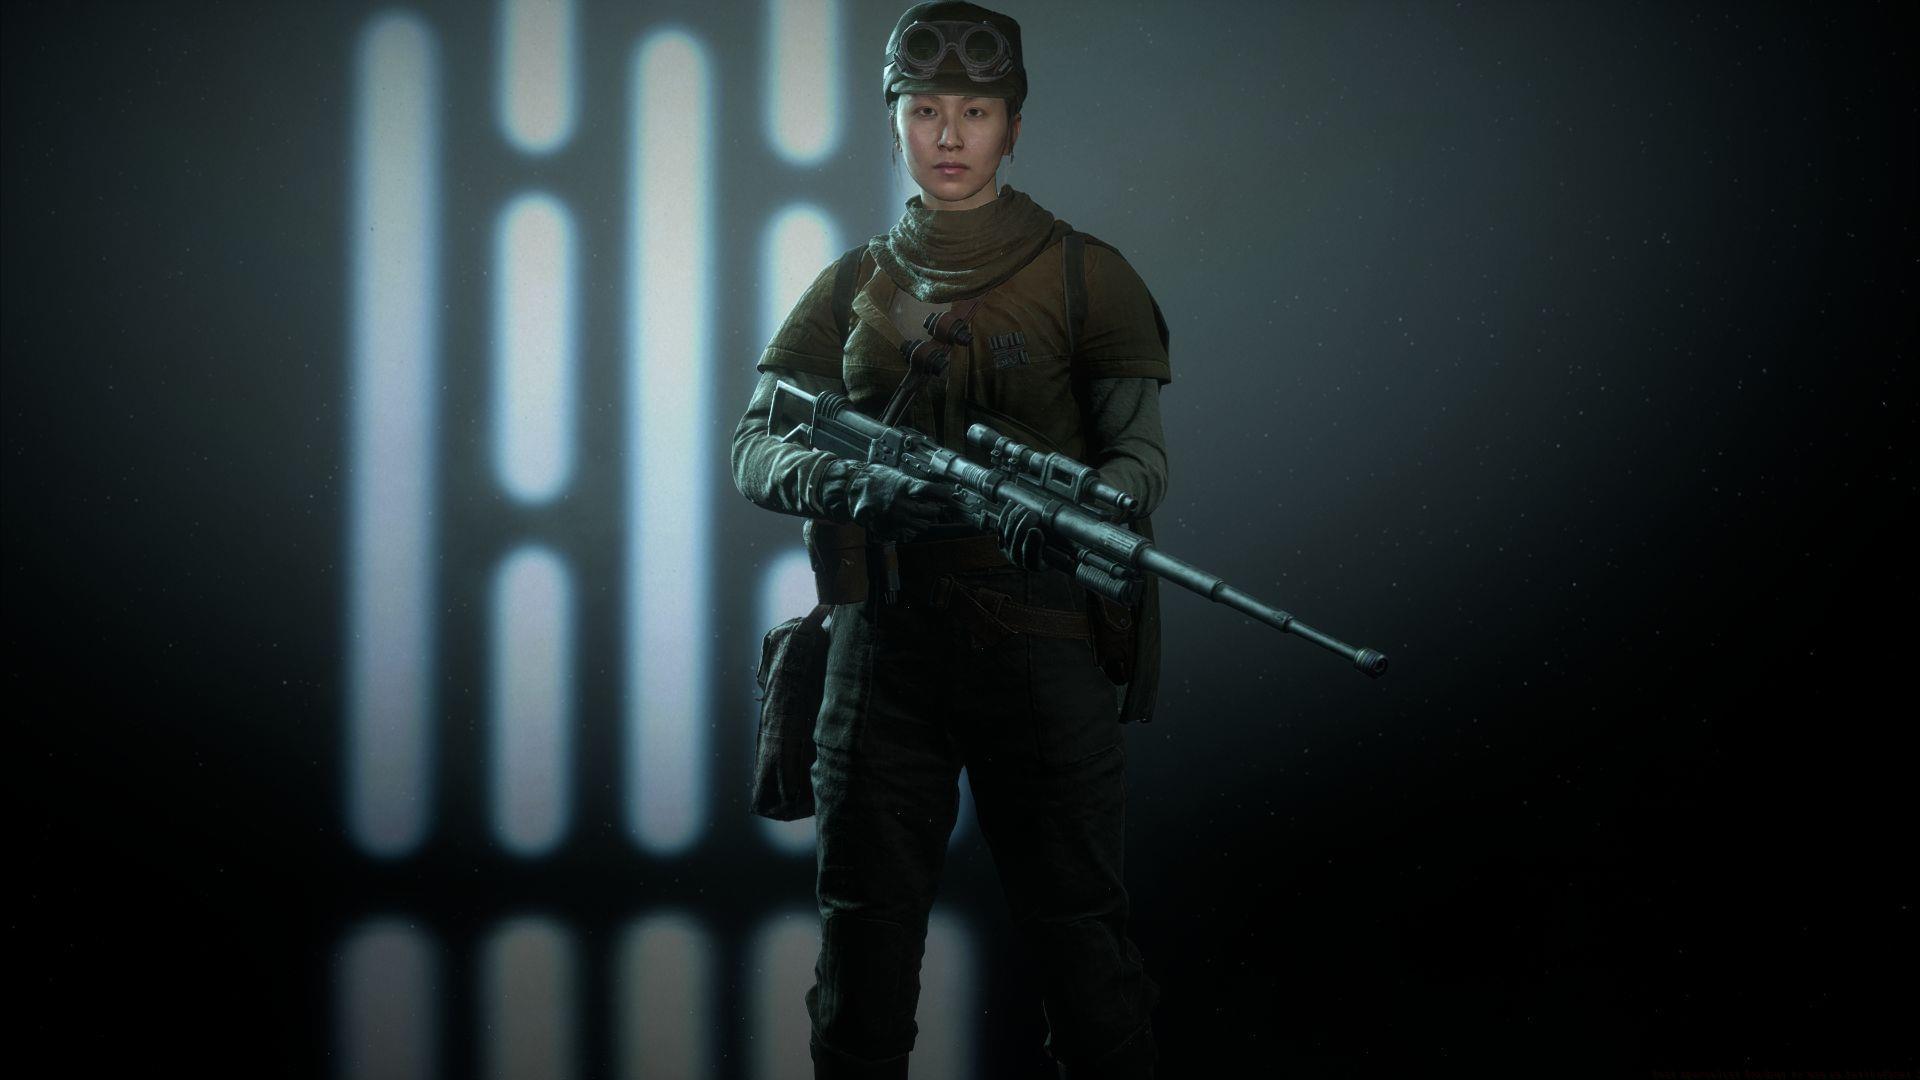
The specialist class in Battlefront 2 represents the game’s premier long-range combatant and intelligence gatherer. These operatives excel at controlling sightlines and providing critical battlefield awareness while maintaining lethal precision from distance. With the recent resurgence in player population, many Star Wars enthusiasts are rediscovering how properly configured specialists can dictate the flow of entire matches through strategic positioning and calculated engagements.
Beyond simple sniping duties, specialists serve as the team’s eyes and ears—their infiltration ability reveals enemy positions to allies while their long-range capabilities eliminate high-value targets. This dual-role functionality makes them indispensable on large-scale maps where controlling choke points and eliminating support classes can determine match outcomes.
Primary Blaster Analysis
Selecting the right primary weapon forms the foundation of any effective specialist loadout. Each blaster offers distinct advantages suited to different playstyles and combat scenarios.
- A280-CFE: This burst-fire blaster delivers consistent damage output at medium engagement distances. Its three-round burst pattern requires controlled timing but rewards accuracy with rapid target elimination. The weapon experiences noticeable damage reduction beyond 40 meters, making it ideal for aggressive specialists who maintain moderate distance from objectives.
- IQA-11: As a dedicated sniper rifle, the IQA-11 provides reliable one-shot potential against standard infantry at extreme ranges. The bolt speed modification significantly improves projectile velocity, reducing leading requirements against moving targets. Unlike many sniper variants, this weapon maintains consistent damage regardless of distance, enabling consistent performance across massive battlefields.
- NT-242: The pinnacle of specialist weaponry, this disruptor sniper rifle delivers devastating damage capable of penetrating personal shields and damaging vehicles. Its armor-piercing qualities make it exceptionally effective against heavy units and enemy reinforcements. The absence of damage falloff combined with exceptional range establishes this as the definitive choice for specialists focused on maximum lethality.
Weapon Mod Optimization
While base weapon performance provides a foundation, modifications transform competent specialists into truly formidable opponents. Strategic mod selection adapts your loadout to specific map conditions and enemy compositions.
The dual zoom modification proves invaluable for specialists operating across variable engagement distances, allowing rapid transition between medium-range scanning and long-range precision. Bolt speed enhancements dramatically increase projectile velocity, essential for leading fast-moving targets like aerial units or sprinting infantry. Disruptor shot modifications introduce area denial capabilities, temporarily disabling vehicle systems and overwhelming enemy shields.
For open terrain maps like Hoth or Geonosis, prioritize bolt speed and extended zoom options to maximize long-range dominance. In urban environments such as Mos Eisley, consider close-range optics and improved cooling systems for better target acquisition during unexpected close encounters. Advanced players should maintain multiple mod configurations ready for rapid switching based on battlefield developments.
Star Card Selection Guide
Star Cards elevate specialist capabilities beyond basic marksmanship, providing tactical flexibility and survival enhancements that complement your chosen engagement style.
- Hardened Infiltration: This elite ability upgrade provides substantial damage reduction during infiltration activations, allowing aggressive positioning without immediate retaliation concerns. Unlocked at class level 20, it transforms infiltration from purely reconnaissance to an offensive positioning tool.
- Marksman (boost card): Headshot eliminations instantly reset weapon heat buildup while providing overall cooling improvements. This card rewards precision shooting with sustained fire capability, essential during target-rich environments or defending against pushes.
- Personal Shield: Deploying this protective barrier blocks all incoming damage, creating emergency escape opportunities or objective capture protection. The inability to fire while shielded requires careful timing—activate during reloads or when awaiting reinforcement arrival.
- Stealth (boost card): Remain undetectable by enemy scanning technology while gaining enhanced melee damage. This combination enables flanking maneuvers and unexpected close-quarters engagements, perfect for specialists caught in compromised positions.
- Survivalist (Boost Card): Reduced health regeneration delay keeps specialists in combat longer, minimizing downtime between engagements. This fundamental survival enhancement proves valuable across all playstyles and situations.
Advanced Specialist Tactics
Mastering specialist gameplay extends beyond loadout selection to encompass positioning, timing, and team coordination strategies that separate competent players from truly dominant ones.
Positioning represents the specialist’s most critical consideration. Always seek elevated terrain with multiple escape routes and clear sightlines to objective areas. Avoid predictable sniper nests that experienced players routinely check—instead, rotate between 2-3 positions each life to maintain element of surprise. Utilize the infiltration scan before committing to a position to ensure no enemies are flanking your location.
Team coordination amplifies specialist effectiveness dramatically. Communicate enemy positions revealed through infiltration to alert teammates of approaching threats. Focus fire on enemy specialists first to establish sightline control, then eliminate support classes to weaken the enemy’s sustainability. During objective pushes, use your range to suppress defensive positions and eliminate reinforcements approaching the combat area.
Avoid these common specialist mistakes: remaining stationary too long, engaging at inappropriate ranges for your loadout, neglecting flanks while scoped, and poorly timing ability usage. Successful specialists maintain situational awareness while dealing damage, constantly assessing when to reposition versus when to maintain pressure.
Related reading: Essential Battlefront 2 gameplay mechanics every player should master
No reproduction without permission:GameCDjnh » Best specialist loadout to use in Battlefront 2 Master Battlefront 2's specialist class with optimal loadouts, strategic tips, and advanced tactics for dominating long-range combat