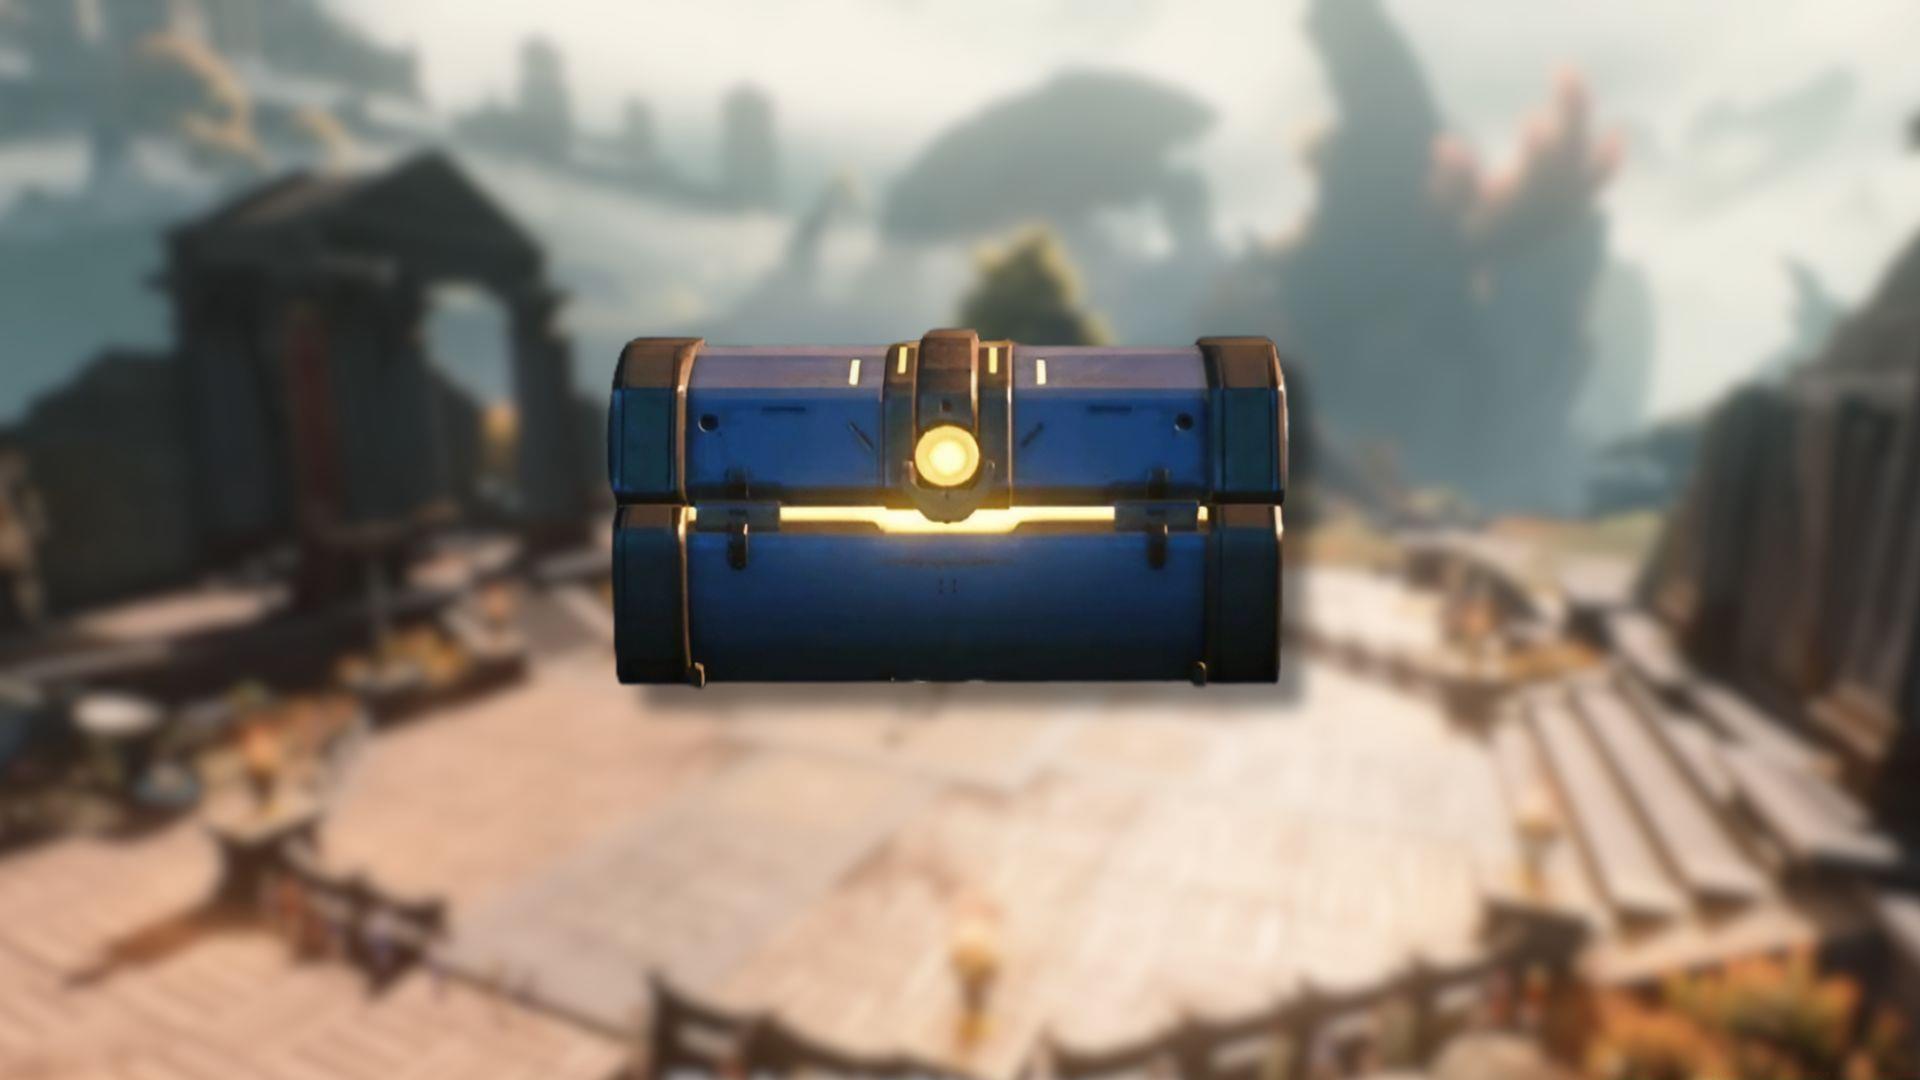
Complete guide to finding all 17 Treasure Spot chest locations in Wuthering Waves Septimont region with strategic tips
Introduction to Septimont Treasure Hunting
Septimont represents Rinascita’s colossal urban center where the Great Agon tournament initiates within Wuthering Waves, newly introduced through the 2.4 version expansion. Adventurers will discover immense fascination exploring this district to uncover diverse architectural tributes to legendary gladiators while securing valuable supply containers throughout their journey. Fortunately, these resources concentrate within designated Treasure Spot zones, substantially simplifying the discovery process.
Each Treasure Spot location typically swarms with hostile entities, making tactical elimination of threats the primary priority before investigating individual supply container placements. Seasoned explorers recommend approaching each area with combat readiness, as many chests remain inaccessible until surrounding adversaries are neutralized. The systematic organization of these treasure clusters enables efficient collection routes when properly planned.
Titanbone Expanse Treasure Spots
The Titanbone Expanse sector contains multiple high-yield Treasure Spot concentrations starting from the central Resonance Nexus teleportation point. These initial locations establish the treasure hunting pattern for the entire region.
Central City Treasure Spot: Activate your sensor immediately upon teleporting to identify all nearby container signals. The initial chest positions itself adjacent to the gladiator spawning tent. Proceed downward along the staircase pathway to locate the subsequent treasure beside the left-positioned gladiator statue. The third container rests proximate to the secondary statue, positioned adjacent to the diagonally growing tree. Scale the adjacent wall structure from this position to discover the next supply container. Employ your Hero’s Rend resonance ability to demolish the concealed wall segment, exposing the interred advanced chest.
Dome and Rooftop Cluster: Transport to the Titanbone Expanse Resonance Nexus to access these elevated treasures. An Advanced Supply Chest conceals itself beneath the dome structure overhanging the arched corridor. Utilize gliding mechanics to reach the nearest rooftop and unlock the subsequent container. Another supply cache awaits on the rooftop area closest to the Resonance Nexus. The final two chests position themselves adjacently – simply descend from the platform and investigate near the seating arrangements using your sensor.
Southwestern Ruins: These deteriorated structures positioned southwest of the Titanbone Expanse Resonance Nexus constitute the third Treasure Spot concentration. When approaching from the Echo Challenge direction, the initial chest becomes accessible after descending the mountainside. The second container protection involves defeating two gladiator sentinels. The remaining three supply caches reside within the basement level – thoroughly search near the griffin sculpture, structural pillars, and the gladiator wall artwork.
Port and Coastal Treasure Locations
The northern Titanbone Expanse port district hosts several Treasure Spot collections accessible via Resonance Beacon transportation.
Primary Port Area: Ascend to the platform summit to unlock the standard supply container. The secondary cache positions itself at the cable car turning point. Another treasure chest awaits beside the staircase apparatus. The ultimate container conceals itself at the structural rear section.
Watch Tower Sector: This represents the secondary Titanbone Expanse port Treasure Spot containing four dispersed chests. Unlock the container positioned atop the observation tower. Another rests near the secondary zone perimeter. Deploy your sensor mechanism to identify the third supply chest camouflaged within foliage. The concluding treasure situates itself adjacent to the waterfront.
Broken Bridge Concentration: Navigate to the fractured bridge northwest of Titanbone Expanse. Teleport to the neighboring Resonance Beacon and descend the cliff face to locate this chest grouping. One crate hides beneath the arch structure. Leap downward to discover two additional containers near the staircases. Eliminate the Tacet Discord guardians to access the ultimate chest.
Mountain and Canyon Treasure Spots
The Border Mountains periphery hosts exposed Treasure Spots while Mournfell Canyon contains multiple concealed cache collections.
Border Mountains Exposure: This Wuthering Waves Treasure Spot positions itself along the Border Mountains boundary. The area contains four chests deliberately placed in visible locations, simplifying discovery procedures. However, you’ll encounter numerous hostile entities. Defeating these opponents remains mandatory to access the secured supply containers.
Mournfell Canyon Arena: Transport to the Mournfell Canyon Resonance Beacon and proceed toward the arena wreckage. Traverse the staircase to encounter a Tacet Discord group – defeat them to unlock the initial treasure chest. Continue advancement and utilize Hero’s Rend to fracture the wall, revealing the buried container. The final two supply caches locate themselves on their respective floor levels.
Ravine Crossing: This Treasure Spot positions directly across the chasm from Mournfell Canyon Resonance Beacon. Similar to preceding locations, these chests occupy open areas and become easily detectable with sensor assistance. Simply eliminate the protecting enemies and examine each staircase vicinity.
Eastern Mountain Cluster: The territory east of Mournfell Canyon contains a treasure chest concentration. No proximate waypoints exist, making aerial travel from the Resonance Nexus the sole viable approach. Locate a chest alongside the staircase on the upper level. Descend to acquire the secondary supply collection. Two additional containers await at the inferior tier.
Capitoline Hills Treasure Clusters
The Capitoline Hills district contains the most diverse Treasure Spot varieties, ranging from gladiator encampments to architectural complexes.
Gladiator Camp: The combatant base west of Vale of Glory represents one of numerous Septimont Treasure Spots. Utilize either Capitoline Hills Resonance Beacon for access. The initial supply cache requires enemy elimination. Scale the tallest pillar to secure the subsequent treasure container. Discover the third box behind the wall barrier. The ultimate chest conceals itself beneath the massive shield structure.
Tower and Bridge Complex: The Capitoline Foothills Resonance Beacon provides entry to another Septimont Treasure Spot. Soar to the tower rooftop to unlock two supply containers. Plunge downward to the bridge structure to locate two additional chests within the elevator chamber.
Courtyard Collection: Discover multiple chests within the nearest courtyard after teleporting to Capitoline Hillside. Upon reaching the Treasure Spot, circumnavigate the perimeter edges gathering all visible supply caches. The premium container resides within the compact chamber opposite the entrance.
Hilltop Concealment: A Treasure Spot exists at Capitoline Hilltop, east of the Resonance Beacon. The supply chests hide in these positions: Behind the muscular Tacet Discord adversary. Behind the Palm Tree, across from the identical NPC. Adjacent to the barrels near Ceres and Seraphine. Pursue the carpet pathway to reach the concluding chest.
Bathhouse and Lake Areas: Proceed to the bathhouse near the Capitoline Foothills Resonance Nexus. Discover three chests distributed throughout the seating sector. The ultimate supply box perches atop the roof structure. For the lakeside Treasure Spot, teleport to Capitoline Hillside Resonance Beacon southwest of the metropolis adjacent to the lake. Immediately orient toward the wall to find the initial chest. Identify the extended wall segment containing an advanced supply container. Glide toward the lake direction from this position to spot the third and fourth caskets at varying hill elevations.
Advanced Treasure Hunting Strategies
Mastering Septimont’s treasure hunting mechanics requires implementing advanced techniques beyond basic location knowledge.
Efficiency Optimization: Always activate your sensor upon arriving at each Treasure Spot to reveal all container positions simultaneously. Group chest collections by proximity rather than following strict numerical order. Utilize gliding and climbing mechanics to create optimal routes that minimize backtracking. Advanced Supply Chests typically contain superior rewards – prioritize these when planning your collection path.
Combat Preparation: Most Treasure Spots contain enemy guardians that must be defeated before accessing chests. Approach each location with full health and resonance energy. Time your Hero’s Rend usage strategically for breaking walls while maintaining combat readiness. Against gladiator opponents, utilize parry and dodge mechanics to conserve resources.
Navigation Shortcuts: Memorize Resonance Beacon placements to minimize travel time between Treasure Spots. Many locations allow aerial approaches that bypass ground-level obstacles. When no nearby waypoints exist, identify the closest Resonance Nexus for gliding entry points. The cable car system in port areas provides additional mobility options.
Also read: Wuthering Waves 2.4 banners schedule
Also read: Best teams for Ciaccona in Wuthering Waves
Also read: All Dreaming Deep endings in Wuthering Waves
Also read: All Nightmare Echoes in Wuthering Waves and their locations
Also read: Wuthering Waves announces Phrolova, Chisa, and more characters for future updates
Follow Sportskeeda’s Wuthering Waves hub for more information and updates.
No reproduction without permission:GameCDjnh » Wuthering Waves: All Septimont Treasure Spot chest locations Complete guide to finding all 17 Treasure Spot chest locations in Wuthering Waves Septimont region with strategic tips