Master Kuuvahki mechanics, understand Nod-Krai’s energy system, and optimize your exploration with practical strategies
Understanding Kuuvahki: The Heart of Nod-Krai
While experienced Genshin Impact adventurers have grown accustomed to Kuuvahki’s exploration mechanics throughout Nod-Krai, the deeper metaphysical principles governing this energy system often remain elusive. Newcomers particularly struggle to grasp the underlying logic that makes this region’s power source function so uniquely compared to other elemental systems in Teyvat.
Within Nod-Krai’s boundaries, Kuuvahki operates as the primary life-giving force that directly controls regional climate patterns and environmental conditions. The intensity of its energy flow creates such concentrated power that it fundamentally alters creature behavior patterns and biological functions across the landscape. Kuuhenki entities—those Seelie-like manifestations—emerged into existence simultaneously with Moon Goddess Columbina’s birth, representing pure expressions of this cosmic energy.
Frostmoon Scions teachings describe Kuuvahki as the primordial light form preceding elemental division, serving as the foundational energy that powers Moon Wheels—Nod-Krai’s equivalent to Visions for its native characters. This cosmological framework shares conceptual parallels with both Primordial Sea theories and Phlogiston principles, indicating Kuuvahki’s ultimate derivation from the Light Realm’s infinite energy reserves.
Kuuvahki Energy Types and Interactions
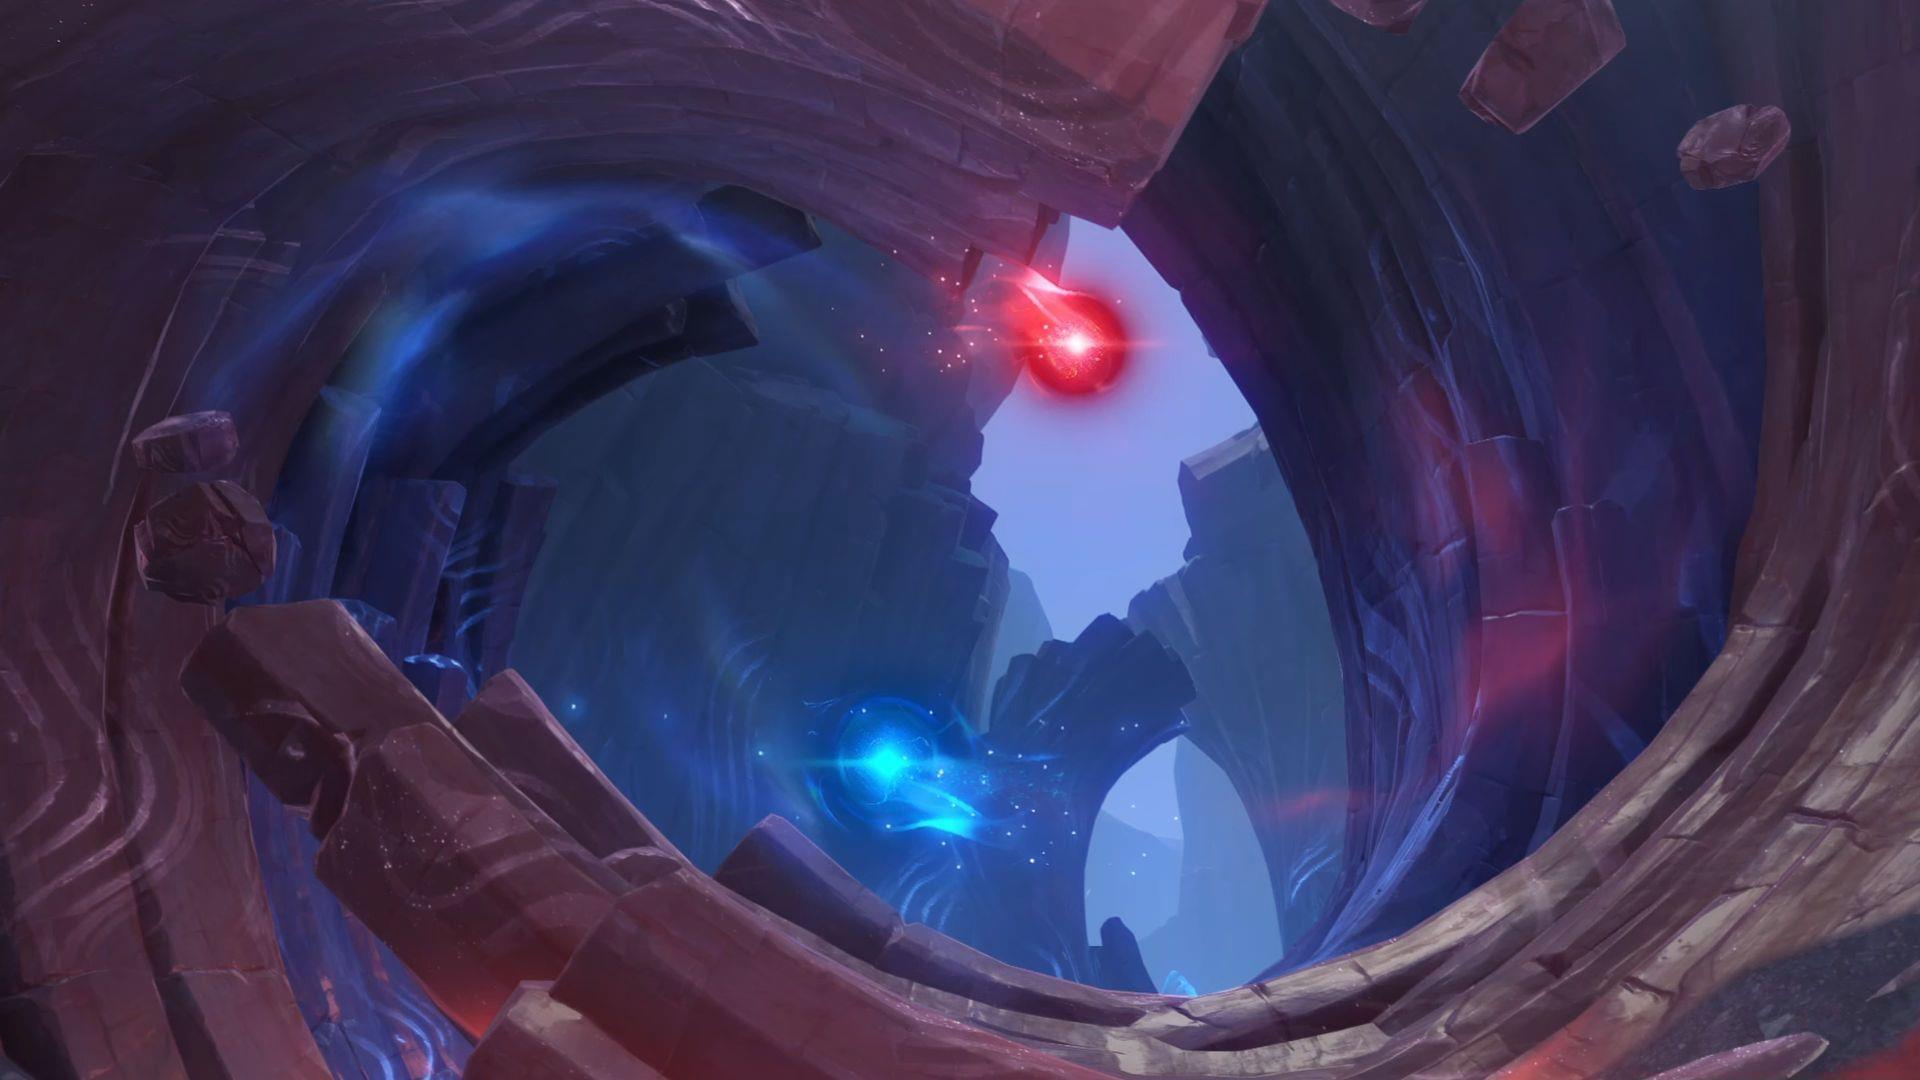
Kuuvahki manifests primarily through two distinct energy polarities—crimson red and azure blue—that operate with opposing charge characteristics. A third neutral energy variant, often appearing as pure light energy, facilitates interaction between the two primary types. These energy relationships follow electromagnetic principles where contrasting polarities demonstrate strong attraction forces while matching colors generate repulsion effects.
Practical Application Tip: When navigating energy-based puzzles, position yourself so opposing energy types align to create pathways, while using similar energy repulsion to block hazardous areas or create barriers against enemy advances.
Common Mistake to Avoid: Don’t assume red energy always signifies danger or blue indicates safety—the contextual environment determines each polarity’s functional properties. Always observe surrounding visual cues before engaging with energy mechanics.
Extended exposure to concentrated Kuuvahki flows can induce physical discomfort including vertigo sensations and nausea symptoms. Character Lauma exemplifies extreme sensitivity to these energy currents, possessing innate ability to detect flow abnormalities—a trait prominently featured throughout Nod-Krai’s Archon Quest narrative arcs.
Practical Exploration Strategies
Mastering Kuuvahki navigation requires understanding three core principles: polarity sequencing, environmental timing, and energy conservation. Begin by scanning your surroundings for energy concentration patterns—denser clusters indicate puzzle activation points or hidden passageways.
Advanced Optimization Strategy: Veteran explorers should practice ‘polarity stacking’—intentionally accumulating multiple energy charges of the same type to create temporary shields or enhance movement speed through repulsion fields. This technique requires precise timing but dramatically improves traversal efficiency.
When encountering complex energy puzzles, always prioritize identifying the neutral energy sources first, as these typically serve as reset mechanisms or safe zones when you need to recalibrate your approach. Monitor your character’s visual effects—increasing screen distortion indicates approaching exposure limits requiring immediate retreat to neutral areas.
Pro Tip: During cooperative play, coordinate with teammates to simultaneously activate opposing polarity mechanisms—many multiplayer puzzles require synchronized energy application across different locations to unlock hidden treasures or advance quest progression.
Story Significance and Future Implications
Kuuvahki’s complete purpose within Genshin Impact’s overarching narrative remains intentionally obscured, even as players progress through Nod-Krai’s primary storyline arcs. This deliberate mystery suggests deeper connections to Teyvat’s fundamental cosmology that will gradually unfold through future updates and character developments.
The energy system’s relationship with moon mythology and lunar deities positions it as potentially crucial to understanding Celestia’s true nature and the historical conflicts between various cosmic realms. As Columbina’s birth mythology intertwines with Kuuvahki manifestations, players should anticipate expanded lore connections between moon deities, Seelie evolution, and the cataclysmic events that shaped Teyvat’s current state.
Future narrative developments will likely reveal how Kuuvahki energy imbalances contributed to historical conflicts and how its proper balance restoration might prevent future calamities. The system’s Light Realm origins suggest it may eventually serve as a bridge between elemental powers and more fundamental cosmic forces, potentially revolutionizing how Travelers understand Teyvat’s metaphysical structure.
No reproduction without permission:GameCDjnh » What is the lore behind Kuuvahki in Genshin Impact? Master Kuuvahki mechanics, understand Nod-Krai's energy system, and optimize your exploration with practical strategies