Complete guide to Lifting The Vale quest in Oblivion Remastered with expert tips and strategy insights
Quest Initiation and Preparation
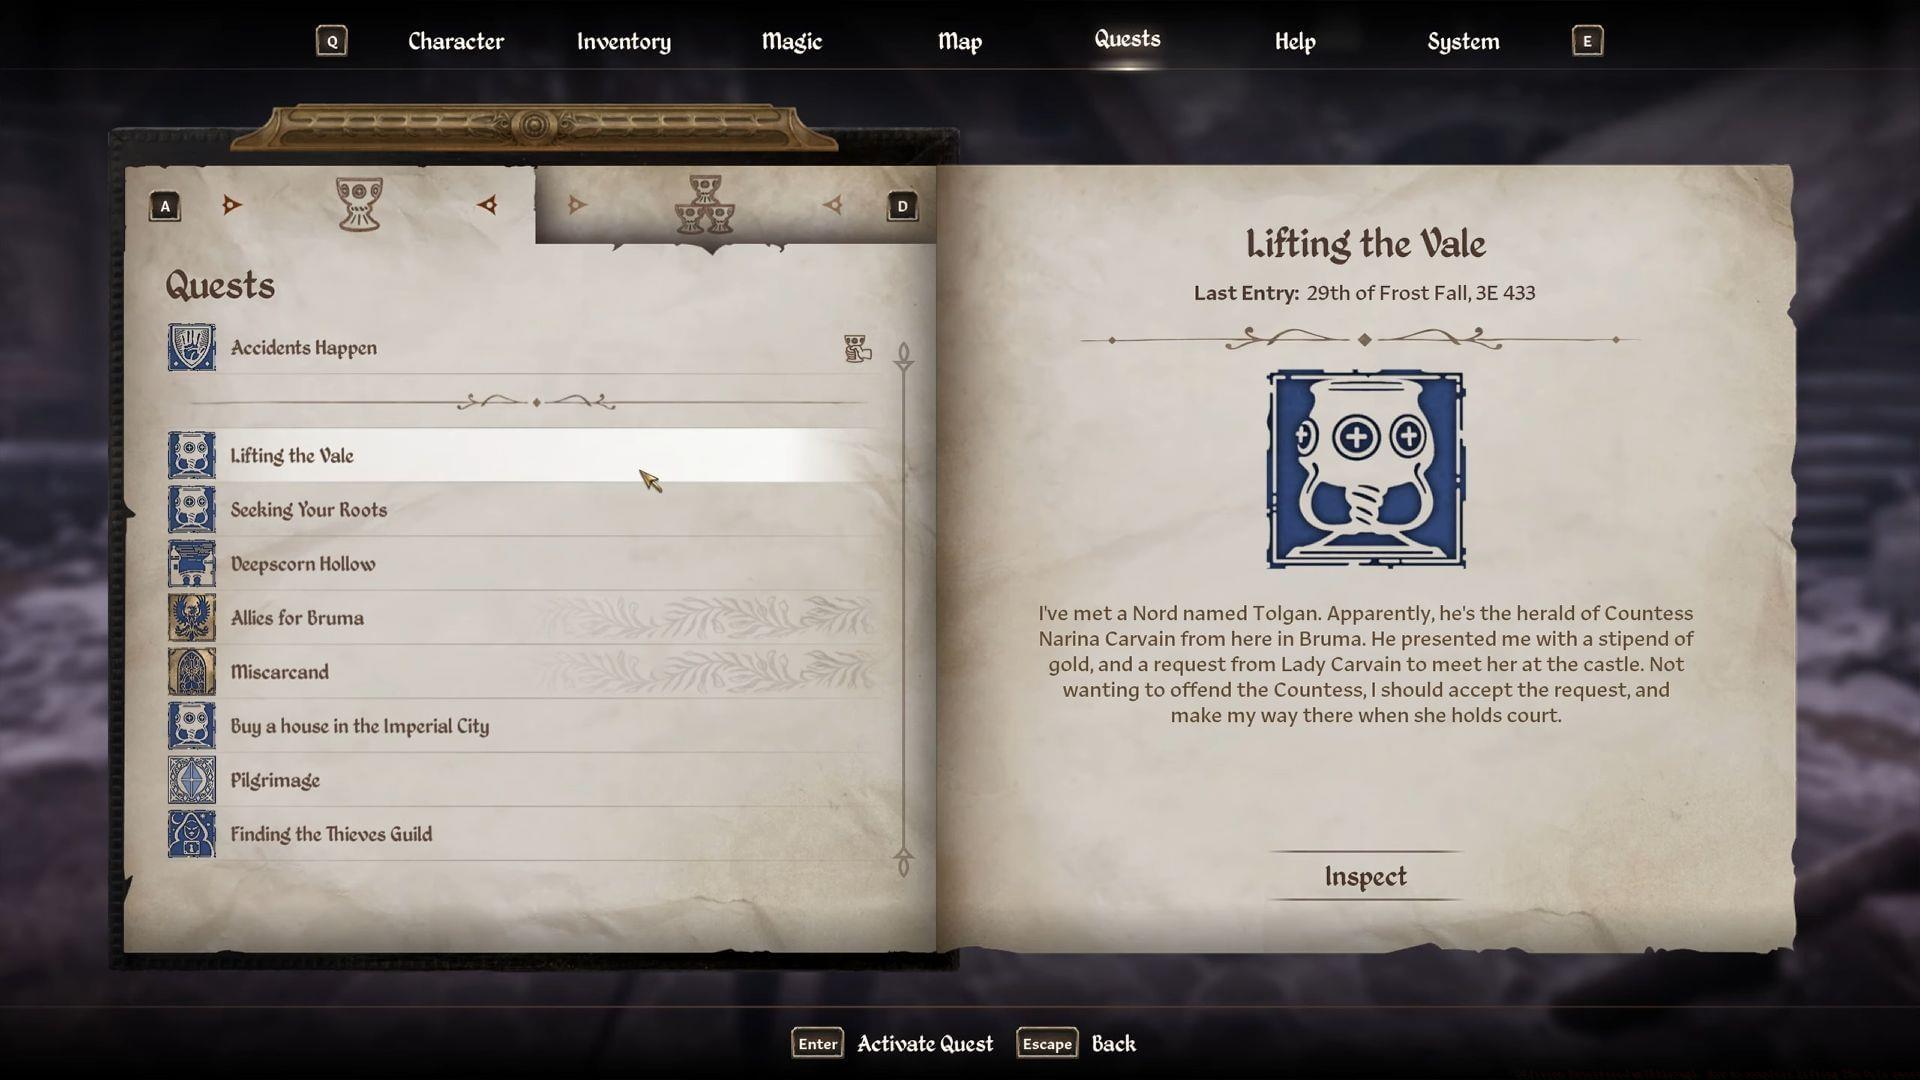
In Oblivion Remastered, initiating the Lifting The Vale quest requires your character to accumulate at least 10 fame points through completing other quests and activities. Once this threshold is reached, NPCs throughout Bruma will begin discussing Countess Narina Carvain’s unusual fascination with ancient Akaviri relics. The quest formally begins when her official messenger, Tolgan, approaches you with a 25 gold advance payment and summons you to Castle Bruma for an audience with the Countess.
Upon entering Castle Bruma, Countess Carvain immediately reveals her primary objective: locating the legendary Draconian Madstone artifact, which historical records place somewhere within the treacherous Pale Pass region. She provides critical assistance in the form of a translated messenger’s diary containing route descriptions and a hand-sketched map of the area. These documents become essential navigation tools for the challenging journey ahead.
Strategic preparation before departing Bruma is highly recommended. Stock up on healing potions, repair hammers for weapon maintenance, and consider bringing lockpicks if your security skill is limited. The Countess reveals that her advance scouts have already identified the first major landmark mentioned in the diary – the distinctive Dragonclaw Rock formation, which automatically appears on your world map once the quest begins.
Navigating the Wilderness Journey
The expedition begins at Dragonclaw Rock, an unmistakable geological formation resembling a massive dragon’s claw emerging from the landscape. From this starting point, navigate westward through the snowy terrain until you encounter The Sentinel – a towering statue partially buried in snowdrifts. After documenting this landmark, adjust your course northward toward the cave system known as The Serpent’s Trail.
Inside The Serpent’s Trail, maintain constant vigilance as the tunnel network hosts various hostile creatures. Approximately midway through the caverns, you’ll discover the remains of the ill-fated messenger. Thoroughly search the corpse to acquire the crucial Akaviri Orders document, which becomes vital for a peaceful resolution later in the quest. Continue following the linear path through the cave system until you emerge on the opposite side.
Upon exiting the caves, follow the snow-covered northern path that leads directly to the ancient ruins of Pale Pass. Pro navigation tip: Enable the detailed local map in your interface and watch for subtle environmental cues like distinctive rock formations and weathered path markers to maintain your bearing during blizzard conditions that can reduce visibility significantly.
Conquering Pale Pass Ruins
The Pale Pass ruins present the quest’s most dangerous segment, beginning at the entrance marked ‘Mouth of the Serpent.’ This ancient Akaviri structure is extensively trapped with pressure plates triggering dart emplacements, swinging blade mechanisms, and other deadly security systems. Move cautiously, watching floor patterns for trap indicators and listening for mechanical sounds that betray trap mechanisms.
Combat within the ruins involves confronting Undead Akaviri Soldiers, who possess significant durability and combat prowess. These spectral warriors respond poorly to conventional weapons but show vulnerability to silver weapons, enchanted arms, and destruction magic. The prescribed navigation sequence progresses through interconnected chambers: begin at Mouth, proceed to Scales (sometimes labelled Eyes on older maps), advance to Fangs, and finally reach Venom.
In the Venom chamber, you’ll encounter Mishaxhi, the ghostly Akaviri Commander who remains at his post awaiting long-overdue orders. Present the Akaviri Orders document recovered from the messenger’s corpse to achieve a diplomatic resolution. This peaceful approach causes Mishaxhi and all spectral forces to dissipate harmlessly, avoiding a difficult combat encounter against multiple strengthened opponents.
Reward Analysis and Advanced Tips
With Mishaxhi pacified, access the previously guarded chamber to claim the Draconian Madstone from its central pedestal. This artifact serves as the primary objective of your expedition. Return promptly to Countess Narina Carvain at Castle Bruma to complete the quest formally.
Your reward for successfully retrieving the artifact is the Ring of the Vipereye, a magic ring with level-scaled properties that improve based on your character’s level at completion. The ring consistently provides agility enhancement and magical resistance, with higher-level versions offering additional protective enchantments. For maximum benefit, consider delaying quest completion until reaching higher levels to obtain the enhanced ring variant.
Advanced players can optimize this quest by combining it with other Bruma-area objectives to minimize travel time. The Draconian Madstone itself has no practical use beyond quest completion, but lore enthusiasts will appreciate the additional Akaviri background information available through careful examination of the ruins and recovered documents. Completionists should thoroughly explore all Pale Pass chambers for hidden caches containing rare alchemy ingredients and additional Akaviri artifacts.
No reproduction without permission:GameCDjnh » Oblivion Remastered walkthrough: How to complete Lifting The Vale quest Complete guide to Lifting The Vale quest in Oblivion Remastered with expert tips and strategy insights