Master Sector B rooftop parkour in Battlefield 6 with expert strategies and advanced positioning tactics
Understanding the Siege of Cairo Map
Battlefield 6 Open Beta has demonstrated remarkable player engagement, establishing new records for concurrent users during testing phases. The game delivers a refined experience that resonates with franchise veterans while introducing innovative map designs. Siege of Cairo has emerged as a community favorite, particularly for its intricate vertical navigation opportunities that transform tactical approaches to objective capture.
Strategic rooftop positioning in urban combat environments provides significant advantages for surveillance, flank protection, and unexpected attack angles. Mastering these pathways separates skilled players from casual participants, enabling superior map control and team coordination.
Sector B Rooftop Parkour Route Guide
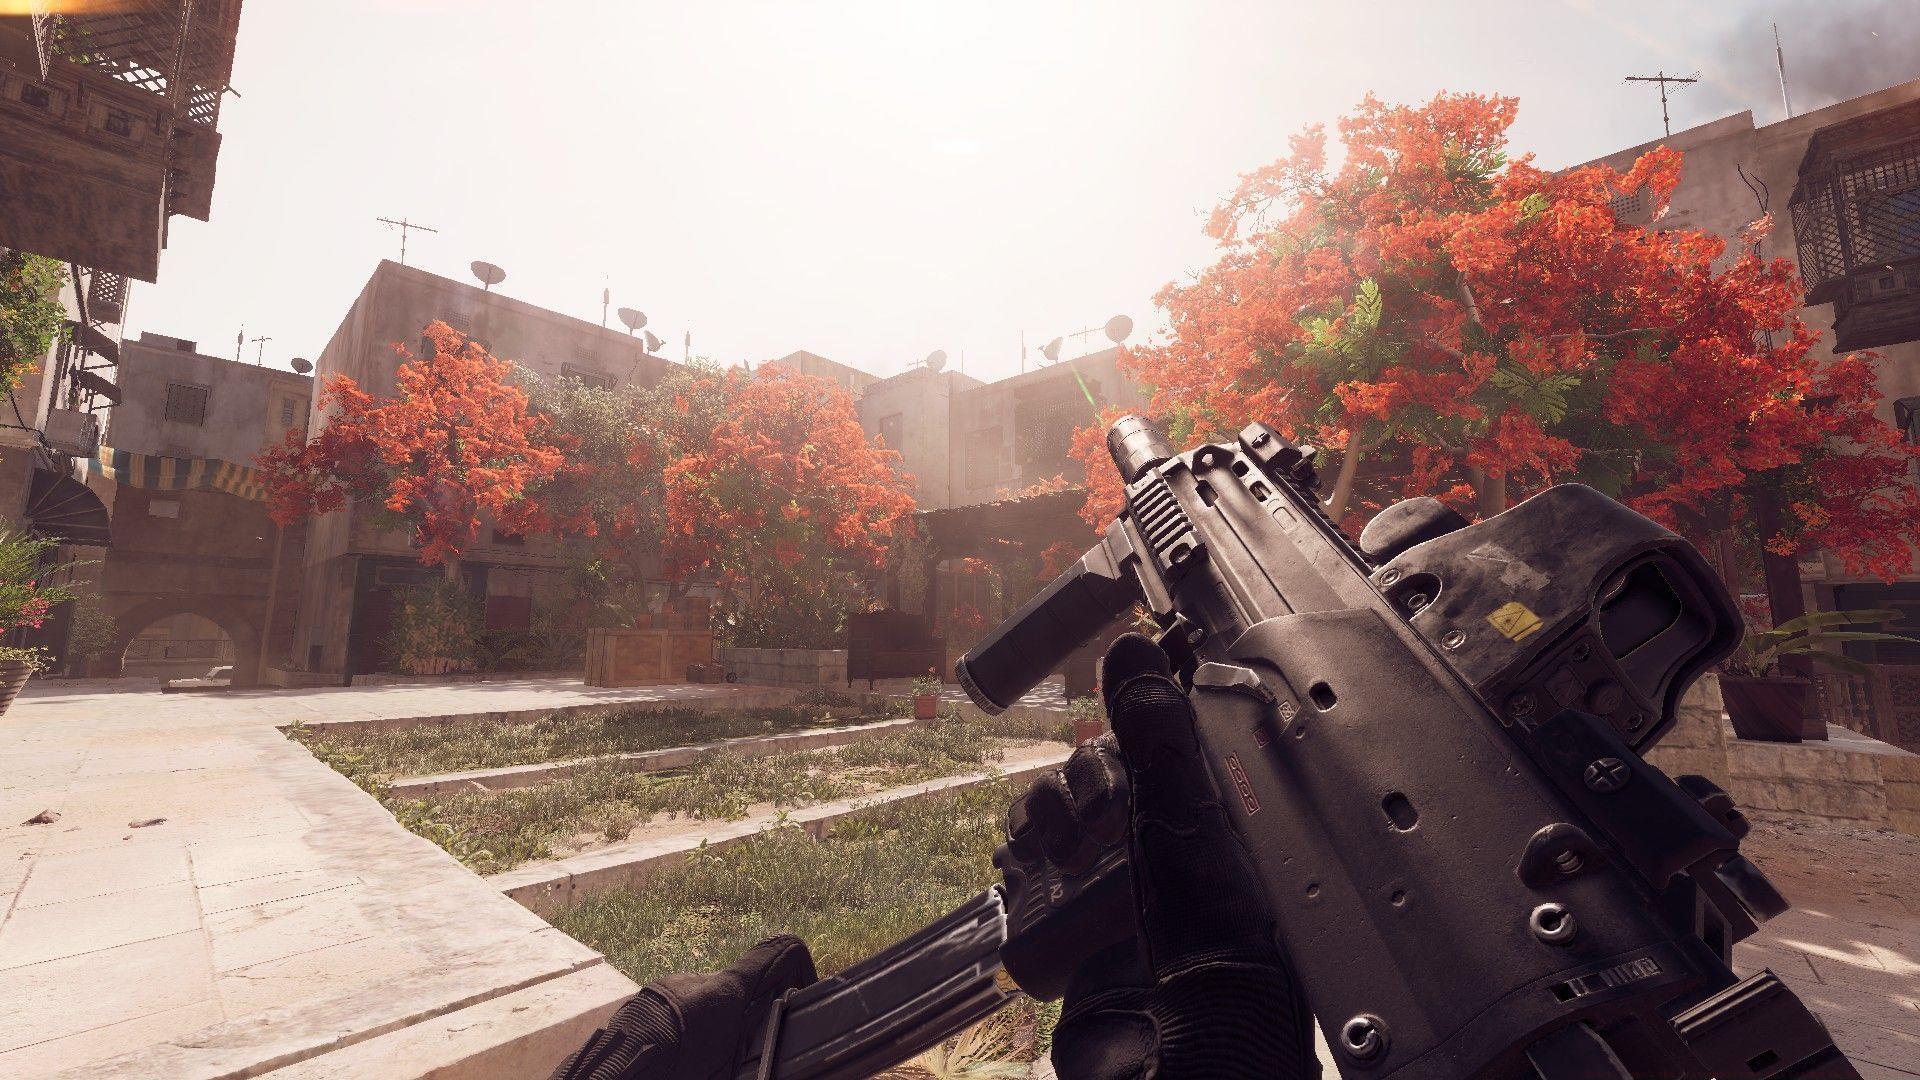
Begin your ascent at the distinctive red garden adjacent to Sector B, characterized by vibrant hibiscus-style flora that creates an easily identifiable landmark. Locate the seating arrangement with elevated landscaping featuring lilies and ornamental trees. Utilize this raised terrain element as your initial platform.
Execute a precise jump from the elevated garden section to balance atop the seating structure, then pivot toward the central wooden shelter. Perform a controlled vault onto this intermediary rooftop structure. Face northward toward the building complex and target the accessible window sills for your next progression point.
Navigate horizontally to the right-side window sill, employing rapid interaction inputs (spacebar on PC, X on PlayStation, A on Xbox) to trigger the climbing animation. This mechanic provides brief elevation assistance through a subtle glide effect. Upon reaching this rooftop level, identify the communication equipment array at the southern perimeter.
Scale the radio dishes and antenna structures to create a bridging point to the eastern rooftop system. This transition completes your access to the elevated network surrounding Sector B, granting comprehensive visibility over the capture point and approaching enemy routes.
Pro Movement Tip: Equip your melee weapon during complex jump sequences to benefit from increased movement velocity. Time your sprints with backward steps to generate momentum before executing critical leaps. Master the parachute deployment timing for extended aerial transitions between structures.
Advanced Strategies and Deployment Tactics
Your elevated position now provides tactical oversight of Sector B and adjacent approaches. Identify the marked ledges that facilitate movement across the rooftop network, creating opportunities to monitor flanking routes from Sectors C and E. These vantage points enable early detection of enemy advancement and strategic positioning for defensive actions.
Strategic beacon deployment transforms these hard-won positions into persistent advantages. Place spawn beacons on stable rooftop surfaces and bridge connections to establish rapid reinforcement pathways for your squad. This tactical application multiplies your team’s presence in critical map regions.
Common Execution Errors: Rushing complex climbing sequences often results in fatal falls. Methodical pacing during antenna scaling and AC unit transitions prevents unnecessary deaths. Avoid sprinting near rooftop edges and maintain awareness of your character’s footing during precision maneuvers.
Advanced Positioning: The southwestern AC unit with vertical antenna requires careful approach. Scale the climate control equipment first, then execute a deliberate vault onto the slender antenna structure. This challenging maneuver demands patience but unlocks additional high-ground opportunities.
From this pinnacle, identify the western white rooftop and opposing structure for your final traversal. Execute a calculated jump-glide combination to reach the building’s tower element, then proceed to the bridge connection in Sector E, completing your rooftop dominion strategy.
No reproduction without permission:GameCDjnh » How to reach the Cairo rooftops and bridge in Battlefield 6 Master Sector B rooftop parkour in Battlefield 6 with expert strategies and advanced positioning tactics