Complete guide to mastering Fourth Chorus with advanced dodging techniques and phase-specific strategies
Fourth Chorus Encounter Overview
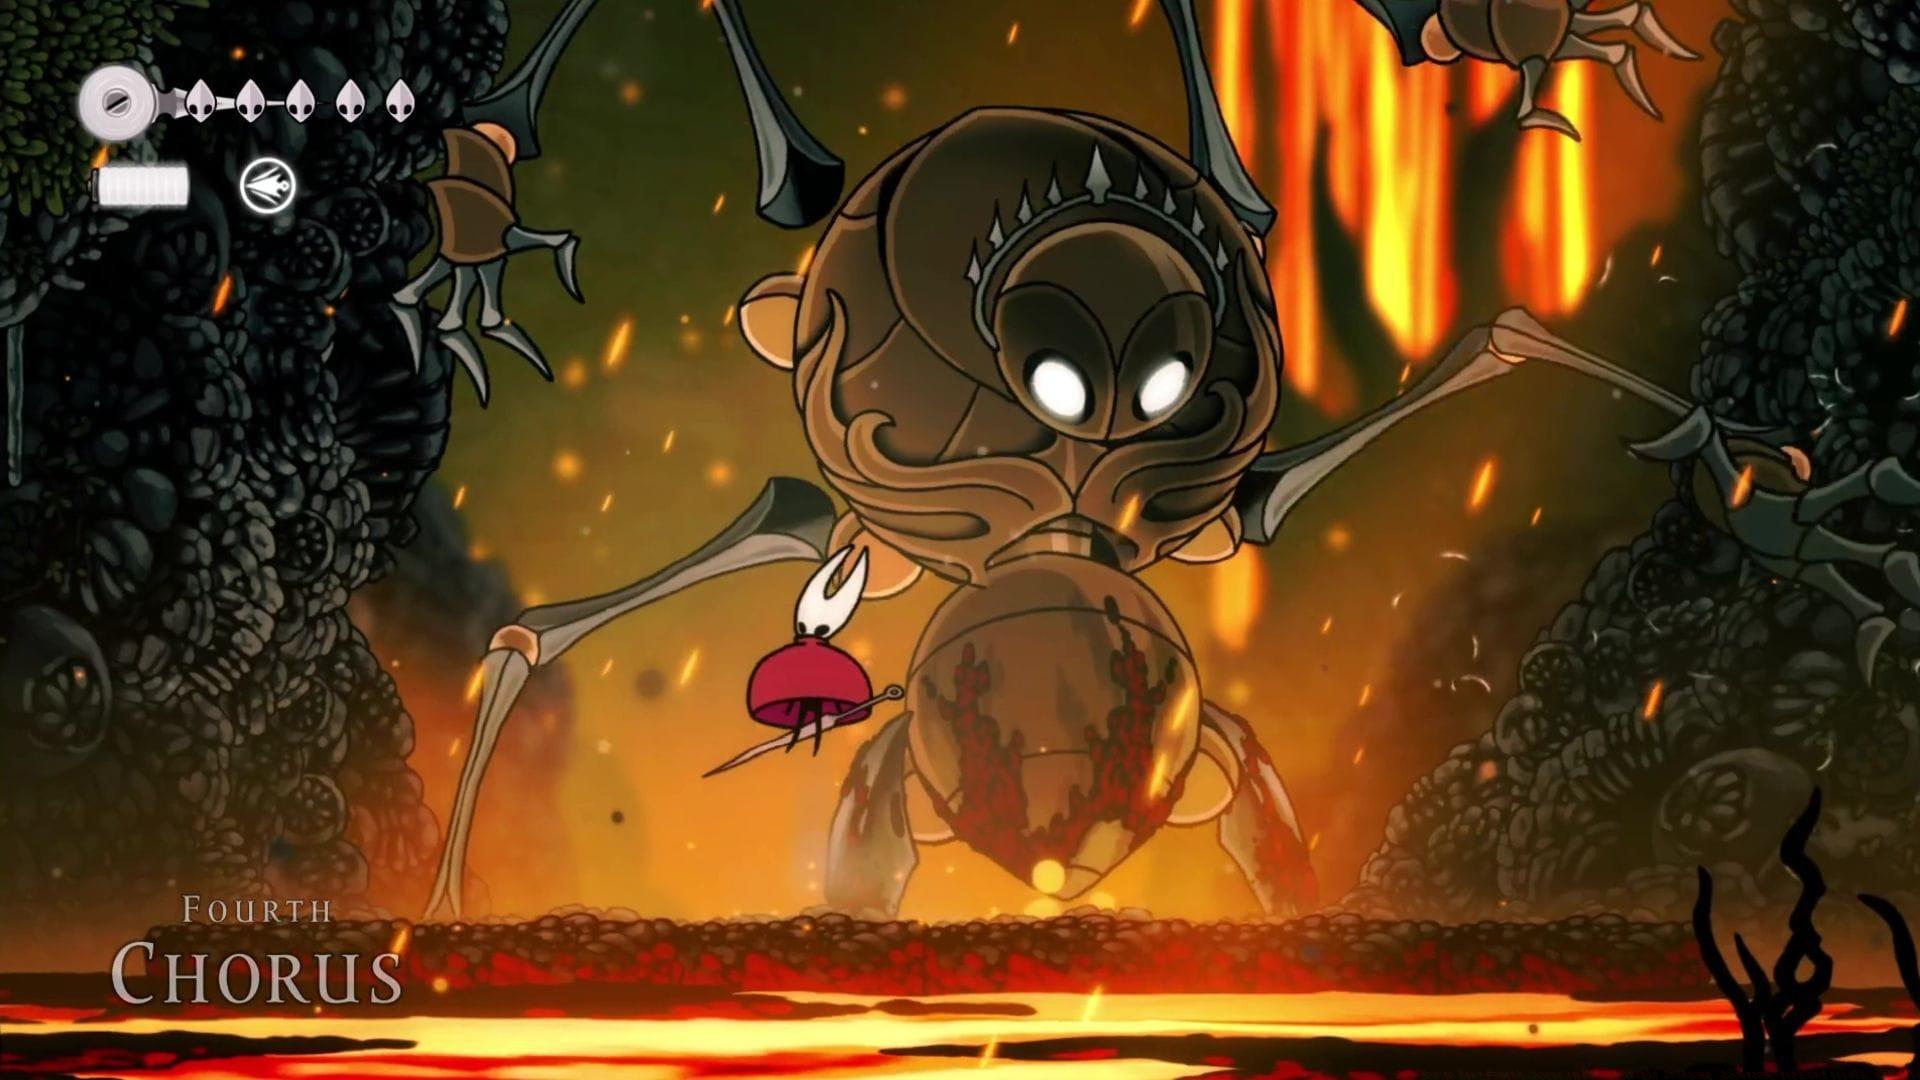
Mastering aerial mobility and precision dodging is essential for overcoming this mechanical titan (Image via Team Cherry || Sportskeeda)
Mastering aerial mobility and precision dodging is essential for overcoming this mechanical titan (Image via Team Cherry || Sportskeeda)
Conquering Fourth Chorus presents a moderate challenge in Hollow Knight Silksong that heavily tests your evasion capabilities and positioning awareness. As the fourth major boss encounter chronologically, this mechanical behemoth awaits in Pharloom’s Far Fields region and represents the largest adversary faced up to this point with its imposing robotic design.
During initial exploration, you’ll discover the boss in a dormant, deactivated state. Progressing through the narrative and acquiring the Drifter’s Cloak from the Seamstress triggers its activation upon returning to the area, initiating the confrontation.
Optimal preparation involves saving your progress at the Seamstress’s tent before proceeding leftward to engage Fourth Chorus. This ensures you can retry immediately if defeated without losing significant progress.
Phase-by-Phase Moveset Analysis
Fourth Chorus employs a sophisticated four-phase combat sequence, with each stage introducing new mechanics or environmental modifications. The complete attack repertoire becomes visible by phase two, while subsequent phases enhance complexity through combination patterns and arena adjustments.
Phase One: Foundational Assault Patterns
Horizontal Hand Swipe: The mechanized boss sweeps its lower arms across the battlefield in a wide arc. Contact results in two mask damage, requiring precise aerial evasion.
Vertical Ground Slam: Fourth Chorus elevates an upper limb before crashing it downward, temporarily submerging the impact zone in lava. This two-mask damage attack demands lateral repositioning.
Phase Two: Ranged Artillery Integration
Meteoric Fireball Barrage: The entity raises all four arms in a ritualistic motion, summoning incendiary projectiles that rain across the platform. Each direct hit inflicts one mask of damage.
Enhanced Melee Combinations: All initial phase attacks remain active but operate independently rather than in coordinated sequences.
Phase Three: Synchronized Assault Protocols
Integrated Attack Sequences: Fourth Chorus now combines melee strikes with projectile summoning, creating complex patterns that require multi-layered evasion strategies.
Comprehensive Movepool Activation: Every previously demonstrated attack remains available, increasing the cognitive load during combat.
Phase Four: Environmental Warfare
Arena Constriction: The battlefield contracts significantly as platform segments retract from both sides, severely limiting maneuverability.
Full Arsenal Deployment: All preceding attacks remain active within the compressed combat space, creating intense spatial pressure.
Advanced Combat Strategies and Techniques
Success against Fourth Chorus demands methodical execution of specialized techniques tailored to each phase’s unique challenges. The boss exclusively receives damage when struck on its cranial region, necessitating constant aerial engagement and precise timing.
Phase-Specific Tactical Execution
During initial phase horizontal swipes, activate Drifter’s Cloak to hover above the attack trajectory while positioning for counterattacks to the facial region.
Confronting vertical slams requires immediate dash relocation to adjacent platforms, as aerial mobility proves ineffective against the descending impact.
Phase two’s fireball invocation creates brief stationary periods ideal for concentrated head strikes, provided you evade the falling incendiary masses.
Navigate the meteor shower through calculated platform hopping or strategic positioning in safe zones between impact areas.
Third phase prioritization should favor avoiding melee assaults (two mask damage) over fireballs (one mask damage) due to their greater threat level.
Final stage mobility demands pixel-perfect jumping and dashing to avoid both attacks and the newly introduced lava boundaries, where missteps cause instant mask loss and potential rapid defeat.
Utilize the emerging air currents along platform edges during phase four to ascend with Drifter’s Cloak, striking overhead formations to collapse debris onto Fourth Chorus for substantial damage.
Exploit post-phase stun intervals for strategic recovery—either restoring lost masks when injured or capitalizing on the lowered head position for additional damage output.
Advanced Optimization Techniques
Seasoned players can maximize efficiency by studying attack telegraphing animations. Each movement possesses distinct preparatory signals—the slight backward shift before horizontal swipes, the elevated arm tension before slams, and the rhythmic arm waving before meteor showers. Recognizing these cues enables preemptive positioning and damage opportunities.
Common Mistakes and Prevention
Many players struggle with Fourth Chorus due to recurring strategic errors that escalate difficulty unnecessarily. Understanding these pitfalls significantly improves success rates.
Positioning and Mobility Errors
Platform Overcommitment: Remaining on a single platform too long limits evasion options. Solution: Maintain constant lateral movement between platforms.
Misjudged Aerial Timing: Attempting to float through vertical slams instead of dashing laterally. Solution: Recognize attack types and apply appropriate evasion methods.
Edge Negligence: Ignoring the phase four platform reduction leads to accidental lava immersion. Solution: Develop spatial awareness of modified boundaries.
Resource Management Failures
Healing Misallocation: Attempting mask restoration during active attack sequences. Solution: Reserve healing exclusively for stun periods.
Ability Underutilization: Failing to employ air current mechanics in phase four. Solution: Practice Drifter’s Cloak aerial control before the encounter.
Damage Prioritization Errors: Focusing on fireball avoidance over melee attacks in later phases. Solution: Always prioritize two-mask damage threats over one-mask dangers.
The final stun sequence indicates successful boss defeat, concluding this demanding test of mechanical precision and adaptive combat methodology.
Also read: How to beat Lace in Hollow Knight Silksong
For more content on Silksong, check out the following:
Where to find Shard Pendant in Hollow Knight Silksong
How many bosses are there in Hollow Knight Silksong?
What happens if you die in Hollow Knight Silksong?
How long does it take to beat Hollow Knight Silksong?