Master the One-Eye Moritaka bounty hunt with expert stealth tactics, combat strategies, and efficient completion methods in Ghost of Yotei
Bounty Introduction and Strategic Value
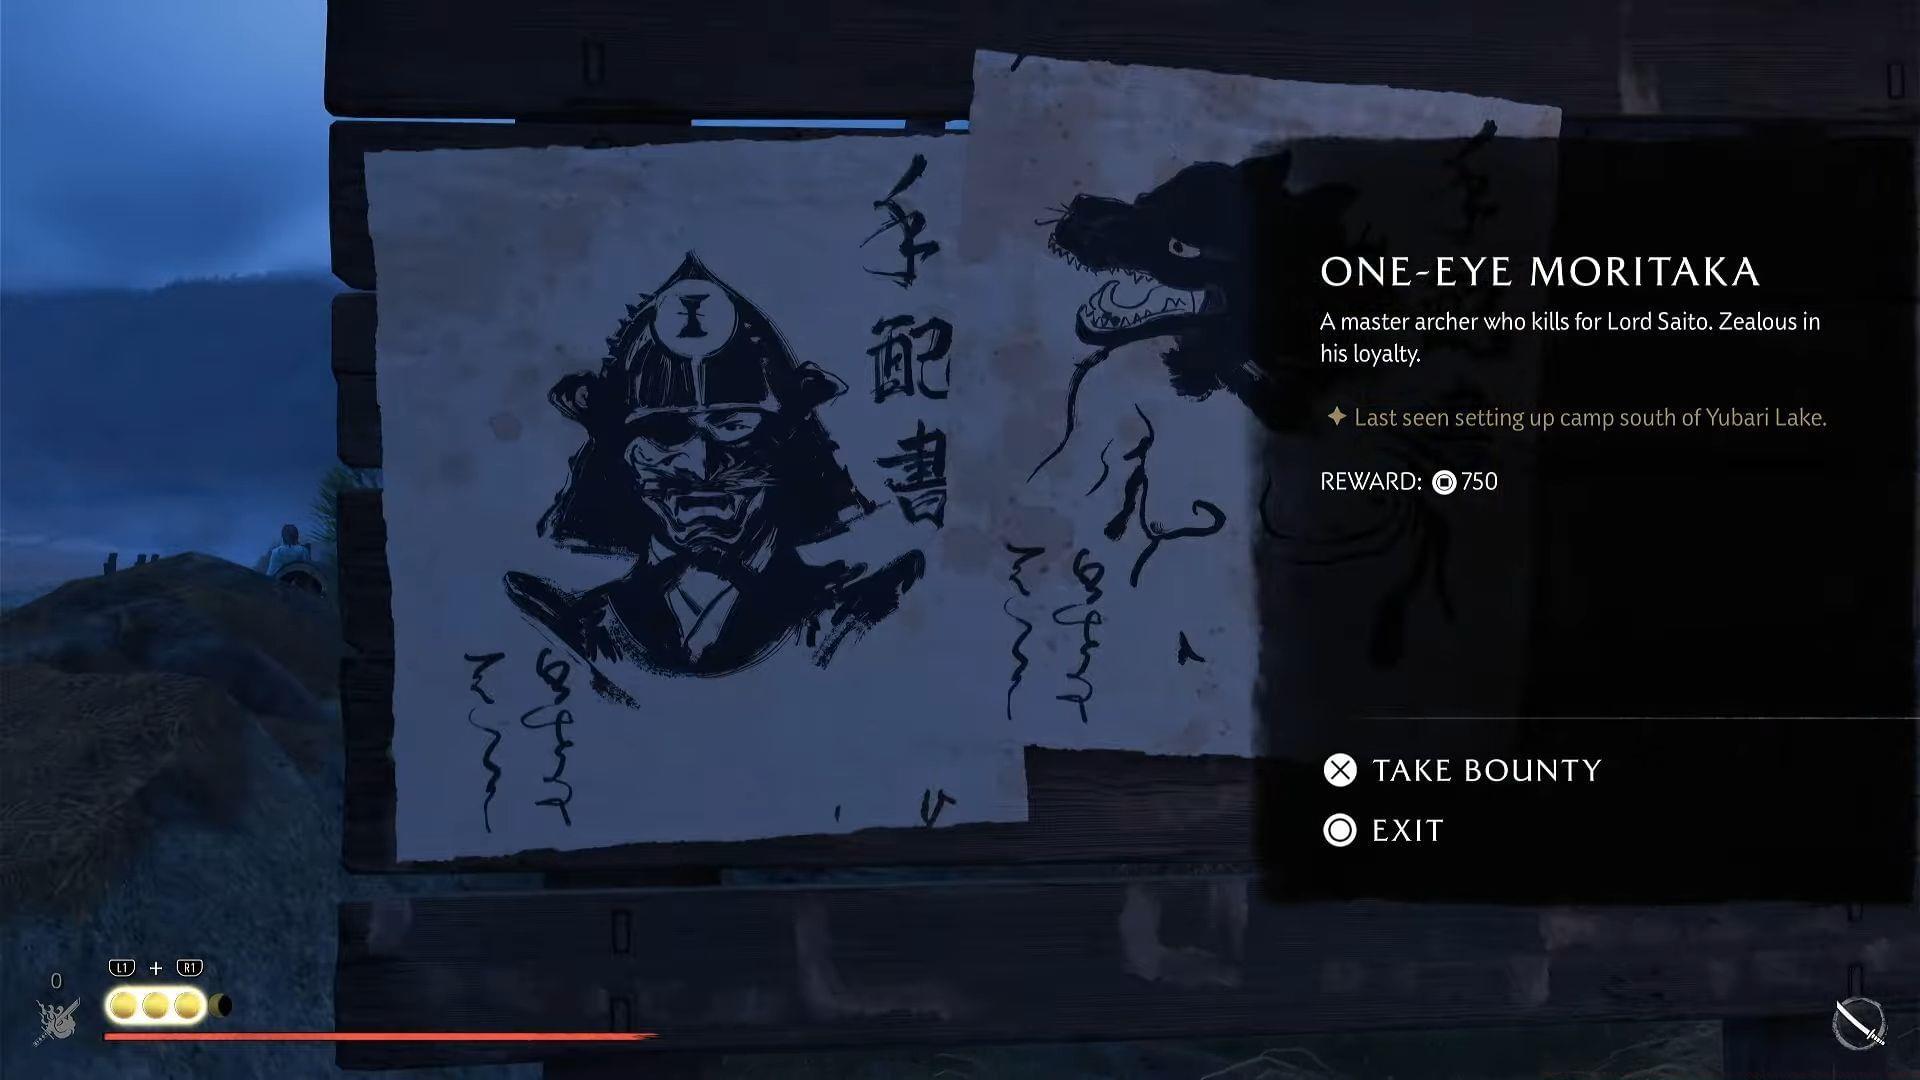
The One-Eye Moritaka bounty in Ghost of Yotei represents your inaugural contract hunting experience, designed to teach core bounty mechanics through practical application. This mission becomes immediately accessible at the Huranui’s Rest Inn Bounty Board, requiring zero story progression to unlock—perfect for newcomers learning the hunting system.
Strategic advantage: Completing this bounty early provides valuable combat experience, currency rewards, and familiarity with the game’s stealth mechanics that will prove essential for more challenging contracts later.
Encampment Analysis and Enemy Tactics
Upon accepting the contract, navigate westward to Yubari Lake adjacent to Huranui Cliff. The Saito Encampment serves as Moritaka’s operational base, housing him alongside his trained subordinates in a fortified position.
This constitutes a Yotei Six Camp outpost, featuring a compact but strategically organized enemy force with superior equipment. Moritaka employs calculated ranged tactics, remaining centrally positioned while directing his forces—he initiates combat with sustained arrow volleys as his allies engage you directly.
Enemy composition typically includes 4-6 standard guards with mixed melee and archer units. The camp layout features multiple choke points and elevated positions that enemies use for tactical advantage during engagements.
Stealth Infiltration Methodology
Before confronting Moritaka directly, implement systematic perimeter reduction by eliminating guards through stealth. Execute this by maneuvering along the encampment’s outer edges, utilizing tall grass and structural cover for concealment while performing silent takedowns or precise bow shots.
Optimal elimination sequence: prioritize archers on elevated positions first, then methodically clear patrol routes before addressing stationary guards. This approach minimizes detection risk while creating safe engagement zones for the main confrontation.
Advanced stealth technique: Use environmental distractions like throwing rocks or creating noise in opposite directions to isolate targets. Time your movements with patrol route gaps and maintain awareness of sightlines from watchtower positions.
Direct Engagement Combat Strategy
If opting for aggressive confrontation, prepare for Moritaka’s evasive combat style—he consistently maintains distance while firing arrows, rarely engaging in close-quarters combat unless cornered. His movement pattern involves circular repositioning around the camp’s central area.
During direct engagement, Moritaka primarily relies on his bow with occasional short-range strikes when players breach his personal space. Counter his arrow volleys with well-timed dodges followed by rapid melee combinations or precisely aimed bow counterattacks during his reload animations.
Critical mistake: Engaging Moritaka with active guards creates overwhelming scenarios. The chaotic environment significantly increases damage intake and resource consumption. Always prioritize area security before the main confrontation.
Advanced Watchtower Dominance Strategy
An exceptionally efficient alternative approach involves ascending the watchtower near the encampment’s center. From this elevated vantage, deploy your Yumi longbow to target Moritaka with impunity—his arrow trajectory struggles against elevated targets, creating a substantial tactical advantage.
This method conserves healing resources while minimizing risk exposure. Position yourself at the tower’s edge for optimal firing angles while using the structure’s railings as partial cover against occasional return fire.
Pro tip: Bring extra arrows and aim for headshots to expedite the encounter. If Moritaka attempts to reposition underneath the tower, use the opportunity for devastating downward strikes or reposition to maintain your advantage.
Common Pitfalls and Performance Optimization
Frequent player errors include rushing directly toward Moritaka without perimeter clearing, underestimating guard reinforcement capabilities, and mismanaging stamina during extended engagements. These mistakes often result in unnecessary resource depletion and failed bounty attempts.
Optimization strategy: Combine stealth takedowns with watchtower positioning for maximum efficiency. Approach during daylight for better visibility or nighttime for enhanced stealth opportunities based on your preferred playstyle.
Resource management: Ensure adequate arrow supplies and healing items before engagement. The bounty typically yields completion within 8-12 minutes using optimized methods versus 15-20+ minutes through direct confrontation alone.
No reproduction without permission:GameCDjnh » Ghost of Yotei walkthrough: How to complete One-Eye Moritaka bounty Master the One-Eye Moritaka bounty hunt with expert stealth tactics, combat strategies, and efficient completion methods in Ghost of Yotei