Complete Flins constellation ranking with pull value analysis, team synergy, and optimization strategies
Introduction to Flins and Constellation System
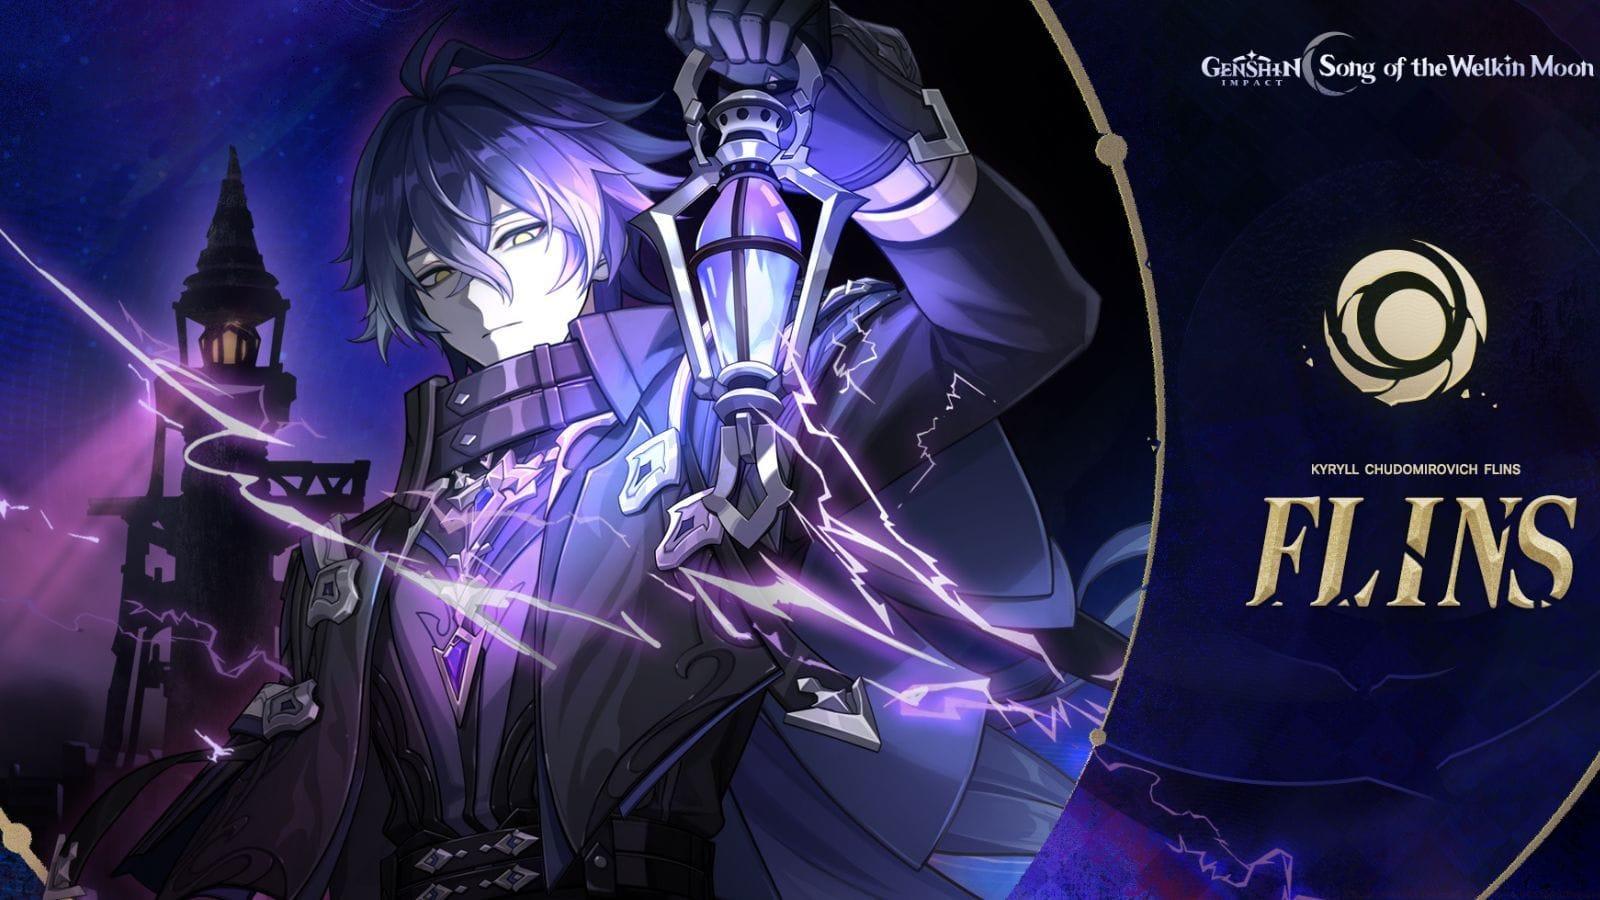
Flins represents the newest 5-star character addition to Genshin Impact, making his debut during Phase 2 banners of the Luna I update cycle. HoYoverse has confirmed that Flins functions as a primary damage dealer specializing in the recently introduced Lunar-Charged Elemental Reaction mechanism, which became available starting with version 5.8. Understanding his constellation hierarchy becomes crucial for players considering investment in his full potential.
Constellations in Genshin Impact provide significant power spikes, but their value varies dramatically depending on gameplay style and available resources. For Flins specifically, certain constellations deliver exponentially more value than others, making strategic pulling decisions essential for optimizing your Primogem expenditure.
Constellation Ranking Methodology
Our evaluation framework assesses constellations across three critical dimensions: damage improvement percentage, team utility contribution, and pull investment efficiency. Each constellation receives a comprehensive score based on these metrics to determine its overall ranking position.
Pull value calculation considers both the number of wishes required and the relative power increase per constellation level. Lower-numbered constellations typically offer better value since they require fewer duplicate copies to obtain, though this doesn’t always correlate with absolute power potential.
Pro Tip: Always prioritize constellations that enhance your preferred playstyle. If you frequently use Flins in quick-swap teams, C1’s energy generation might outweigh C2’s resistance shred for your specific needs.
Individual Constellation Breakdown
C5 – Lowest Priority Constellation
Constellation level five stands as Flins’ least impactful upgrade, providing minimal enhancement to his combat effectiveness. This constellation exclusively elevates his Elemental Skill level, which contributes insignificantly to his overall damage profile since his skill primarily serves as a setup mechanism rather than primary damage source.
The substantial pull investment required to reach C5 further diminishes its value proposition. Players should avoid specifically targeting this constellation unless pursuing higher-tier constellations that happen to include it along the way.
Common Mistake: Many players overvalue skill-level constellations without considering how much that skill actually contributes to total damage output.
C3 – Elemental Burst Enhancement
Flins’ third constellation significantly boosts his Elemental Burst capability, which serves as his primary damage-dealing mechanism. By increasing burst talent levels, this constellation directly amplifies his most potent damage source, resulting in noticeable damage improvement.
When measured against C5, this constellation delivers superior damage enhancement while requiring fewer duplicate copies, making it a more efficient investment for players seeking immediate power increases.
Advanced Tip: Pair C3 with energy recharge artifacts to maximize burst uptime and capitalize on the enhanced damage multipliers.
C4 – Attack and Passive Buff
The fourth constellation tier provides Flins with a substantial 20% attack increase while simultaneously enhancing his Whispering Flame ascension passive. These combined buffs generate consistent damage amplification across all his combat abilities.
This constellation outperforms both C3 and C5 in terms of damage contribution while maintaining reasonable pull investment requirements. The dual buffing nature makes it particularly valuable for sustained damage scenarios.
C1 – Cooldown Reduction and Energy Generation
Constellation level one delivers impressive utility by reducing Flins’ special Elemental Skill cooldown from six to four seconds. This modification enables an additional skill usage within standard rotation windows, directly increasing damage per second output.
The accompanying energy regeneration effect—where party members triggering Lunar-Charged reactions restore 8 Energy to Flins—dramatically improves his burst uptime consistency. This combination of cooldown reduction and energy generation makes C1 exceptionally valuable for its relatively accessible pull requirement.
Team Synergy: C1 works exceptionally well with off-field applicators like Fischl or Yae Miko who can consistently trigger Lunar-Charged reactions.
C6 – Ultimate Damage Potential
The sixth constellation represents Flins’ peak damage capability, substantially elevating Lunar-Charged damage for both himself and entire party members. This specialized damage boost operates independently from other damage modifiers, providing multiplicative damage amplification.
While delivering transformative damage increases, particularly for specialized teams featuring characters like Ineffa, the extensive pull investment required positions it slightly below more efficient constellations in overall value ranking.
C2 – Best Overall Value
Constellation two emerges as Flins’ most valuable upgrade, providing exceptional combat benefits with reasonable investment requirements. This constellation enhances his Lunar-Charged damage output while introducing Electro resistance reduction against enemies when Flins deals Electro damage during Moonsign: Ascendant Gleam state.
The dual-offensive buff structure benefits both Flins’ personal damage and entire team performance, making it particularly powerful in compositions featuring Electro-focused units like Ineffa, Fischl, and Ororon. The combination of significant power increase and relatively accessible acquisition cost establishes C2 as the premier constellation target for most players.
Optimization Strategy: Time your Moonsign: Ascendant Gleam activation to coincide with other party members’ burst windows to maximize the resistance shred benefits.
Advanced Strategy and Team Synergy
Optimal Team Compositions
Flins excels in teams that capitalize on Lunar-Charged reactions and Electro synergy. Ideal compositions include Ineffa as primary reaction enabler, Fischl for consistent Electro application, and a flexible fourth slot for shielding or healing support. The C2 resistance shred particularly amplifies teams with multiple Electro damage dealers.
For maximum C1 value, incorporate characters with rapid elemental application to trigger frequent Lunar-Charged reactions and maintain Flins’ energy needs. Characters like Xingqiu or Yelan work exceptionally well for this purpose.
Advanced Rotation Tips
Mastering Flins’ rotation timing dramatically improves constellation effectiveness. Initiate with support character setups, then trigger Moonsign: Ascendant Gleam before deploying Flins’ skill-burst combination. The C1 cooldown reduction allows for skill-weaving between normal attack chains, significantly increasing damage output.
For C6 owners, coordinate entire team bursts during the Lunar-Charged damage amplification window to maximize the constellation’s team-wide benefits.
Common Mistakes to Avoid
Many players underestimate energy recharge requirements when utilizing C1’s energy generation. Ensure sufficient ER to capitalize on the additional particles. Another frequent error involves mis timing Moonsign: Ascendant Gleam activation, wasting the C2 resistance shred window.
Avoid overinvesting in constellations beyond C2 unless you specifically need C6 for specialized team compositions. The value drop between C2 and higher constellations makes them questionable investments for most players.
No reproduction without permission:GameCDjnh » Flins constellations ranked in Genshin Impact Complete Flins constellation ranking with pull value analysis, team synergy, and optimization strategies