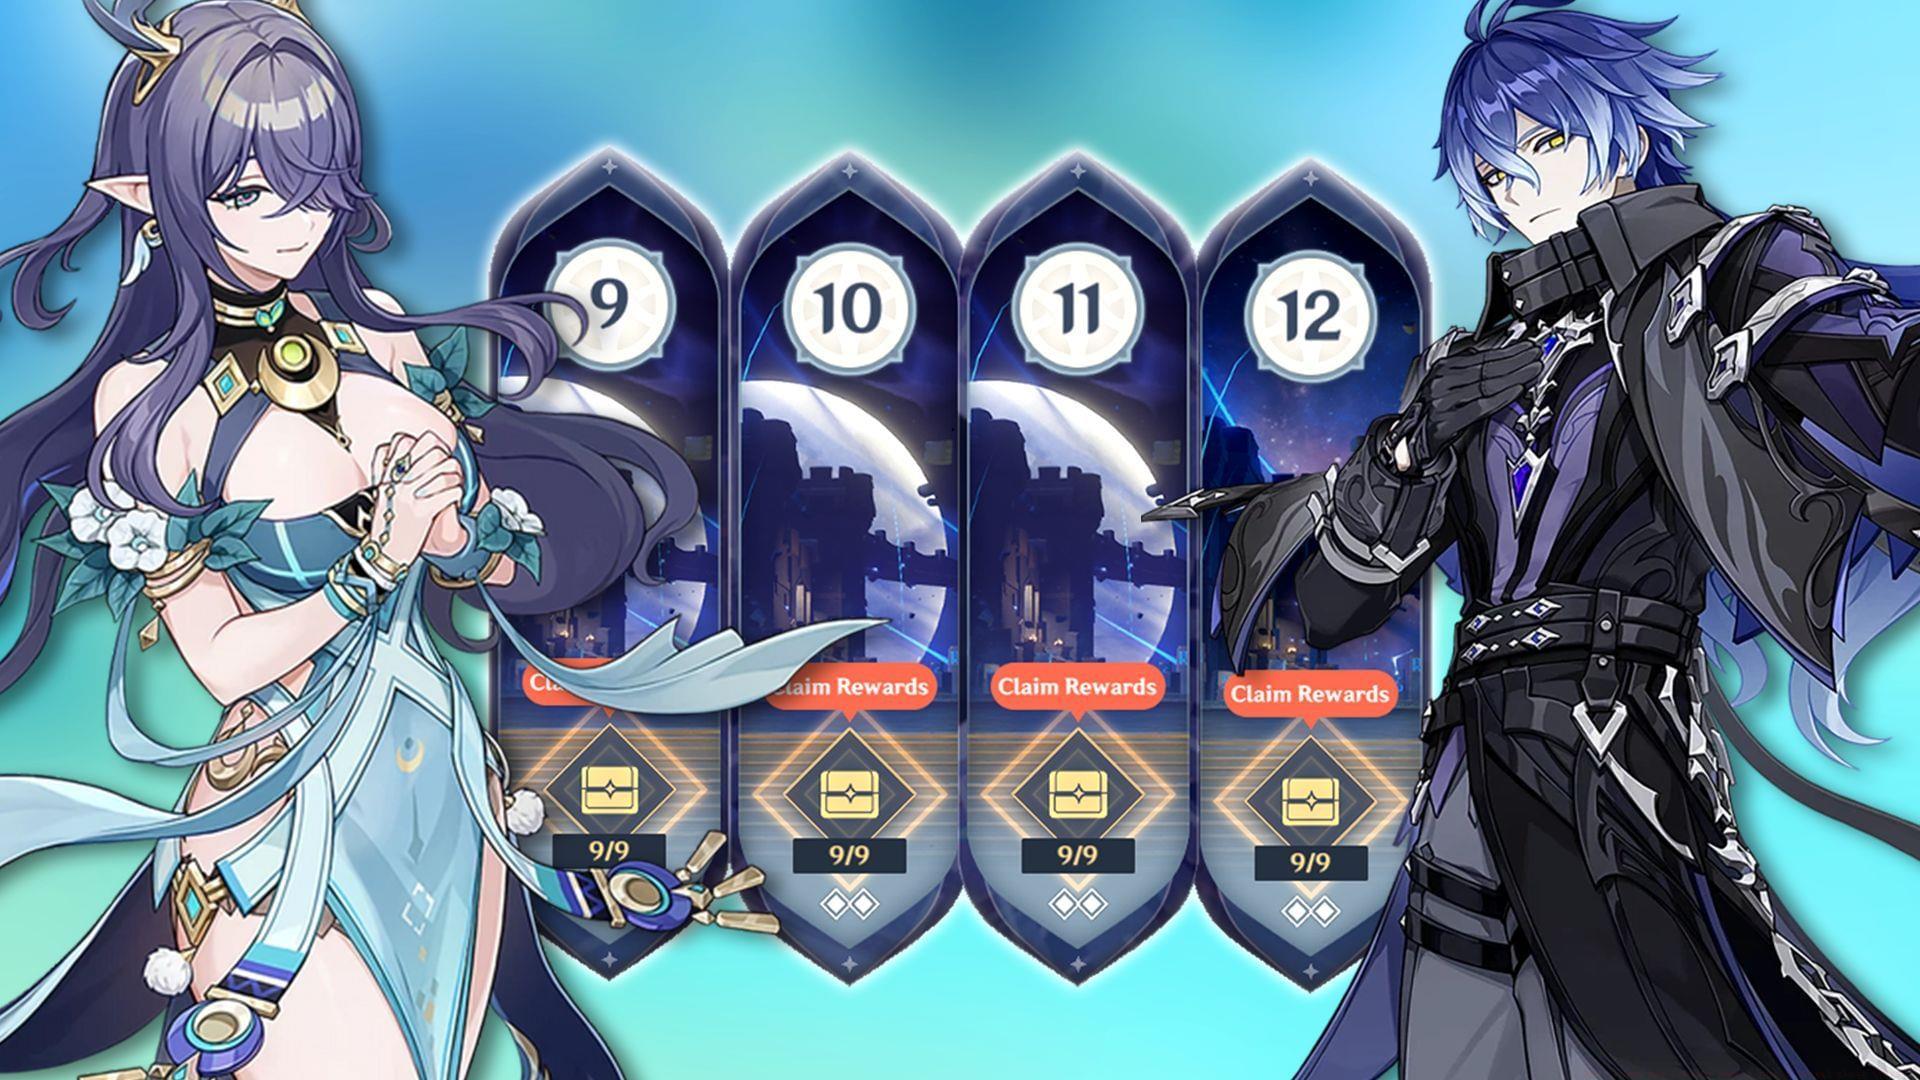
Master the Luna I Spiral Abyss Phase 2 with optimized team compositions and strategic combat insights
Spiral Abyss Overview and Current Meta
The latest Spiral Abyss rotation has arrived in Genshin Impact, introducing fresh enemy formations and stage enhancements. This endgame challenge cycle launched on October 16, 2025, during the latter segment of version Luna I, presenting renewed strategic opportunities for veteran players.
Current Abyssal Moon Blessings significantly favor Dendro-based elemental reactions, creating an ideal environment for Bloom and Lunar-Bloom focused compositions. This strategic emphasis means deploying Dendro characters like Lauma, Nahida, Alhaitham, or the anticipated 5-star Dendro unit Nefer provides substantial advantages for achieving flawless clears across all Spiral Abyss levels.
Strategic Insight: The current meta heavily rewards teams that can consistently trigger Dendro reactions. Players should prioritize characters with strong off-field Dendro application and reliable Hydro enablers to maximize the available damage bonuses.
Floor 11 Team Compositions and Tactics
Floor 11’s Ley Line Disorder provides all Dendro and Electro team members with a substantial 60% damage enhancement during combat. This buff creates ideal conditions for specific team archetypes that leverage these elemental synergies.
Optimal Team Formations:
- Lauma + Nahida + Nilou + Kokomi – Premium Bloom team with exceptional area coverage
- Lauma + Nahida + Aino + Kuki Shinobu – Aggravate-focused composition with healing sustainability
- Nilou + Nahida + Xingqiu + Yaoyao – Defensive Bloom variant with consistent application
- Yelan + Nahida + Xingqiu + Kuki Shinobu – Hyperbloom team with strong single-target focus
- Flins + Ineffa + Aino + Sucrose – Swirl-centric team with elemental mastery stacking
- Flins + Aino + Sucrose + Kuki Shinobu – Electro-charged variation with crowd control
- Raiden Shogun + Nahida + Yelan + Xingqiu – Quickbloom team with rapid rotation capability
- Varesa + Furina + Iansan + Xilonen – Fontaine-focused composition with HP fluctuation mechanics
Enemies throughout both segments of Floor 11 can be efficiently eliminated using well-constructed Area of Effect damage dealers, supported by characters that enhance their elemental reaction damage. While Wilderness Exile opponents in Chamber 2’s second half can be rapidly cleared with two Nod-Krai characters, their moderate durability allows alternative team compositions to succeed.
Common Pitfall: Avoid over-investing in single-target damage dealers for Floor 11, as the chamber layouts favor teams with strong area coverage and consistent elemental application across multiple targets.
Floor 12 Advanced Team Building
Floor 12 features distinct Ley Line Disorders for each combat segment, requiring specialized team approaches:
- First half: Bloom damage dealt by characters receives a 200% increase, while Lunar-Bloom damage gains a 75% enhancement.
- Second half: Electro-Charged damage dealt by characters is boosted by 200%, with Lunar-Charged damage receiving a 75% amplification.
These mechanical distinctions necessitate Bloom and Lunar-Bloom focused teams (utilizing Dendro and Hydro characters) for the initial segment, while the latter segment demands Electro-Charged and Lunar-Charged compositions (featuring Electro and Hydro units).
Elite Team Recommendations:
- Lauma + Nahida + Nilou + Kokomi – Maximum Bloom potential with defensive utility
- Lauma + Nahida + Aino + Kuki Shinobu – Balanced Aggravate-Bloom hybrid
- Alhaitham + Aino + Nahida + Kokomi – Spread-focused with Bloom supplementation
- Nilou + Nahida + Aino + Baizhu – Defensive Bloom with enhanced healing
- Nilou + Nahida + Dendro Traveler + Kokomi – Free-to-play friendly Bloom variant
- Flins + Ineffa + Aino + Sucrose – Anemo-driven reaction enhancement
- Flins + Aino + Sucrose + Iansan – Electro-focused with additional utility
- Raiden Shogun + Furina + Yelan + Kokomi – Electro-Charged team with HP dynamics
- Clorinde + Furina + Kazuha + Iansan – Fontaine electro-enabler composition
- Tartaglia + Ineffa + Furina + Ororon – Rapid hydro application with elemental coordination
Advanced Strategy: For optimal performance, ensure your Bloom teams have sufficient elemental mastery stacking (aim for 800-1000 EM on trigger characters) and your Electro-Charged teams prioritize character level and reaction frequency over raw attack stats.
Boss-Specific Combat Techniques
The initial segment of Floor 12 includes challenging opponents like the Radiant Antelope, Tainted Water-Spitting Phantasm, and Battle-Scarred Rock Crab. Each requires specific counter-strategies for efficient elimination.
When confronting the Radiant Antelope, incorporating a reliable healer is essential for stunning the enemy and creating attack opportunities. The creature’s mechanics punish teams without sustained healing capabilities.
The Battle-Scarred Rock Crab succumbs effectively to Bloom-focused teams when players prioritize destroying the Stoneborne Seeds it periodically deploys. These seed formations represent critical vulnerability windows that significantly accelerate defeat timing.
Floor 12’s concluding segment showcases three formidable Nod-Krai Local Legends. The Battle-Hardened Lightkeeper and Wilderness Hunter both exhibit reduced resistance against teams containing at least two Nod-Krai characters. Meanwhile, the Battle-Hardened Fireblade Shock Trooper demands continuous Electro-Charged or Lunar-Charged reactions to dismantle the durable shield it activates at battle commencement.
Pro-Tip: Against the Fireblade Shock Trooper, maintain persistent hydro application alongside your electro characters to ensure consistent shield breakdown. Characters with rapid normal attacks like Yelan or Tartaglia excel at maintaining the necessary reaction frequency.
Also read: Genshin Impact Lauma build guide: Best weapons, artifacts, teams, and more
Also read: Genshin Impact Imaginarium Theater October 2025: Enemies, buffs, and best characters
Follow Sportskeeda for more Genshin Impact news, updates and guides.
No reproduction without permission:GameCDjnh » Best teams for Genshin Impact Luna I Spiral Abyss (Phase 2) Master the Luna I Spiral Abyss Phase 2 with optimized team compositions and strategic combat insights