Advanced loadout optimization strategies for ARC Raiders endgame content with detailed gear analysis
Understanding Loadout Fundamentals
Building the optimal equipment configuration in ARC Raiders fundamentally determines your raid success rate. The game features numerous exceptional weapons and protective gear, though accessing the most powerful options typically requires progressing to advanced stages. This progression system often creates decision paralysis for players when choosing between limited early-game options.
The challenge intensifies significantly during solo queue sessions when you lack access to coordinated team loadouts. Understanding gear synergy and situational effectiveness becomes paramount for consistent extraction success.
Here’s how strategic loadout planning transforms your raid performance:
Early Game Loadout Optimization
The Looting MK 1 represents essential early-game equipment that expands your carrying capacity from 10 to 18 inventory slots. This enhancement proves critical since resource scarcity often forces players to abandon potentially valuable items that could enhance future raid attempts. Veteran players recommend prioritizing backpack upgrades before investing in offensive capabilities.
The Light Shield provides substantial 40% damage mitigation, dramatically increasing survivability against sustained attacks from Hornet-class ARCs and other robotic threats. This defensive buffer allows for positioning mistakes without immediate fatal consequences.
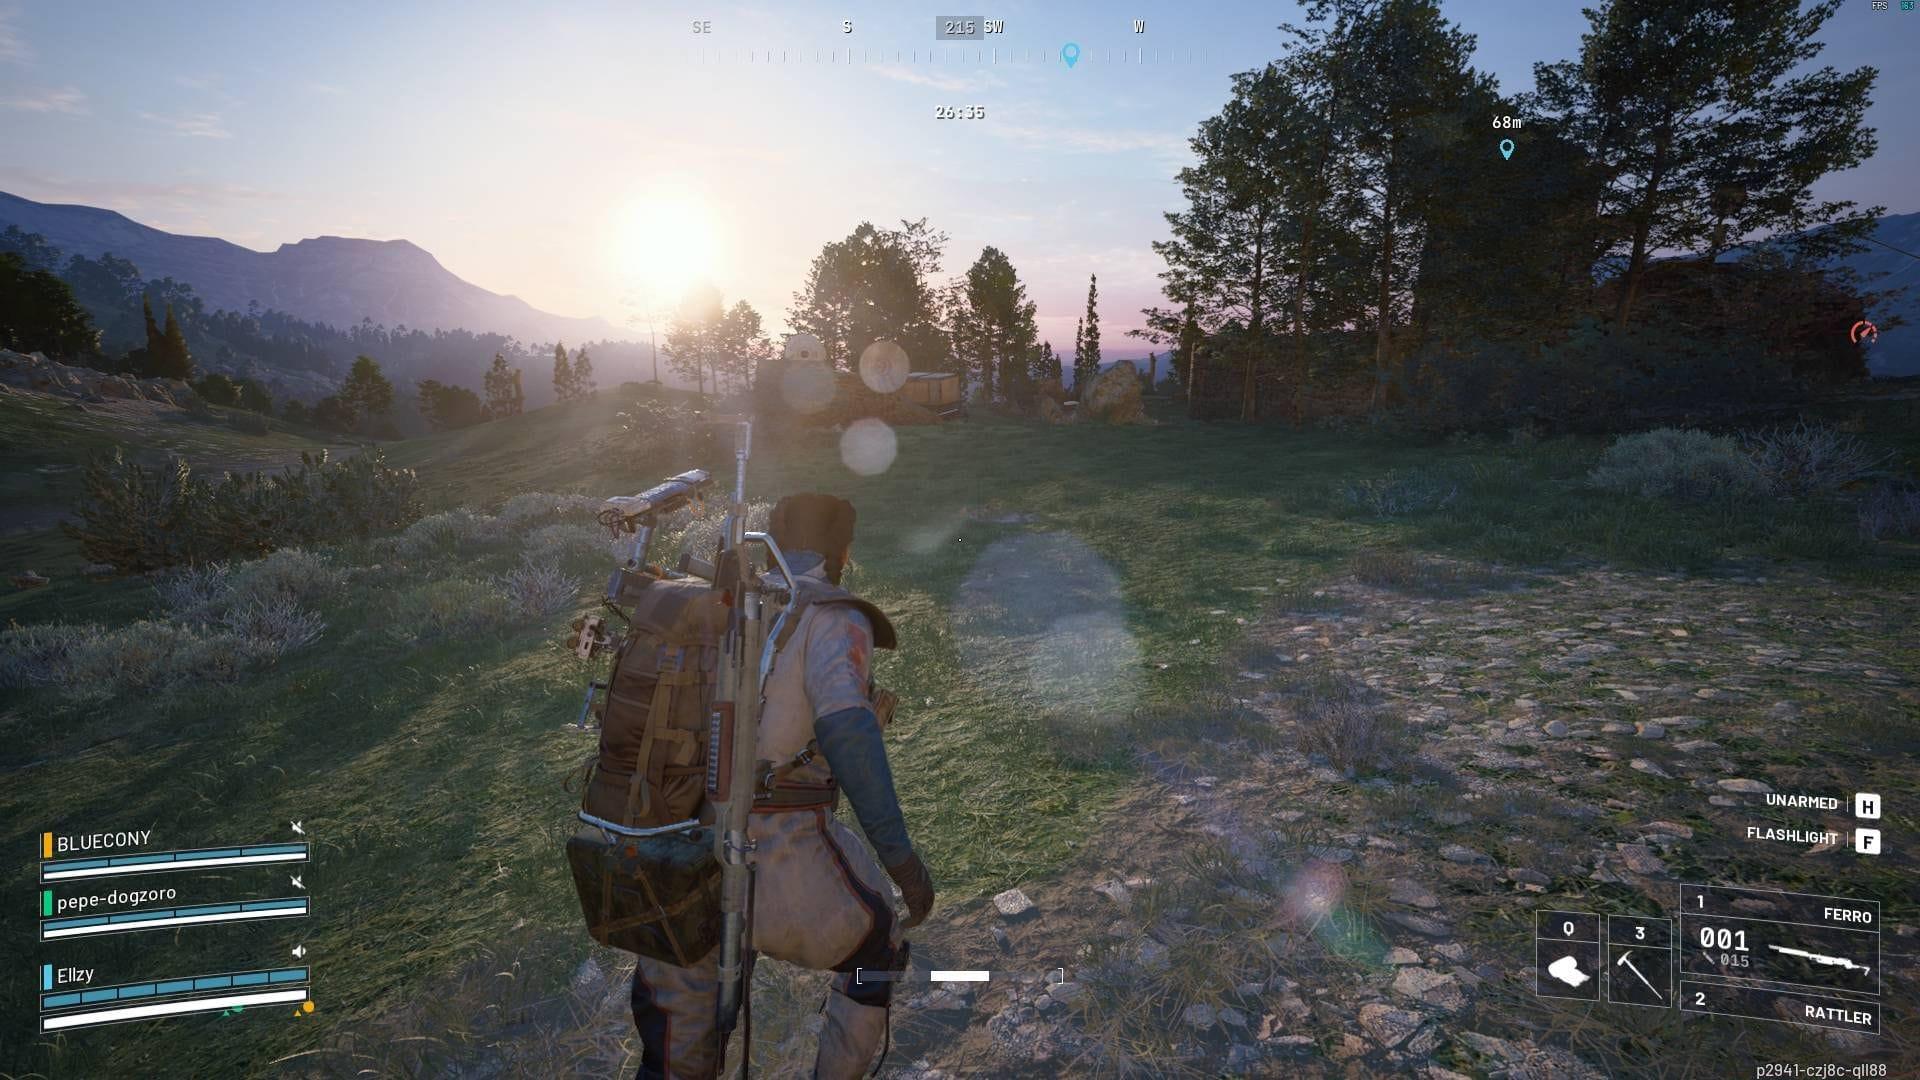
For primary weapon selection, the Ferro 1 stands as an A-tier firearm according to community weapon rankings, capable of efficiently eliminating ARC units like Hornets and Wasps with minimal engagement time. While the single-shot reload mechanism presents tactical limitations, its damage output remains competitive across most challenging combat scenarios.
Secondary weapon slots offer flexibility based on inventory availability. Both the Stitcher 1 submachine gun and IL Toro 1 pump-action shotgun perform adequately during early progression phases. Critical ammunition management involves ensuring appropriate ammo types accompany your selected secondary weapon to avoid combat inefficiency.
Read more: How to complete the Building a Library quest
Quick item slots should prioritize survival essentials. Allocate your first slot to 5-6 standard bandages for rapid health recovery. Remaining slots benefit from Light Impact Grenades for crowd control and Shield Rechargers for emergency protection. ARC enemies exhibit unpredictable aggression patterns, frequently ambushing from unexpected angles, making these items vital for safe extraction returns to Speranza.
Endgame Loadout Mastery
Advanced raid success demands optimized late-game equipment configurations:
- Equipment Slot: Looting Mk. 3 (Survivor)
- Primary Weapon: Hullcracker or Jupiter
- Medical Slot: Sterilized Bandage
- Tactical Slot: Surge Shield Recharger
Here’s how these elite loadout components enhance your endgame performance:
The Looting Mk. 3 (Survivor) represents epic-tier equipment that simultaneously increases inventory capacity while providing 75% health regeneration when incapacitated but stationary. This unique mechanic enables tactical repositioning while downed, potentially allowing crawls to extraction zones that would otherwise result in mission failure.
The Heavy Shield delivers superior 52.5% damage protection, particularly effective against boss-tier enemies like Queen and Leaper units. The significant trade-off involves reduced mobility, requiring careful positioning and advanced movement prediction during high-intensity engagements.
Check out: How to complete the Espresso quest in Arc Raiders
Both Hullcracker and Jupiter firearms dominate the current metagame for late-stage content clearance. These rare weapons require blueprint acquisition before crafting becomes possible. While blueprint hunting demands substantial time investment, the combat performance justifies the effort. The Hullcracker functions as an epic-grade weapon launching explosive projectiles, while the Jupiter achieves legendary status through puzzle completion rewards.
The Anvil heavy pistol operates as a single-action sidearm utilizing heavy ammunition. Its exceptional damage output and ARC penetration capabilities make it devastating against armored targets. Players can locate Anvil blueprints within container loot scattered throughout specific maps, particularly the Buried City region. Weapon enhancement through the Workshop system requires gathering specific upgrade components.
Sterilized bandages provide superior medical efficiency compared to standard versions, restoring substantial health percentages with reduced application time. This medical advantage proves crucial during extended engagements where rapid re-engagement determines success.
The Vita Shot delivers instant 50% health restoration, enabling immediate return to combat operations. This emergency medical option frequently determines survival during unexpected enemy encounters or boss phase transitions.
Finally, the Surge Shield Recharger regenerates 50% shield capacity within 5 seconds. This rare-tier item requires crafting at Medical Lab 2 workstations, offering crucial defensive recovery during prolonged firefights.
Advanced Combat Strategies
Solo Play Optimization: When queueing alone, prioritize self-sufficient loadouts with balanced offensive and defensive capabilities. The Looting Mk. 3 (Survivor) becomes exceptionally valuable for solo operators, providing both inventory space and emergency survival mechanics. Always maintain awareness of extraction routes and have emergency items readily accessible.
Team Composition Synergy: In coordinated squads, specialize loadouts to complement teammate selections. Designate specific roles: one player focuses on heavy damage with Hullcracker/Jupiter, another provides crowd control with grenades, while a third specializes in support with medical items and shield rechargers. Communication about equipment capabilities prevents redundancy.
Resource Management: Advanced players maximize efficiency by matching ammunition types to weapon selections and pre-planning craftable item requirements. Always check workstation requirements before raids to ensure you gather appropriate components. The Buried City consistently spawns Anvil blueprints, making targeted farming efficient for specific gear acquisition.
Common Mistakes to Avoid: New players frequently undervalue backpack expansion, leading to resource scarcity in later stages. Another critical error involves mismatching ammunition types with equipped weapons. Additionally, positioning without considering Heavy Shield mobility penalties often results in avoidable damage intake during boss encounters.
That concludes our comprehensive guide to advanced loadout strategy in ARC Raiders.
Check out the links below for more such guides:
- ARC Raiders has changed the course of extraction shooters, here’s why
- ARC Raiders ARAU0297 error: Possible reasons and fixes
- How to complete the Broken Monument quest in Arc Raiders
No reproduction without permission:GameCDjnh » Best loadout to use in ARC Raiders Advanced loadout optimization strategies for ARC Raiders endgame content with detailed gear analysis