TL;DR
- Three distinct team compositions: Balanced (2-3-5), Burst (1-2-7), and Control (2-2-6)
- Tank options include Feral Druids, Protection Paladins, and Demonology Warlocks
- Healer selection focuses on Shamans, Druids, and Priests for multi-target healing
- Seven boss encounters require specific strategies and coordinated execution
- Effective communication and role clarity are essential for raid success
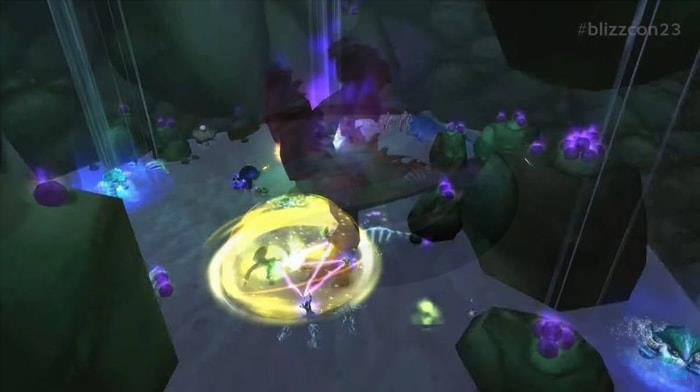
Blackfathom Deeps (BFD) represents the premier 10-player raid experience in Season of Discovery, offering substantial challenges for dedicated adventurers. This underwater complex features seven distinct boss encounters, each presenting unique mechanics that demand strategic coordination. Success requires assembling a cohesive team with properly balanced damage dealers, healers, and tanks working in harmony. For accelerated progression, players can leverage Season of Discovery gold acquisition to enhance their character’s combat readiness through superior gear acquisition.
The Balanced Comp
This versatile formation utilizes two tanks, three healers, and five damage specialists:
Tank roles excel with Feral Druids leveraging their defensive runes, Protection Paladins utilizing their mitigation toolkit, or Demonology Warlocks employing their demonic resilience capabilities.
Healing responsibilities fall to Shamans providing area restoration, Druids offering flexible healing options, or Priests delivering powerful multi-target spells with supplementary benefits.
Damage dealers should prioritize classes capable of maintaining sustained high output while minimizing avoidable damage intake. Mages, Hunters, Warlocks, and Rogues deliver exceptional damage throughput, while Mages, Hunters, and Druids contribute essential crowd control capabilities. This configuration demonstrates remarkable adaptability across diverse combat scenarios and boss mechanics.
The Burst Comp
This aggressive setup employs one primary tank, two healers, and seven dedicated damage specialists:
The solitary tank position accommodates Feral Druids with their robust defensive runes, Protection Paladins utilizing their comprehensive mitigation arsenal, or Demonology Warlocks leveraging their demon-enhanced durability.
Healing support comes from Shamans delivering efficient area healing, Druids providing versatile restoration, or Priests offering powerful multi-target spells with additional utility.
Damage specialists should focus on classes capable of delivering explosive burst damage through specialized runes and abilities. DPS Paladins, Fire Mages, and Beast Mastery Hunters excel at generating massive damage spikes that rapidly deplete boss health pools. This formation capitalizes on bloodlust effects and damage amplification buffs to maximize offensive potential.
The Control Comp
This tactical arrangement features two tanks, two healers, and six carefully selected damage dealers:
Tank positions suit Feral Druids with their comprehensive defensive runes, Protection Paladins utilizing their full mitigation capabilities, or Demonology Warlocks employing their demonic resilience features.
Healing assignments go to Shamans providing efficient area restoration, Druids offering versatile healing options, or Priests delivering powerful multi-target spells with supplementary benefits.
Damage specialists should prioritize classes offering superior crowd control, debuff application, and interrupt capabilities. Subtlety Rogues, Frost Mages, and Affliction Warlocks provide exceptional control mechanics through their specialized runes and abilities. This configuration emphasizes meticulous mob and boss management through enhanced coordination and communication protocols.
Strategy and Communication
While optimal class composition establishes a solid foundation, strategic execution and clear communication protocols determine raid success in Blackfathom Deeps. Every encounter demands precise coordination of positioning, ability timing, and role execution. Effective communication ensures all participants comprehend their responsibilities and implement strategies correctly. Critical elements include precise task delegation, priority target identification, and continuous situational awareness maintenance throughout the entire raid duration.
This challenging content becomes accessible at level 25 during Phase 1. Players not yet reaching this threshold can utilize fast Season of Discovery boost services to accelerate their leveling progression efficiently.
Here’s a Brief Guide on All Bosses:
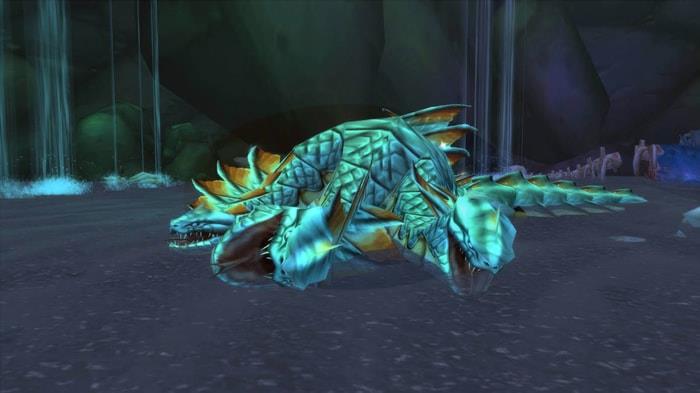
![]() Ghamoo-Ra – This formidable opponent occupies the terminus of an extensive corridor and presents significant difficulty for under-leveled adventurers. His diverse ability arsenal includes Knock Away and Poison Spit mechanics, necessitating dedicated tank control. Maintaining dedicated healing support proves essential for group survival throughout this demanding engagement.
Ghamoo-Ra – This formidable opponent occupies the terminus of an extensive corridor and presents significant difficulty for under-leveled adventurers. His diverse ability arsenal includes Knock Away and Poison Spit mechanics, necessitating dedicated tank control. Maintaining dedicated healing support proves essential for group survival throughout this demanding engagement.
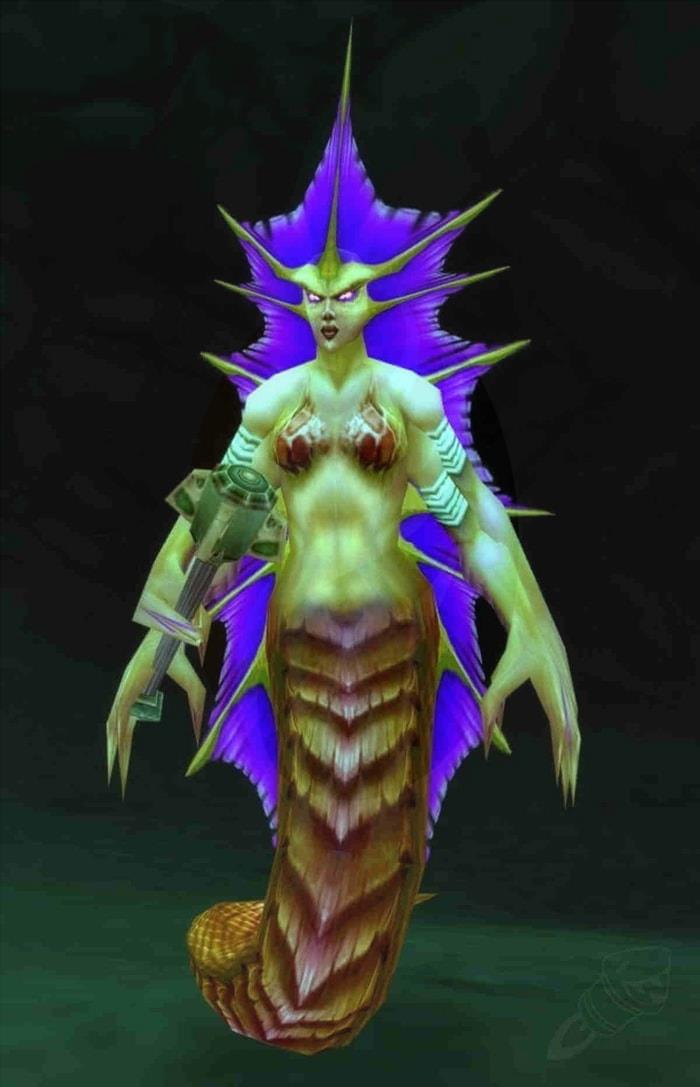
Lady Sarevess – This aquatic adversary resides within a substantial water reservoir and commands an array of dangerous abilities including Frost Nova and Constricting Chains. Your team should prioritize eliminating her additional combatants before directly engaging the primary target.
Gelihast – This self-sustaining foe inhabits a chamber containing multiple minor water pools and possesses self-restoration capabilities. Combatants must interrupt Gelihast’s healing incantations while avoiding water immersion that substantially reduces movement speed.
Lorgus Jett – As the initial Twilight’s Hammer cultist obstructing your path, Lorgus Jett positions himself following an arduous passage defended by Naga and Murloc forces.
Twilight Lord Kelris – This shadow-wielding antagonist awaits at the conclusion of a serpentine route and commands multiple dangerous abilities including Shadowbolt and Mind Flay. Raiders should consistently interrupt his Shadowbolt casting while evading the area-of-effect damage from his Mind Flay ability.
Aku’mai – Selected personally by the Old Gods, Aku’mai represents the crucial instrument for the catastrophic destruction the Twilight’s Hammer pursues across Azeroth.
Baron Aquanis – Distorted by Twilight’s Hammer influence, Baron Aquanis constitutes the primary obstruction confronting your advancement.
By integrating these strategic elements with effective communication and coordinated execution, you can confidently overcome the challenges within Blackfathom Deeps and achieve victory throughout Season of Discovery.
Action Checklist
- Select appropriate team composition based on your group’s strengths and available classes
- Coordinate role assignments and establish clear communication channels
- Review boss mechanics and assign specific interrupt responsibilities
- Ensure all raid members understand priority target identification
- Practice coordination on early bosses before attempting more complex encounters
- Execute raid with continuous situational awareness and adaptive strategy
No reproduction without permission:GameCDjnh » Best Compositions For the Blackfathom Deeps Raid in Season of Discovery Master Blackfathom Deeps with optimized team compositions, boss strategies, and expert raid coordination techniques