Complete walkthrough for Communications Group Hermes quest with advanced strategies and combat tips
Understanding the Mission Objectives
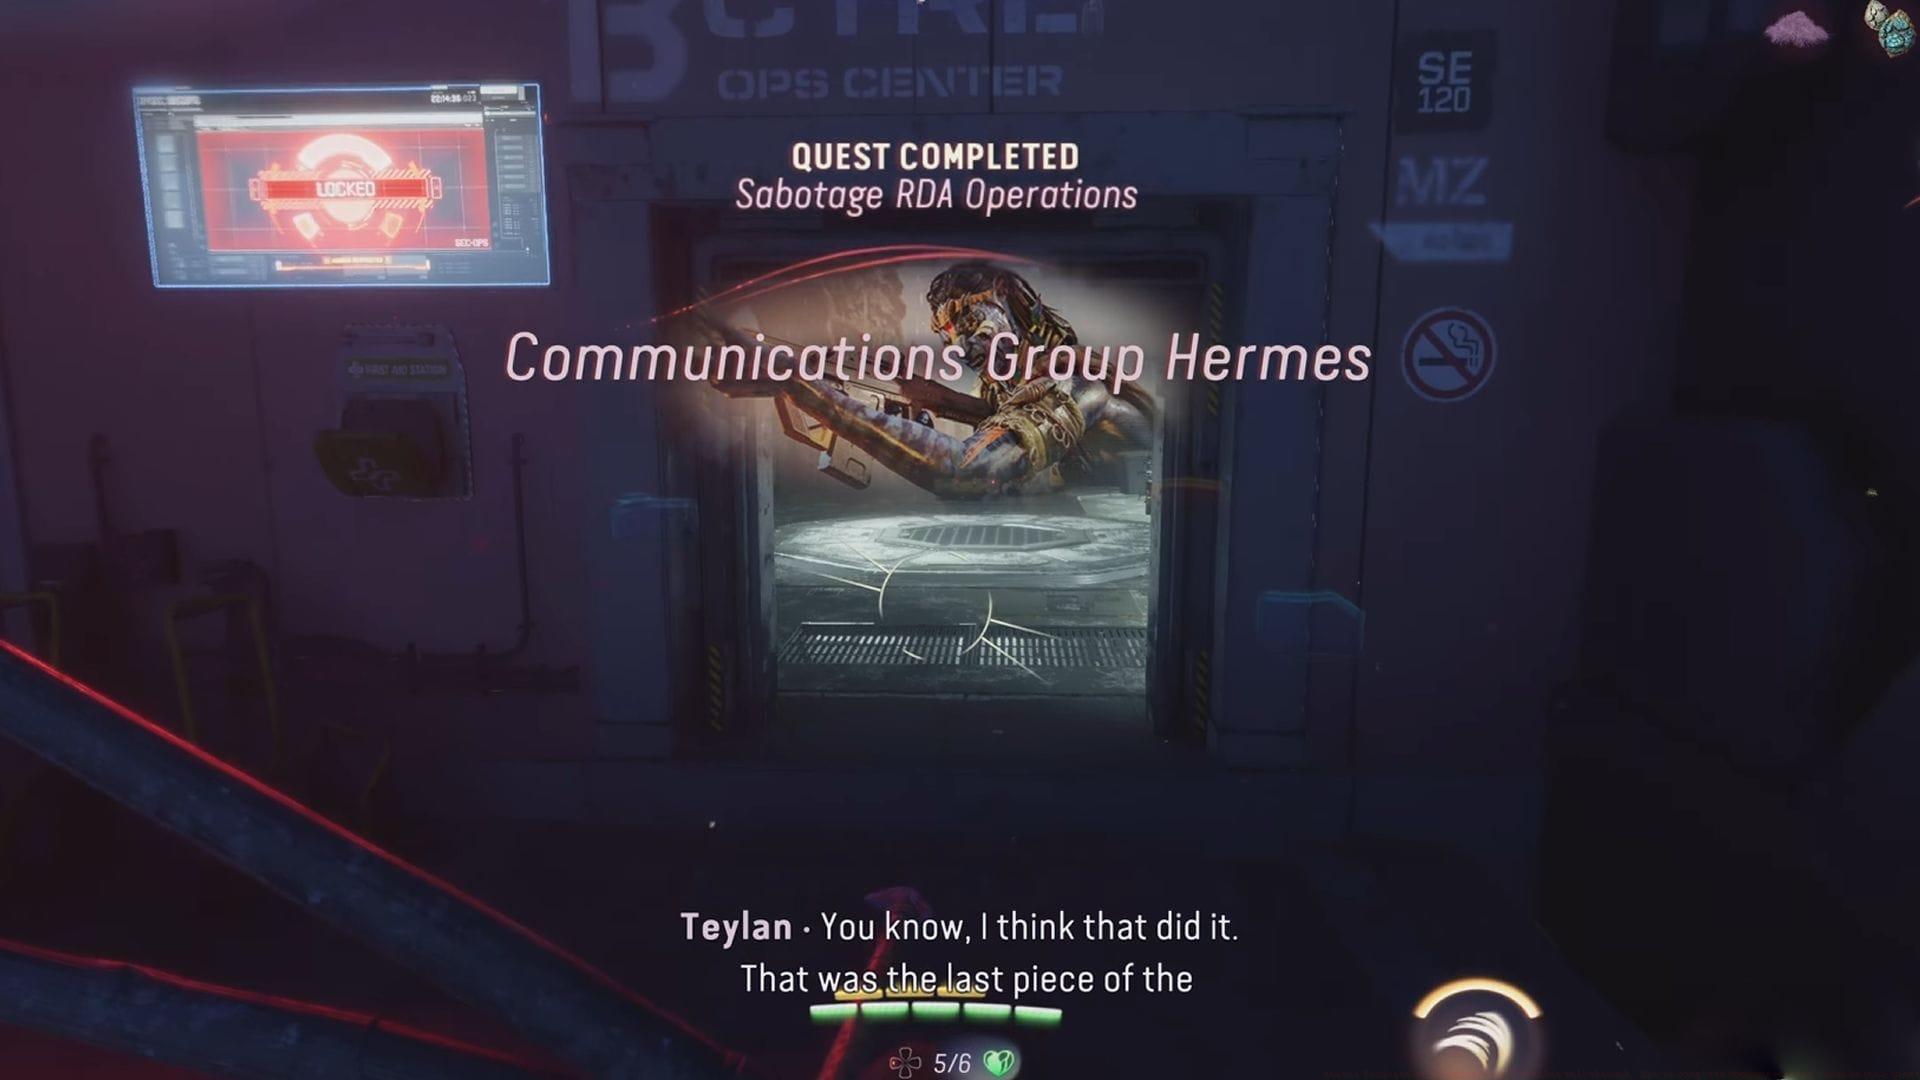
The Communications Group Hermes operation within Avatar Frontiers of Pandora From The Ashes DLC represents a critical Sabotage RDA Operations assignment. This mission focuses on dismantling the RDA’s strategic high-altitude antenna infrastructure that threatens Na’vi communications across Pandora. Success requires a systematic approach: first neutralizing three peripheral Hawk installations, then executing coordinated strikes against Camp Messenger and the formidable Fort Hermes.
Upon entering the operational zone, resistance leader Teylan will brief you about the RDA’s newly deployed relay communication network utilizing advanced antenna technology. Disabling this system will significantly disrupt enemy coordination capabilities. The mission unfolds through three sequential objectives:
Pro Tip: Approach this mission with fully upgraded weapons and ample healing items. The RDA forces are particularly aggressive in this sector, and you’ll encounter sustained combat across multiple locations.
Hawk Posts Destruction Strategy
Three distinct Hawk installations require neutralization to cripple RDA communications: Hawk Alpha, Hawk Bravo, and Hawk Charlie. These can be tackled in any sequence based on your tactical preference. Each site demands identical sabotage procedures:
Combat Alert: Each Hawk post is heavily fortified with automated turrets and RDA infantry. Utilize cover systematically and prioritize targets – disable automated defenses first, then engage personnel. Your Na’vi sensory ability becomes crucial for identifying key machinery through walls and environmental obstacles.
Advanced Strategy: For experienced players, consider approaching during nighttime when visibility is reduced. Use the terrain to your advantage – high ground positions provide better firing angles on generator locations. Stealth approaches can disable some systems before alerting guards.
Also read: 5 new things introduced in Avatar Frontiers of Pandora From The Ashes DLC
Camp Messenger Assault
Neutralize Camp Messenger
Camp Messenger presents the secondary objective in the Communications Group Hermes mission sequence. Upon arrival, engage and eliminate all RDA security forces encountered. Following perimeter clearance, access the maintenance control panel to reveal vulnerable system components. This is achieved by interacting with the designated switch highlighted by your quest indicator.
Your primary sabotage task involves overloading and destroying three communication antennas throughout the compound. Navigate to each antenna using mission markers and employ your combat knife to initiate overload sequences. Additionally, demolish both battery units connected to each antenna during the sabotage process.
Reinforcement Management: RDA backup units arrive continuously during antenna destruction. Position yourself with clear escape routes and use the compound’s structures for cover. Destroying antennas creates environmental hazards that can damage pursuing enemies.
After neutralizing two antennas, you’ll receive instructions to reboot Camp Messenger’s systems. Follow navigation markers to the reboot chamber, though entry will be blocked by damaged doors. Utilize your Ikran mount to circle the structure and target an internal fuse box to unlock access.
Enter the chamber and activate the emergency switch to execute system reboot. This enables completion of the final antenna destruction. With all three antennas disabled, Camp Messenger becomes inoperative, advancing your progress in the Communications Group Hermes assignment.
Common Mistake: Players often rush the antenna destruction without clearing surrounding enemies first. This leads to being overwhelmed during the vulnerable sabotage animation sequences. Always create safe zones before engaging machinery.
Also read: Avatar Frontiers of Pandora From The Ashes walkthrough: How to complete Tracking Group Athena quest
Final Confrontation at Fort Hermes
Fort Hermes constitutes the mission’s ultimate objective. Initial reconnaissance reveals a Dragon Gunship deployed at the location, requiring destruction alongside the facility. The Gunship’s navigation beacon system necessitates initial disruption. Using quest markers, first activate navigation beacons external to a control room, then deactivate operational beacons at separate locations.
Following beacon neutralization, focus shifts to exposing and destroying the Dragon’s engines. Employ your Ikran to approach the Gunship and board the vessel. Then access each engine and engage the adjacent control panel to reveal vulnerable components. Target the exposed engine with weapon fire to trigger destruction.
After the first engine detonation, the Dragon’s navigation systems reactivate. You must repeat the complete procedure for the three remaining engines, beginning with beacon deactivation, followed by boarding and engine exposure and destruction.
Gunship Combat Strategy: The Dragon Gunship presents unique challenges. Its mounted weapons track quickly, so use erratic flight patterns when approaching. Time your jumps carefully – wait for stable flight moments before boarding. When destroying engines, prioritize those with weaker covering fire first.
Destruction of the fourth engine triggers a cinematic sequence where the Gunship crashes into Fort Hermes, obliterating the RDA installation. This concludes the Communications Group Hermes mission in Avatar Frontiers of Pandora From The Ashes.
Optimization Tip: Advanced players can destroy multiple engines during single boarding sequences by quickly moving between them before the navigation systems reset. This requires precise movement and knowledge of engine locations.
No reproduction without permission:GameCDjnh » Avatar Frontiers of Pandora From The Ashes walkthrough: How to complete Communications Group Hermes quest Complete walkthrough for Communications Group Hermes quest with advanced strategies and combat tips