Complete guide to mastering the Lost and Found Animus Rift quest with expert strategies and rewards
Quest Overview and Starting Location
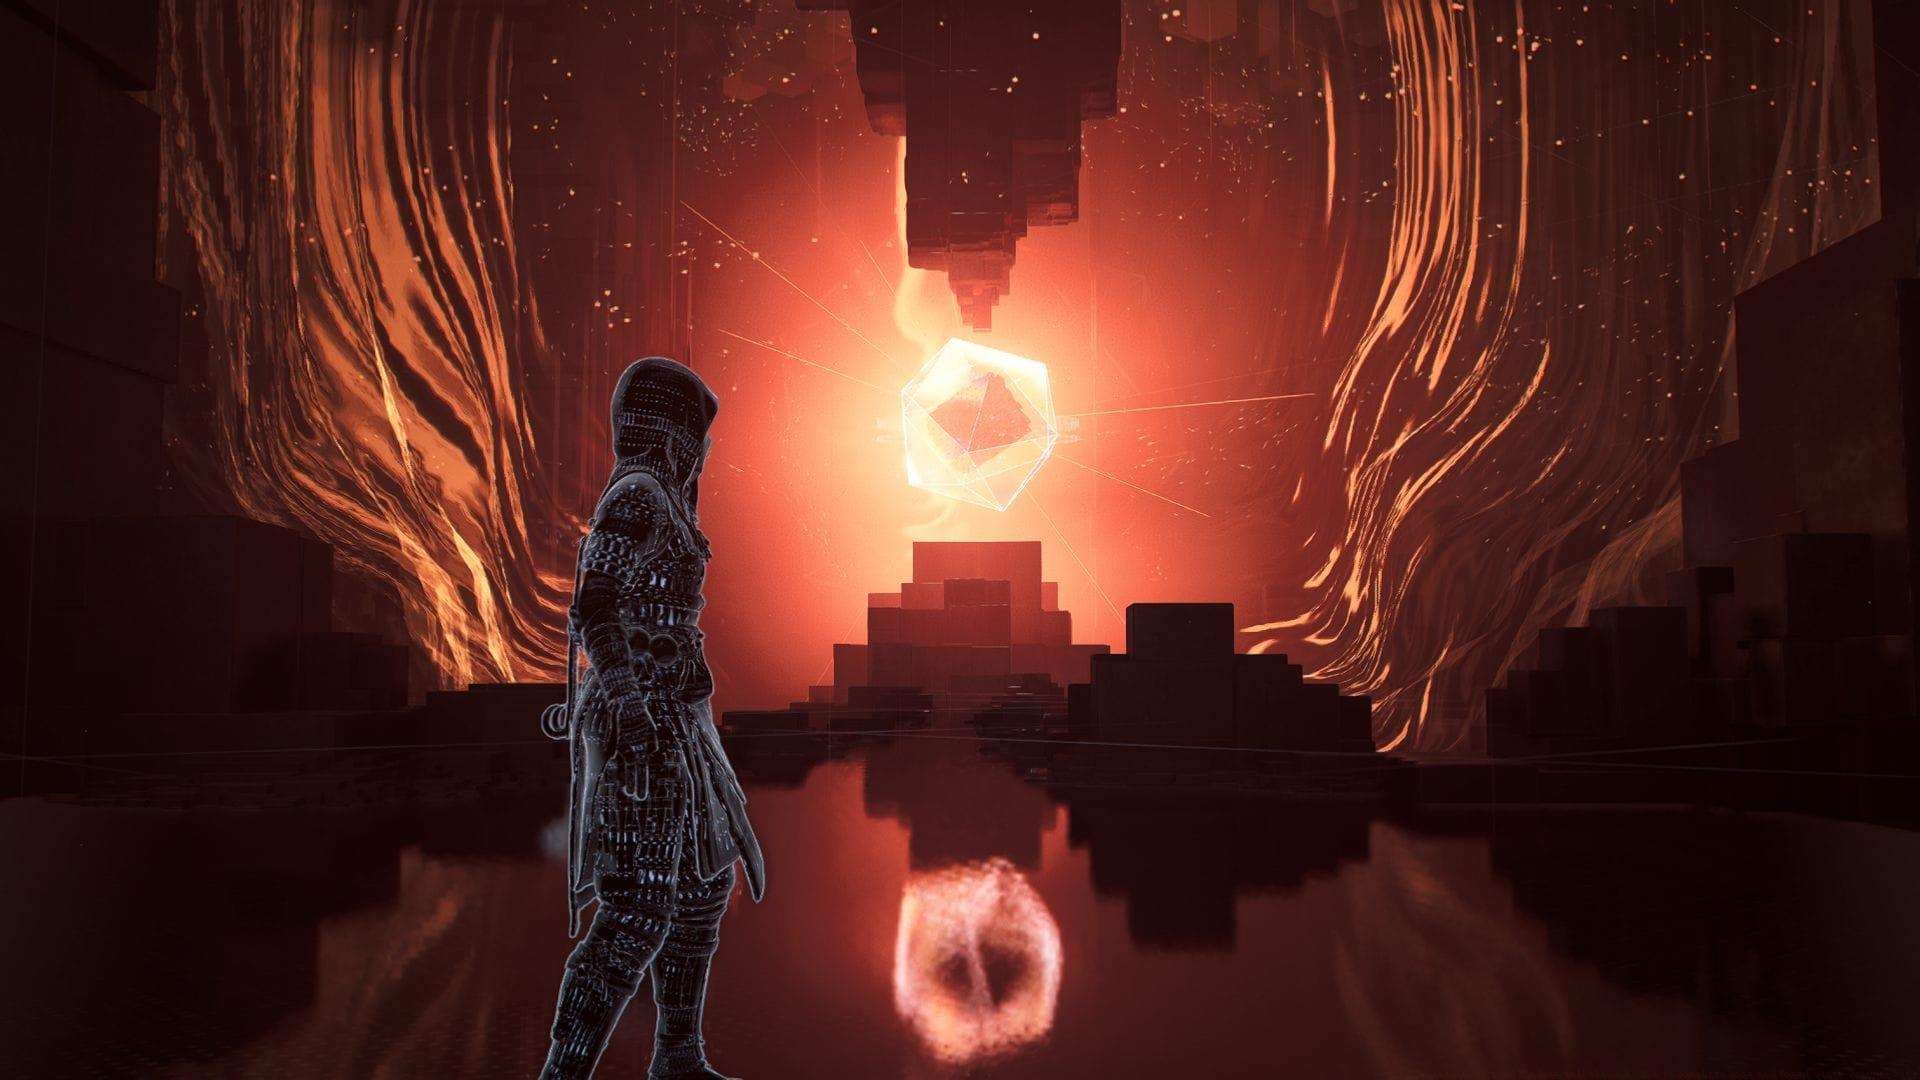
Lost and Found represents the latest Animus Rift challenge introduced in Assassin’s Creed Shadows through Title Update 1.1.7. This temporal anomaly provides players with an engaging puzzle-combat hybrid experience where the Eagle serves as your spiritual guide through the fractured reality. Successfully navigating this rift not only reveals hidden lore but culminates in an intense boss confrontation. Completion rewards include exclusive legendary-grade armaments specifically designed for both Naoe and Yasuke’s combat styles.
To initiate this temporal adventure, journey to the Little Leaf Glade territory situated within the expansive Yamashiro province. This serene location belies the challenging experience that awaits within the rift.
From this starting point, carefully navigate northwest from the Deserted Outpost fast travel marker to discover the newly manifested rift entrance. Engage with the temporal distortion and select the “Leap” interaction to commence the Lost and Found quest sequence.
Also read: 7 mistakes you need to avoid in Assassin’s Creed Shadows
Detailed Quest Walkthrough
As the quest initiates, advance toward the fragmented bridge’s edge and execute a controlled descent to perform the classic Leap of Faith maneuver. Progress along the illuminated path until encountering a spectral figure. Maintain pressure on the “Cleanse” command to transform into Naoe, whose agility proves essential for the upcoming challenges.
Proceed by navigating through the narrow crevice in the adjacent wall, continue forward, and ascend to the nearby rooftop vantage point.
From this elevated position, utilize the interconnected rope systems to traverse to the adjacent roof, where strategically placed tree branches facilitate efficient progression through this unstable environment.
Then, advance systematically using the arboreal pathways and carefully descend to the subsequent area. This location provides crucial resource replenishment stations for both Yasuke and Naoe’s equipment and abilities.
Following resupply, maintain Naoe’s form to slip through the next gap and eliminate enemies utilizing stealth takedowns from behind. A transformation cube awaits here, allowing interaction to assume Yasuke’s form for direct confrontation with hostile forces.
Next, ascend the staircase to encounter a barricaded doorway. Trigger the demolition of nearby explosives utilizing either Naoe’s projectile weapons or Yasuke’s ranged arsenal. Continue forward and interact with Oda Nobunaga’s apparition to activate another “Cleanse” transformation sequence.
Descend to the lower level before you and neutralize opposition forces employing Yasuke’s combat prowess. Subsequently, transition to Naoe’s form and traverse the wall aperture in this sector.
Upon emerging on the opposite side, advance to the perimeter and deploy Naoe’s grappling apparatus to transport to an alternate location with aerial assistance from your Eagle companion.
Progress forward from this new position, assume Yasuke’s form and descend the stairwell. Eliminate all hostile entities in this zone and proceed to the opposite side to locate an ascending staircase leading to an upper platform.
Climb upward and engage with Oda Nobunaga’s manifestation to trigger “Cleanse” transformation. From this point, navigate rightward to discover a vertical ladder.
Ascend to locate another transformation interface. Activate Yasuke’s form and charge the obstructed doorway nearby to demolish the barrier through brute force.
Next, proceed leftward, scale the compact wooden ladder to access the upper platform when the circulating enemy patrol moves in the opposite direction. Crucially, avoid direct confrontation with the forward enemy placement.
Instead, employ ranged offensive capabilities from either character to detonate explosives and eliminate adversaries from a secure distance.
After neutralizing all threats, advance and interact with Junjiro to activate “Cleanse.” Subsequently, assume Yasuke’s form and dispatch remaining enemies in the vicinity. Then, demolish the wooden barrier by charging it with Yasuke’s momentum. Alternatively, utilize explosive devices to breach the doorway.
Afterward, scale the ladder within this area to reach another sector, where you must defeat opposition forces using Yasuke’s combat abilities.
Upon completion, advance to the boundary edge and activate Naoe’s grappling mechanism to receive aerial transportation assistance from the Eagle to another location.
Also read: How to skip time in Assassin’s Creed Shadows
Boss Fight Strategy: Sentinel B-Ser.0197
Approaching the dimensional portal, you’ll confront the formidable “Sentinel B-Ser.0197” enemy entity. This boss encounter presents unique mechanics, with your adversary displaying an arsenal of innovative attack patterns. Primarily, evade his projectile ground assault through rapid lateral evasion maneuvers.
This opponent possesses teleportation capabilities to relocate and execute ranged attacks utilizing firearms. Additionally, multiple mirror projections simultaneously replicate his offensive actions. These duplicated attacks can be avoided through well-timed sidestep movements.
During specific battle phases, the boss will initiate ground-based assaults indicated by a distinct crimson luminescence on the terrain. Create distance from the entity and evade successive ground attacks by vacating areas marked by the red glow.
While avoiding the boss’s offensive patterns, strike during vulnerability windows and leverage Yasuke’s special abilities to inflict significant damage. Sustaining multiple impacts will result in form dissipation. Fortunately, a transformation cube remains accessible in the arena, enabling restoration to Yasuke’s form when needed.
When the boss’s vitality diminishes to approximately 10%, he will retreat from the combat area. Pursue the fleeing adversary, and at a predetermined point, you’ll automatically transition to Naoe’s form. Evade enemy projectiles, navigate forward through parkour sequences, and ascend the right-side platform structure.
Continue advancement, utilize the grappling apparatus to reach the subsequent platform, traverse the chasms, and access the left-side platform via the suspended rope.
Finally, perform an aerial assassination on Sentinel B-Ser.0197 from an elevated position and progress forward to conclude the Lost and Found Animus Rift quest in Assassin’s Creed Shadows.
Rewards and Advanced Tips
Successful completion grants the following exclusive rewards:
Pro Tip: The legendary Bo and Kanabo weapons significantly enhance your combat effectiveness, with the Bo excelling in crowd control and the Kanabo delivering devastating single-target damage. The engravings provide substantial critical hit bonuses that synergize well with high-damage builds.
Advanced Strategy: During the boss fight, conserve Yasuke’s special abilities for when the Sentinel teleports and creates mirror images. Use Naoe’s grappling hook during the chase sequence to bypass difficult platforming sections more efficiently. Always prioritize destroying explosives from range to minimize risk while eliminating groups of enemies.
Common Mistakes to Avoid: Don’t waste transformation cubes unnecessarily during the boss fight – wait until you actually lose Yasuke’s form. Avoid attempting to melee the Sentinel during his ground glow attack phase. Never approach grouped enemies head-on when explosives are nearby – always detonate from safety.
Also read: All Kanabo Skills for Yasuke in Assassin’s Creed Shadows
Check out Assassin’s Creed Shadows gameplay guides from Sportskeeda:
No reproduction without permission:GameCDjnh » Assassin’s Creed Shadows walkthrough: How to complete Lost and Found quest (Animus Rift) Complete guide to mastering the Lost and Found Animus Rift quest with expert strategies and rewards