Master the Fighting for the Cause quest with expert strategies for navigation, combat tactics, and defeating the Kimura Kei boss.
Quest Overview & Prerequisites
Fighting for the Cause represents a pivotal narrative quest within Assassin’s Creed Shadows, activating immediately upon concluding The Path He Walks. This mission immerses you directly into the escalating Templar conspiracy surrounding Kimura Kei. While the initial objectives seem straightforward, the challenge ramps up dramatically, culminating in one of the game’s most demanding boss encounters. A character level of at least 35 is strongly recommended, as facing the final adversary under-leveled, especially against skull-marked enemies, will result in a punishing experience.
The introductory conversation presents a minor dialogue selection; however, this choice is cosmetic and does not alter the quest’s progression or final outcome. It serves primarily for role-playing flavor.
Read also: Assassin’s Creed Shadows: How to complete Topple the Traitor main quest
Navigating to Kumabe Ujiie
Your next marker directs you back to the region of Koyasan. Upon arrival, travel eastward until you encounter a fork in the road. Take the leftward path, which leads directly to the atmospheric Okunoin Cemetery. Venture deeper into the cemetery grounds until you interact with a specific statue. This action triggers the arrival of Kumabe Ujiie, setting the stage for a critical decision point.
You are presented with two core approaches: engage Kumabe in immediate, lethal combat or initiate a conversation. The combat route is faster but more aggressive. Eliminating him yields a key item from his corpse that reveals the location of the Training Grounds. Alternatively, speaking with him unlocks a branching dialogue tree. Regardless of your selected path—violence or words—the story invariably advances toward the ominous Training Grounds.
Your strategic options are as follows:
The Dialogue Fork & Training Grounds Approach
If you selected the dialogue path, Kumabe presents an initial choice. Selecting “That sounds too good to be true” expresses skepticism.
The subsequent choice is decisive. Picking “That’s enough” results in an immediate battle against Kumabe and his retinue right there in the cemetery. Opting for “You’ve convinced me” initiates a deceptive alliance; Kumabe will lead you on an automated walk along a scenic route. Both options ultimately converge on the same objective—gaining access to the Training Grounds—but differ in immediate resource expenditure (health, tools) and narrative tone.
If you choose to follow him, enjoy the brief automated traversal. Kumabe will eventually halt for final remarks, explicitly pointing you toward the Training Grounds location. This marks the transition into the quest’s primary combat challenge.
From Koyasan, mount your steed and ride west, then south. Your destination is a dilapidated, fortified structure. Approach the main entrance and interact with it. The game presents a final confirmation prompt—a warning, as the ensuing sequence involves a protracted, multi-wave combat scenario.
Select “I’m ready to enter the training grounds” to proceed. A crucial tip: If your gear score is insufficient and enemies display skull icons, consider this your last opportunity to retreat. Grinding for experience or upgrading equipment elsewhere is a wiser strategy than facing an overwhelming onslaught.
Conquering the Training Grounds
Upon entering, proceed toward the large assembled group. Kimura Kei will instantly recognize you, triggering a full-scale ambush. The most reliable tactic is to methodically clear enemies in controlled groups rather than engaging the entire force at once. Follow the path to the right, ascending the hill until you confront a secured building. Position yourself near the door; enemies will eventually breach it. Once open, move inside, ascend the ladder, and exit via the window.
This deposits you in an expansive zone dominated by archers. Prioritize eliminating these ranged threats. The moment you see the distinctive red targeting indicator, execute a dodge maneuver immediately. You must clear all adversaries in this area to unlock the final gate. Pro tip: The structure at the zone’s far end serves as an excellent tactical choke point. Enter it and let enemies funnel toward you, negating their numerical advantage.
After neutralizing the archers, ascend the stairs to encounter a mini-boss squad comprising three elite warriors: two heavily armored melee specialists and one equipped with a deadly handcannon.
Employ the large rock formation on the right side for cover. Use it to break line-of-sight and aggro (attract) enemies individually, isolating them from the group. Tackling them one-by-one is vastly safer than confronting the trio simultaneously. Once this elite team is defeated, proceed through the now-accessible final door.
Boss Fight: Kimura Kei Phase Analysis
Kimura Kei stands out as one of Assassin’s Creed Shadows‘ most intense boss encounters. The battle within the Fighting for the Cause quest unfolds across three distinct phases, each modifying his weaponry, attack patterns, and damage output.
Phase 1: Dual Katana Assault. He initiates combat wielding both a Katana and Long Katana. His pattern involves mixing red (unblockable) and blue (potentially chain-able) attacks, often consecutively. These range from quick thrusts and powerful overhead slashes to extended 4- or 5-hit combinations that have longer recovery animations.
Phase 2: Aggressive Long Katana Focus. His aggression increases significantly. He primarily uses the Long Katana with altered, more unpredictable timings and a greater emphasis on closing distance.
Phase 3: Broken Blade Chaos. After his Long Katana breaks, he wields the remnant like a second dagger, attacking with ferocious speed. This phase is exceptionally dangerous, as most attacks are rapid dual-wielding strikes capable of depleting your health bar in seconds. Maintaining composure is key.
Advanced Combat Strategies & Ability Synergy
Do not attempt to outpace his attacks. The optimal strategy is a patient, bait-and-punish approach. Maintain a safe distance to provoke his combos. After he completes a attack string and is in recovery, dash in with a fully charged heavy attack, then immediately disengage and reset your position. This hit-and-run method is time-consuming but minimizes risk.
Essential Skill Synergy: Yasuke’s Impenetrable Defense (Samurai skill tree) is invaluable. It grants a 20-second window where you can parry even unblockable attacks, providing crucial breathing room to reposition, heal, or build Adrenaline. Pair this with the Power Dash ability (Long Katana tree) for a powerful combo: activate Impenetrable Defense, dash through the boss with Power Dash to inflict damage and the Vulnerability debuff, then unleash your own combo safely.
Common Pitfall: Greed is your biggest enemy. Landing two extra light attacks often leaves you vulnerable to his rapid counter-attacks. Always prioritize a single, powerful strike followed by a safe retreat. If you miss your timing, focus on defense and wait for the next opening.
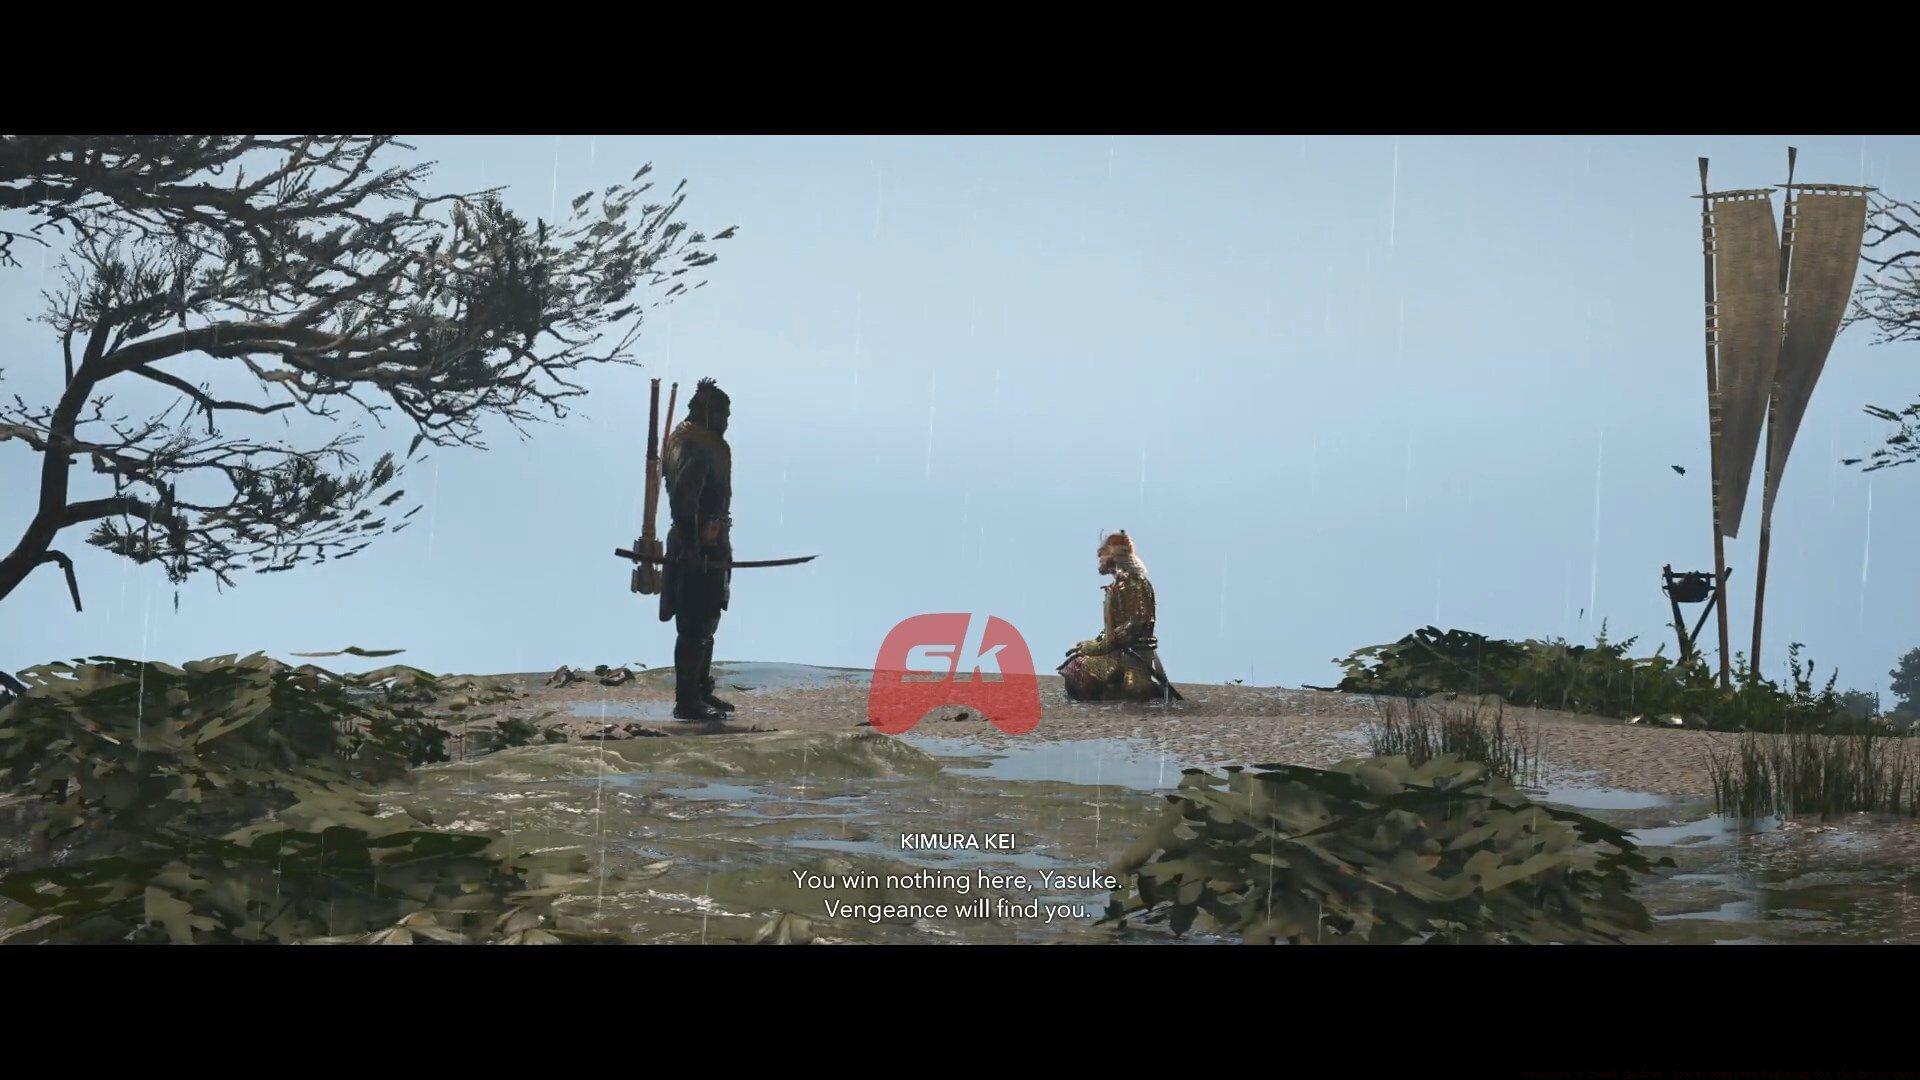
Adhere to this disciplined rhythm, and a concluding cutscene will eventually play, marking your victory and the completion of the Fighting for the Cause quest in Assassin’s Creed Shadows.
Check out: Assassin’s Creed Shadows: How to complete Red Walls main quest
No reproduction without permission:GameCDjnh » Assassin’s Creed Shadows: How to complete Fighting for the Cause quest Master the Fighting for the Cause quest with expert strategies for navigation, combat tactics, and defeating the Kimura Kei boss.