Master the A New Strain quest with advanced combat tactics, loot strategies, and expert boss fight techniques
Mission Overview and Monument Area Strategy
Following the Power Gambit mission completion, Dying Light: The Beast advances its narrative through the critical A New Strain questline. Protagonist Kyle Crane, now operating in close coordination with Olivia, receives orders to investigate escalating activities orchestrated by the Baron while confronting another dangerous Chimera Infected specimen.
The initial engagement occurs at the Monument location, which experiences heavy infected concentration. While nighttime operations provide substantial experience bonuses, this approach carries significant risk due to enhanced enemy damage output. Strategic target prioritization proves essential—neutralize the Spitters positioned on both the adjacent truck and monument structure before addressing the remaining horde. Advanced players should note that Spitters possess area denial capabilities that can quickly overwhelm unprepared survivors.
Militia zombies present additional complications with their frontal armor protection. Flanking maneuvers and rear attacks become mandatory for efficient elimination. If you’ve got a hammer, bait them near gas canisters to create environmental chain reactions, but ensure proper distancing before detonation. Molotovs also help thin the numbers quickly against clustered enemies, though resource conservation remains important for later engagements.
Post-combat reconnaissance reveals valuable resources:
Also read: How to enable Streamer Mode in Dying Light: The Beast
Safe Zone Establishment and Power Restoration
Olivia subsequently dispatches Kyle to establish a fortified Safe Zone within suburban territories. The target structure features distinctive tapestry markings for easy identification. Utilize the exterior van as an elevation platform to access an unsecured window opening. Interior clearance requires eliminating all hostile entities and sealing potential entry points. Electrical system reactivation follows this process:
Following fuse installation, activate the power mechanism to secure the Safe Zone, utilizing the resting facilities if health restoration becomes necessary. The location additionally contains equipment modification stations, particularly valuable for weapon maintenance when durability degradation occurs. Pro tip: Always fully repair weapons before major engagements—breaking during boss fights creates catastrophic disadvantages.
Read more: All Dying Light: The Beast graphics settings and controls
E&F Plant Infiltration and Gas Canister Retrieval
The subsequent objective leads to the E&F Plant complex. Direct frontal assault through the main entrance constitutes suicidal behavior, as Baron’s heavily armed personnel saturate the area. Instead, navigate leftward toward stacked trailer units, scale these structures, and employ the damaged pale conduit to access elevated sectors undetected.
Regardless of stealth or aggressive engagement preferences, prioritize eliminating rifle-equipped sentries initially; their damage potential proves devastating. Progress into the central courtyard activates narrative sequences, followed by intense combat scenarios. Unlike standard infected opponents, human adversaries employ blocking techniques, necessitating strategic combat approaches and timing-based attacks.
Post-engagement looting yields ammunition reserves, Old World currency, valuable artifacts, consumable items, and supplementary armaments. Beyond twin doorways, you’ll confront a scientist detailing a Chimera Infected specimen escape to scrapyard locations. To facilitate baiting procedures, you’ll require a fuel container integrated into distribution machinery.
Access the facility’s subterranean levels via ventilation systems and clear indigenous infected populations. Activate Survivor Sense to highlight interactable objects:
Secure the container and proceed toward scrapyard destinations. The route presents moderate length with roaming infected presence, particularly agile runners. Engagement versus evasion decisions should reflect current resource availability and health status.
Common mistake: Players often underestimate the antibiotic value—these provide crucial healing during the upcoming boss encounter when medkits become scarce.
Behemoth Boss Fight Mastery
Upon reaching the scrapyard, insert the container into the apparatus. Before activation becomes possible, Baron’s military forces initiate repeated ambush maneuvers. Utilize environmental cover systems, rapidly eliminate close-quarters aggressors, and administer healing when opportunities arise. Following enemy neutralization, activate the mechanism and prepare for confrontation.
The Chimera manifestation represents no ordinary adversary; this colossal Behemoth presents formidable challenges. Advanced combat methodologies for boss engagement:
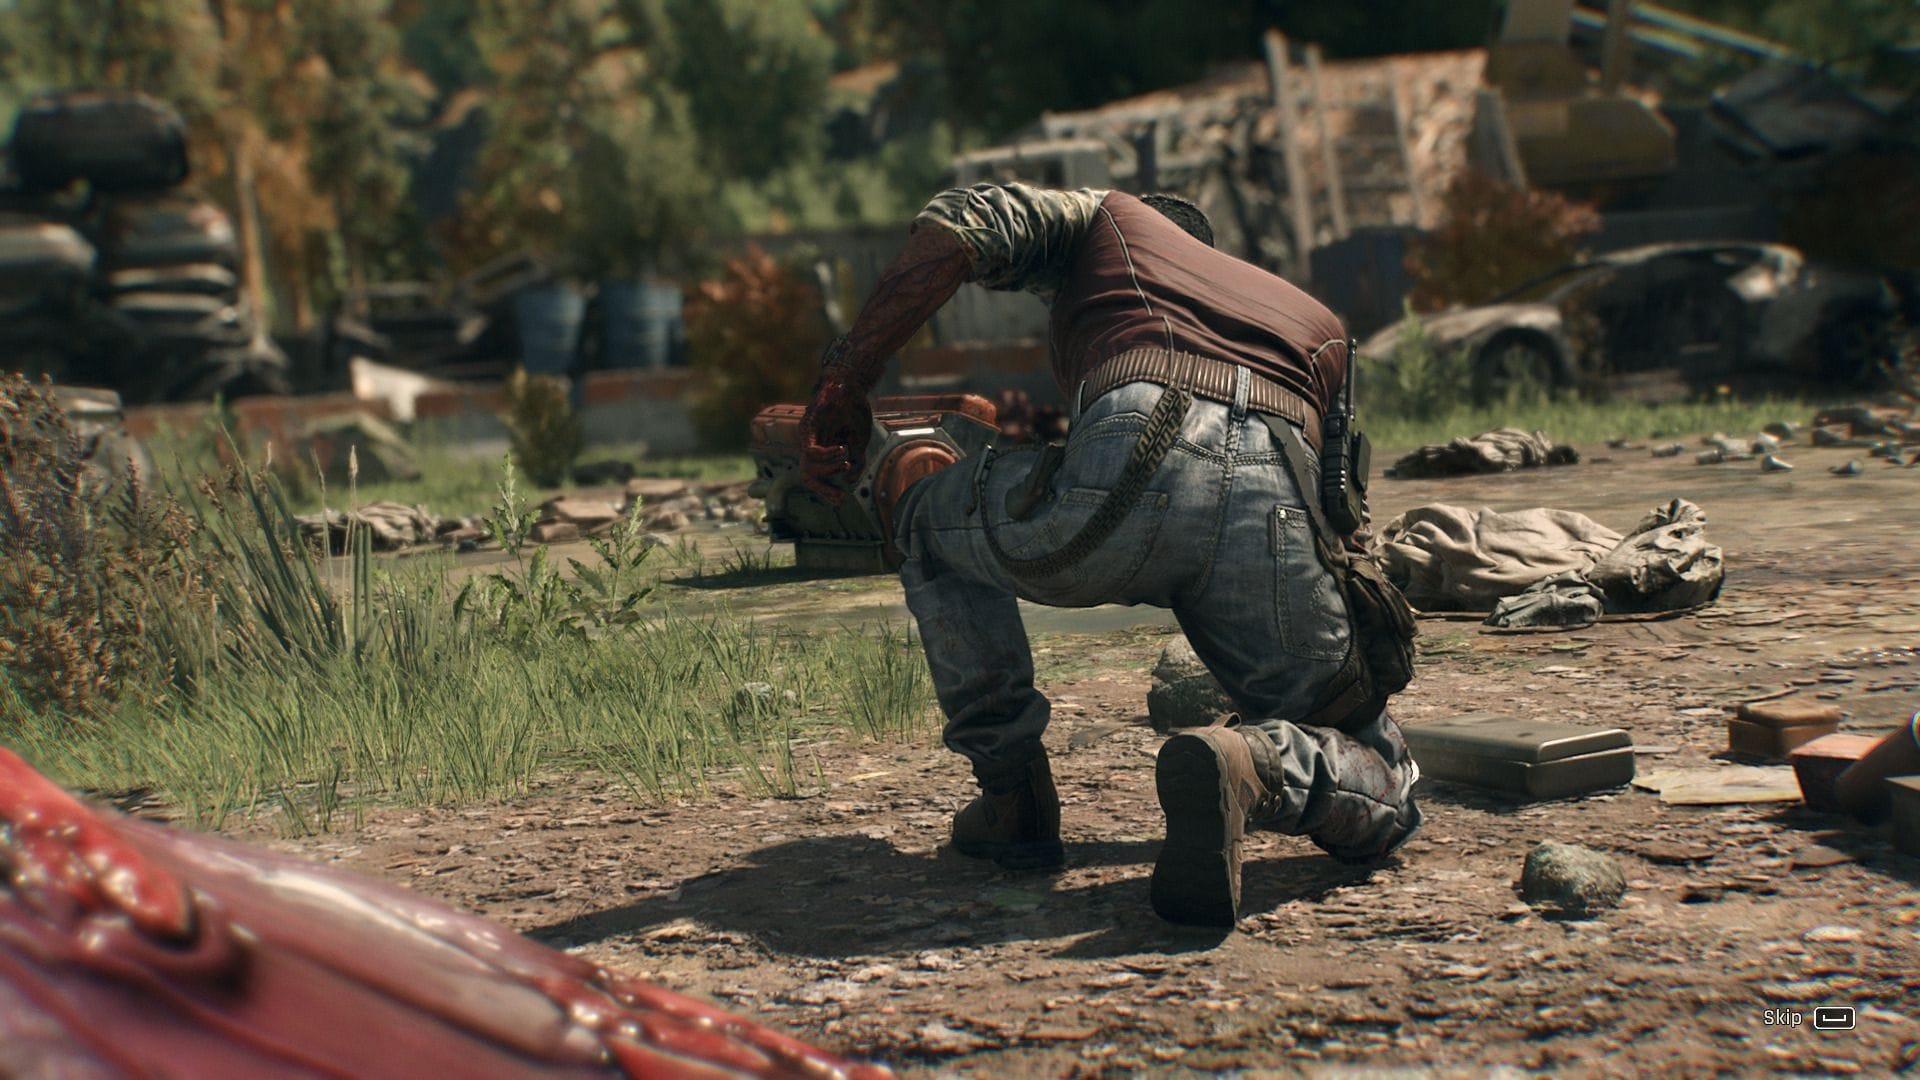
Progressive combat engagement generates sufficient Beast Mode accumulation to inflict substantial damage. Through persistent evasion and strategic patience, you’ll gradually deplete its vitality until execution prompts appear. Kyle decapitates the Behemoth, collects its blood sample, and injects himself with a dose, gaining enhanced capabilities.
Post-victory, Kyle acquires transportation and returns to the Monastery, delivering the Chimera blood specimen to Olivia. This culmination concludes the A New Strain narrative arc within Dying Light: The Beast.
This comprehensive guide concludes our advanced walkthrough for A New Strain in Dying Light: The Beast. For additional gaming updates and strategic content, continue following Sportskeeda coverage.
No reproduction without permission:GameCDjnh » A New Strain mission walkthrough in Dying Light: The Beast Master the A New Strain quest with advanced combat tactics, loot strategies, and expert boss fight techniques